It is a product photo where the garment is worn by a person, instead of lying flat or hanging on a mannequin. Shops use it to show the fall, the length and the fit.
On Model Photography with AI: Turn a Garment Photo into On-Model Shots
On Model Photography with AI: Turn a Garment Photo into On-Model Shots is a free AI tool. Skip the studio shoot. Upload one garment photo and get front, back, detail and marketplace fit shots worn by an AI model. Free to try.
Free to try · first generation free on signup · no credit card
1
Step 1
Upload Image
Start by uploading image
Upload your image
Click to browse or drag & drop
2
Step 2
Select Mode
Choose your transformation style
The hero shot, worn and facing the camera
3
Step 3
Options
Configure your options
Related Tools
→try new exterior paint colors on your own photo
→redesign a home exterior from a single photo
→plan a new yard or garden layout from a photo
→repaint a car in any shade before you commit
Output quality:
Mode
Front On-Model Shot
Your AI Design Will Appear Here
Fill in the options on the left, then press Generate.
Upload your image
Drag & drop your file here or click to browse
JPG, PNG, WebP
Max 10MB
AI Ready
Explore Fashion Studio
Turn product shots into on-model photos
For when you have the garment but no model.
- Flat lay to modelDress a model from a garment laid out flat.
- Mannequin to modelReplace the mannequin in an existing product photo.
- AI fashion modelsChoose the model who suits your customer.
Prepare the catalog
Clean, consistent images for a store.
- Ghost mannequinGet the hollow-garment look for product pages.
- Clothing flat layTidy overhead shots of a garment.
- Fashion catalogKeep a whole range in one visual style.
- Amazon clothing image rulesCheck what the main image has to show.
Shoot accessories and footwear
Small products that need scale and detail.
- Jewelry model generatorShow a piece being worn at a believable size.
- Ring photographyBring out stones and metal in close-up.
- Footwear AIPlace shoes on feet or in a styled scene.
Help shoppers choose
For store owners and personal shoppers.
- Virtual try-onPreview a garment on a person in a photo.
- AI outfit generatorPut looks together around one item.
- AI stylistGet outfit suggestions for an occasion.
- Ecommerce photo guidePlan a full product image set.
Quick facts about On Model Photography with AI: Turn a Garment Photo into On-Model Shots
- Tool nameOn Model Photography with AI: Turn a Garment Photo into On-Model Shots
- CategoryProduct Photo Tools
- PriceFree to try
- InputPhoto upload + text prompt
- OutputAI-generated image
Before / After
Example results
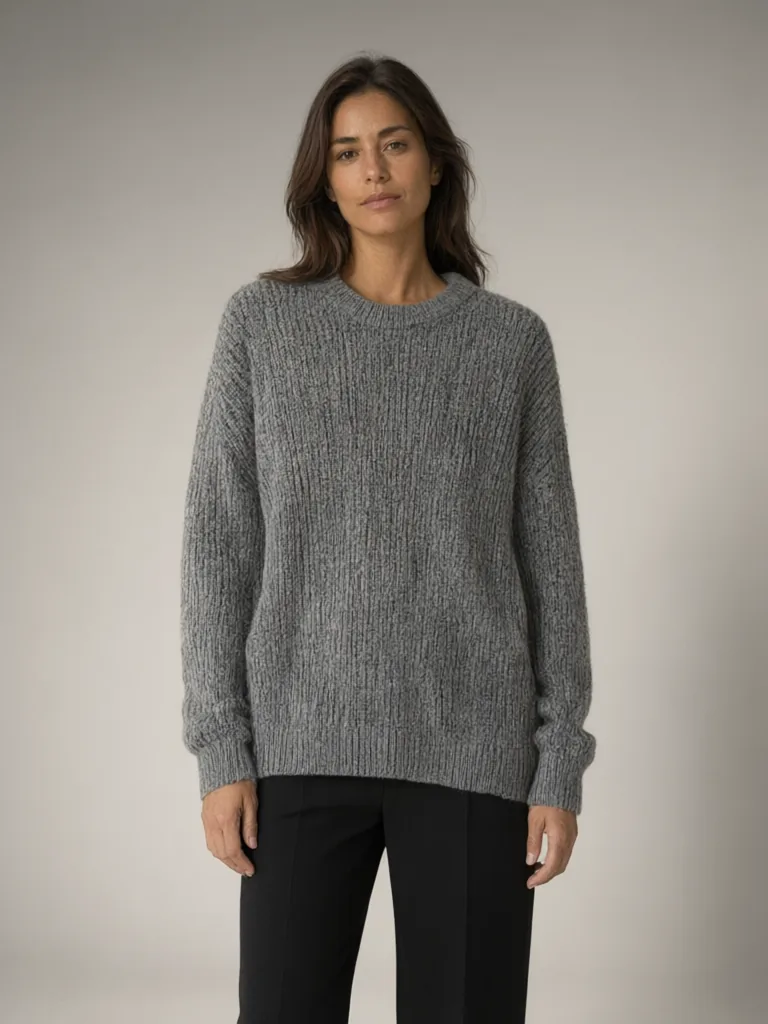
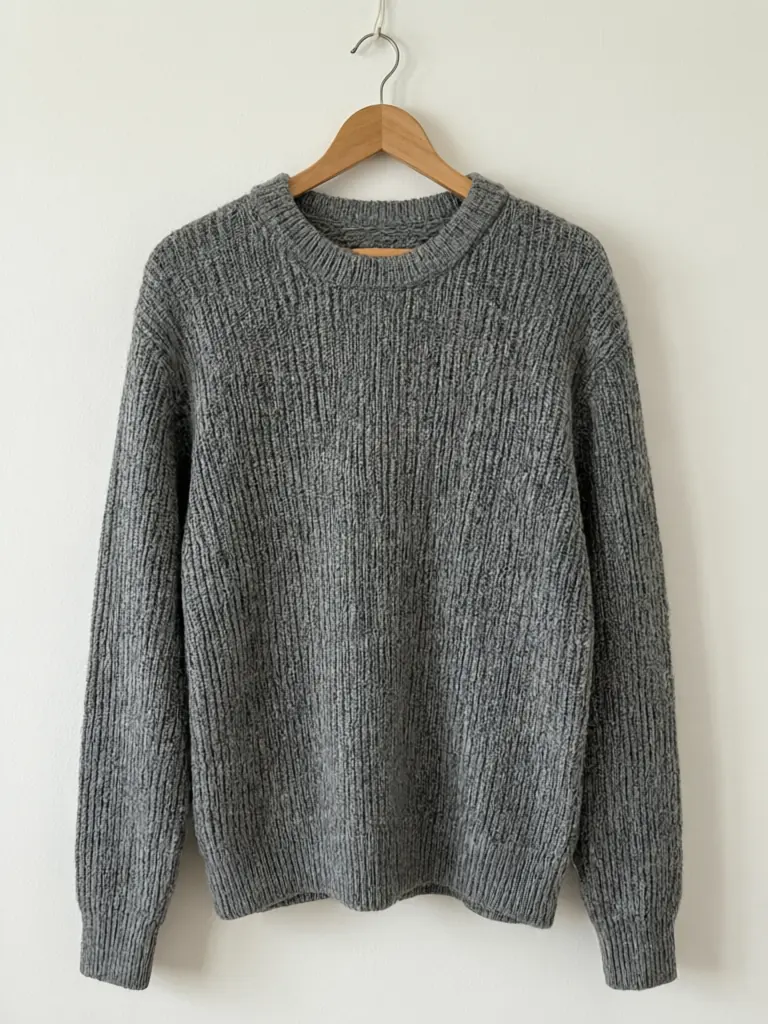
Drag to compare
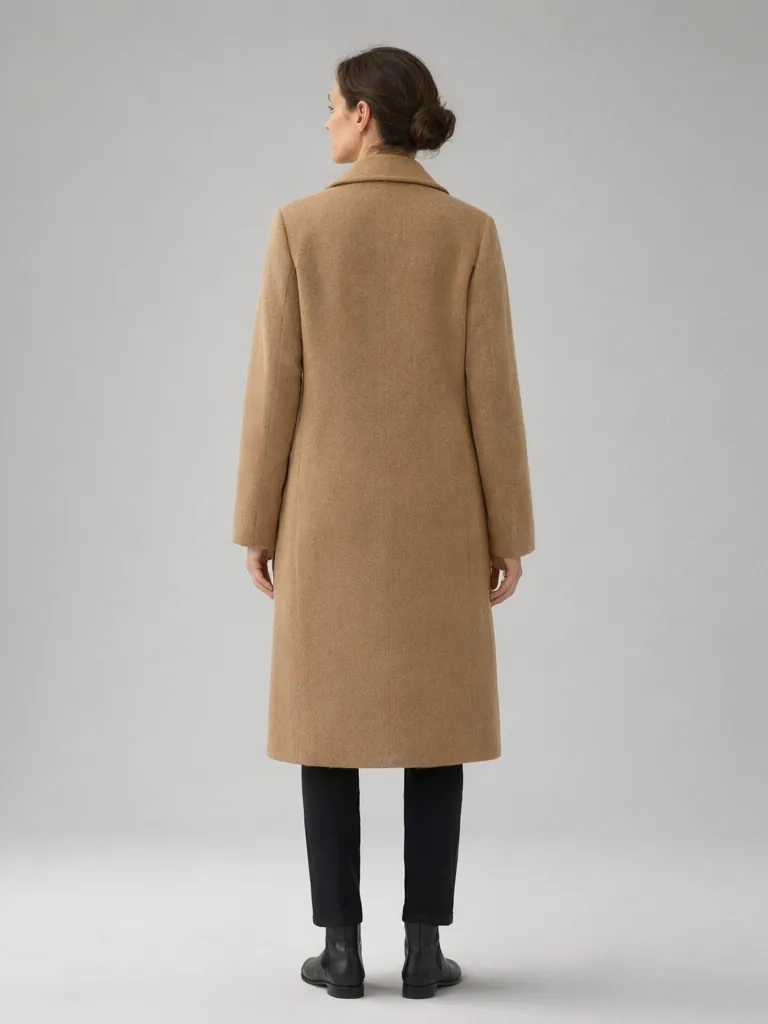
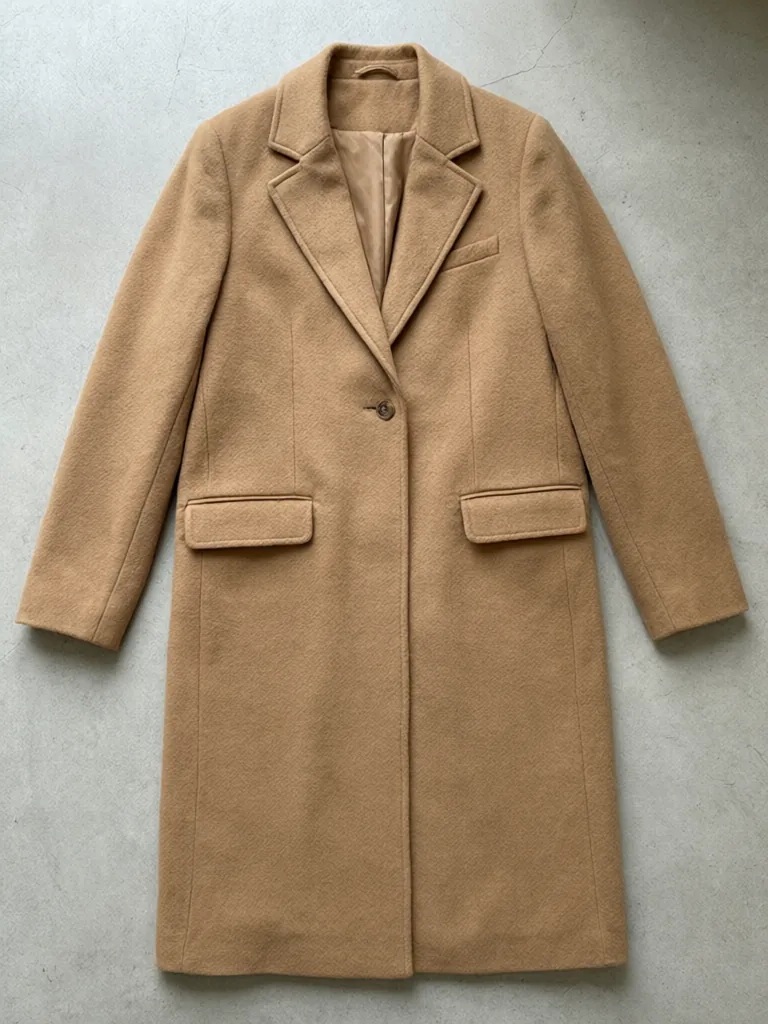
Drag to compare
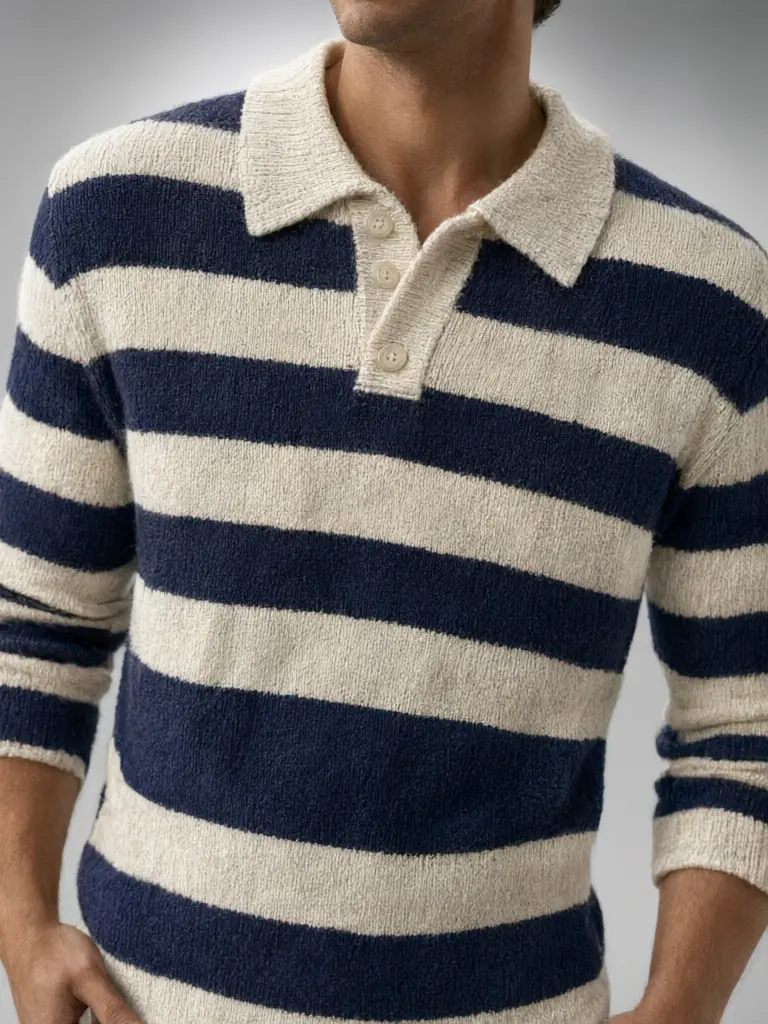
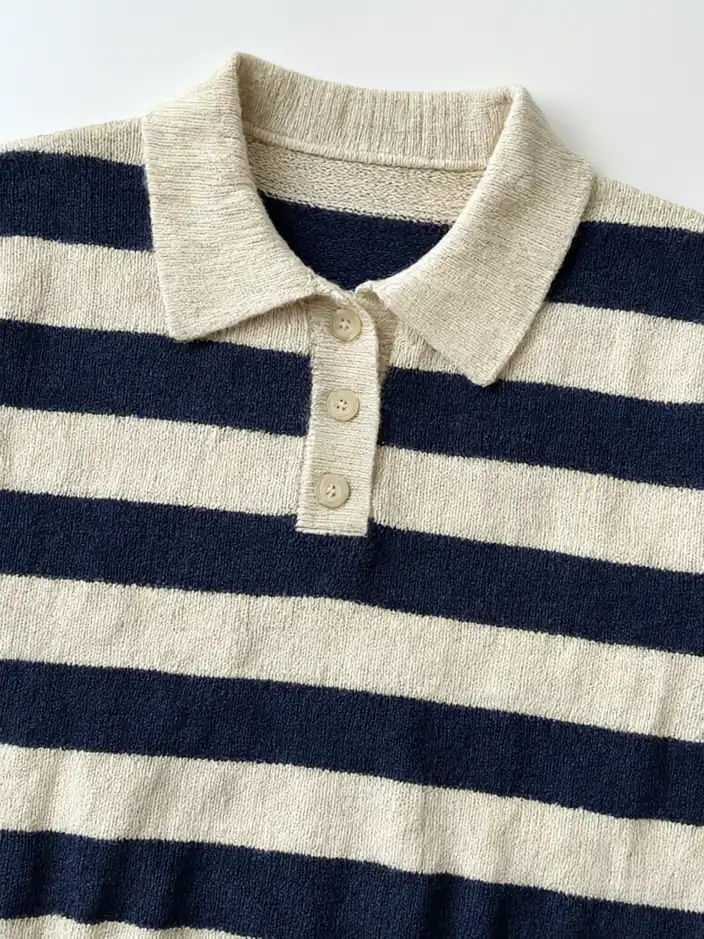
Drag to compare
Real, unretouched output from this tool. Drag any slider to compare.
On-model photography means showing a garment worn by a person instead of lying flat. Shoppers trust it more, because they can see the fall, the length and the fit. A studio shoot with a real model costs time and money for every product. This tool is the middle road. Upload one clean photo of the garment, pick the shot you need, and get it worn by an AI-generated adult model. Make a front view, a back view, a close-up of a detail, and a straight-on fit shot, and put them together as a listing set.
From studio shoot to AI on-model set
A normal on-model shoot has a fixed shot list: a front view, a back view, a side or three-quarter view, one or two close-ups of the collar, cuffs or fabric, and a plain full-length shot for marketplaces. Every item in the shop needs the full list, so a collection of fifty pieces means hundreds of frames.
Here you shoot the garment once and make the list one frame at a time. Each shot type has its own mode, so you do not have to write long prompts. Pick the model once, keep the same choices for the whole collection, and the set looks like it belongs together.
1
Front On-Model Shot
The hero image: the garment worn by a model who faces the camera.
2
Back View
The model seen from behind, with a plain back in the same fabric.
3
Detail Close-Up
A tight shot of the neckline, cuff, hem or fabric.
4
Marketplace Fit Shot
Straight-on, full length, arms slightly away from the body, on white or grey.
How to make an on-model set, step by step
Start with the photo you already have. Flat lay, hanger and mannequin photos all work as long as the whole garment is in the frame.
1
1. Upload the garment photo
Even light, plain background, garment smoothed out and fully visible.
2
2. Start with the front shot
Choose the model and keep the settings. This is the picture your other shots should match.
3
3. Add the back and detail shots
Keep the same body size, skin tone and background so the set looks consistent.
4
4. Finish with the marketplace fit shot
A plain full-length image that meets the usual white-background habit of big marketplaces.
5
5. Compare and fix
Put each image next to the real garment. Run again with a note in Additional Details if something drifts.
Size and fit guide for marketplace listings
An on-model photo can raise hopes that the real garment cannot meet, and that is how returns happen. Use the picture to show the style, and use plain facts to show the size.
State the model details on the listing in the same way a real shoot does: the height and size the model wears, for example "Model is 5 ft 9 in and wears a medium". Because your model is AI-generated, say it is an illustration of the style and give the numbers of the size chart instead of the model.
1
Keep a real size chart
Chest, waist, hip and length in centimetres and inches, taken from the actual garment laid flat.
2
Say how it fits
Write "relaxed", "regular" or "slim" in the description, and the fabric stretch if there is any.
3
Show more than one body
Make the same garment on a petite, a standard and a plus-size model so buyers can find a body close to theirs.
4
Use the fit shot for length
The straight-on full-length frame is the clearest way to show where a hem or a sleeve ends.
5
Check the marketplace rules
Rules for main images and for AI-generated pictures change. Read the current guidelines of every channel before you upload.
6
Say that the image is AI-made
Many shops add a short line such as "Images are AI-generated; the product is as described."
Why the back view needs care
Nobody sees the back of the garment in a front photo, so any tool has to guess. The Back View mode tells the model to keep the back plain: the same fabric and colour, no pockets, prints or labels that are not in your photo.
If your garment has a real back detail such as a zip, a bow or a cut-out, upload a photo of the back and describe it in Additional Details. Treat the result as a layout aid for the listing, and not as a record of the back design.
Tips and honest limits
The tool reads the garment from one photo. A fine pattern, a small logo or a count of buttons can drift, so look at each image at full size before you publish.
Close-up shots are the hardest, because the eye goes straight to the weave and the stitching. If a detail shot does not match your fabric, run it again or leave it out and use a real macro photo of the cloth instead.
Every model is an AI-generated adult, never a real or famous person. Underwear, swimwear, nightwear and children's clothing are not supported.
More tools for clothing sellers
Other ways to build a fashion listing.
👚
Flat Lay to Model AI →
The same idea, built around a garment photographed flat on a table.
🧍
AI Fashion Model Generator →
Hanger, mannequin and accessory photos worn by AI models.
👻
Ghost Mannequin Effect →
The opposite look: a hollow-body product shot with no model.
🧍
AI Plus Size Model Generator →
Show the same garment on a plus-size body.
🖼️
AI Product Photo Background →
Put the garment photo on a clean studio backdrop.
📦
Amazon Listing Image Maker →
Turn one product photo into a set of listing images.
Who uses on-model photography with AI
🏠
Small clothing brands
✓Fill out a product page with a full shot list before the first real shoot.
💡
Marketplace sellers
✓Add a front, a back and a fit shot to a listing that has only one photo.
🏢
Resellers and thrift shops
✓Show a one-off piece worn, without finding a model for every drop.
📸
Print-on-demand sellers
✓Show the same printed tee or hoodie on different bodies.
🧍
On Model Photography with AI: Turn a Garment Photo into On-Model Shots
Upload your imageTap anywhere here — your AI design will appear in this space after you generate.JPG · PNG · WebP
The hero shot, worn and facing the camera
Premium users can generate images without watermark
Higher quality options available for premium users
Be specific for better results0/400
Output quality:
Frequently Asked Questions
It can replace part of it. It is a good fit for filling out a listing with front, back, detail and fit shots. For a campaign or a hero image you may still want a real shoot.
Yes. Use the Back View mode. Your photo does not show the back, so the tool draws a plain back in the same fabric. Upload a back photo and describe a detail if your garment has one.
A common set is a front view, a back view, one or two close-ups and a plain full-length fit shot. Marketplaces often prefer a clean background for the main image.
Use a real size chart taken from the garment, say how it fits, and show the garment on more than one body size. Do not rely on the model to show the size.
The tool is told to keep them. A fine print or a small logo can still drift, so compare with the real garment and run again if needed.
A flat lay, hanger or mannequin photo with the whole garment in view, in even light on a plain background.
No. Every model is an AI-generated adult. Underwear, swimwear, nightwear and children's clothing are not supported.
Your first generation is free when you sign up. Paid plans add credits, remove the watermark and unlock higher resolution.