
Fashion casting tools on AI Two
Use Body Type Modifier, Model Age Changer, and Clothing Changer in Fashion Studio to cast the right look for your product photos.
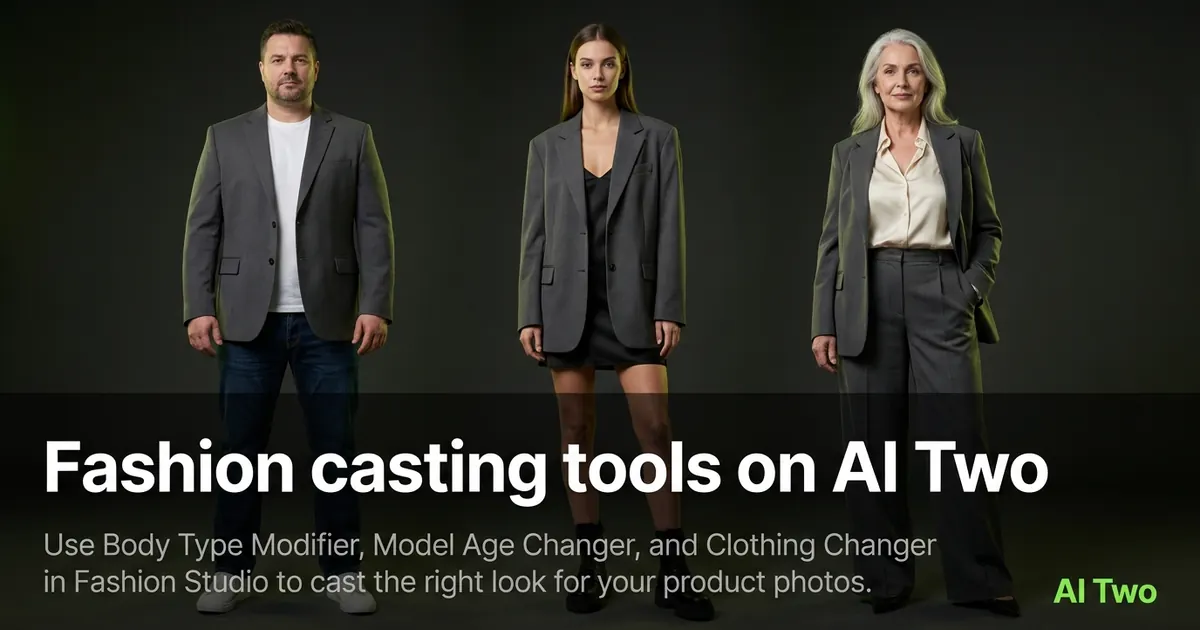
Casting on AI Two means choosing who wears your product and keeping that look consistent across a catalog. This cluster covers three Fashion Studio tools that change body type, age, or garments on an existing photo so you can test looks without booking a new shoot.
Who this casting group is for
Use these tools when you already have an on-model or portrait photo and need a different cast for the same product. Sellers who sell apparel online open this group when a listing needs a younger look, a different body type, or a quick garment swap before they commit to a full catalog run.
When I plan a catalog on AI Two, I pick one base photo first, then run casting tools before I open ecommerce flat-lay or jewelry pages. That keeps identity and garment detail stable across later shots.
Fashion Studio is built for people who sell products that need a human model. These casting pages are helpers for that job, not consumer outfit pickers.
I treat casting as the first decision after I know which SKU ships this week. Changing cast later on a finished lookbook costs more credits than getting the face and fit right on day one.
Tools in this group
Three tools sit in this cluster. Each has its own walkthrough post with upload tips and sibling links.
Body Type Modifier reshapes proportions on a model photo while keeping the garment and face readable. Model Age Changer shifts apparent age for catalog diversity. Clothing Changer swaps garments on a person already in frame when you need a fast variant without a new flat lay.
I run Body Type Modifier first when the fit looks off for my size range, then Age Changer if I need a second demographic, and Clothing Changer last when I only need a different SKU on the same pose.
If you need a brand-new face from the Fashion Studio roster instead of editing an existing photo, open the main fashion models hub from the studio sidebar after you finish this cluster guide.
How I run a casting workflow
Step one: upload one clear photo with the product fully visible and the face lit evenly. Step two: change only one casting control per run so you know what improved. Step three: download the keeper and reuse that file as the input for the next tool if you need stacked edits.
When I tested Body Type Modifier on a jacket shot last week, the collar and buttons stayed sharp while the silhouette shifted. That is the bar I use — product detail must survive the cast change.
Free signup credits were enough for three casting tests before I locked a direction. Paid plans raise monthly credit limits when you batch many SKUs.
I screenshot the setting names that worked and paste them into a notes file next to the SKU code. That beats guessing which age slider matched the last successful run when I return a week later.
If Clothing Changer invents a wrong sleeve length, I go back to a flat product photo and open the ecommerce cluster instead of forcing another cast edit on a bad crop.
What photo works best
Straight-on catalog lighting works better than party snapshots. Avoid heavy filters and extreme angles that bend limbs. If the garment is cropped out of frame, the model has to invent fabric and the result looks soft.
I keep the original file and never overwrite it. Casting is iterative, and you will want the same base photo for Age Changer after Body Type Modifier.
If geometry warps, stop stacking edits on the same file. Go back to the original and change one setting only.
Daylight near a window or a softbox look gives cleaner skin and fabric than mixed yellow bulbs. When the source is noisy, casting tools amplify that noise, so I start from the sharpest export my camera allows.
Where to go next
After casting looks right, open the ecommerce photography cluster for flat lays, ghost mannequin, and lookbook pages. For jewelry on skin, use the jewelry cluster. Return to the Fashion Studio pillar when you need the full toolkit map.
The studios overview explains when Fashion Studio is the right branch versus Home Design or QR.
Post-production tools for hair, makeup, and retouch come after casting when the face needs polish but the garment already looks correct.
FAQs
Related studio guides
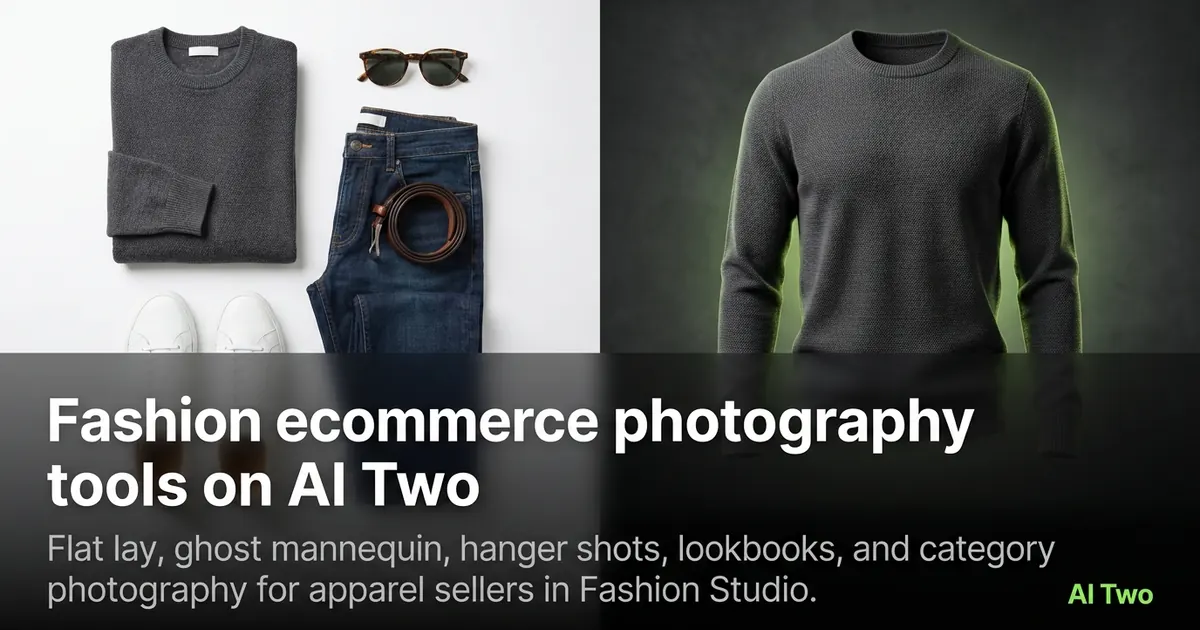
Fashion ecommerce photography tools on AI Two
Flat lay, ghost mannequin, hanger shots, lookbooks, and category photography for apparel sellers in Fashion Studio.
Read guide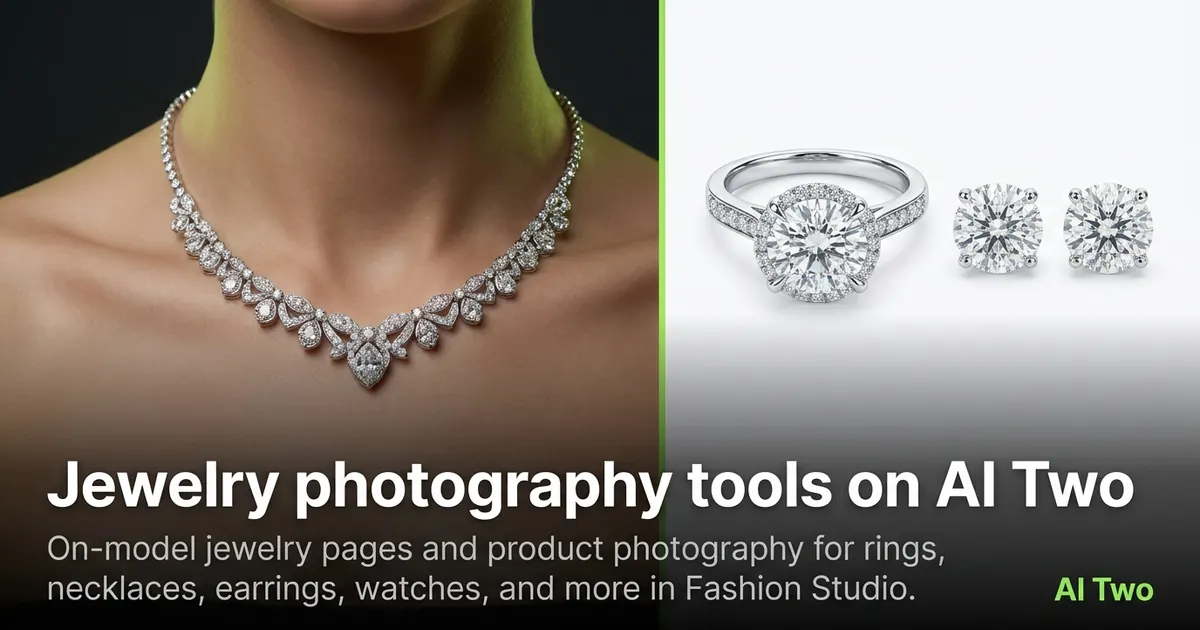
Jewelry photography tools on AI Two
On-model jewelry pages and product photography for rings, necklaces, earrings, watches, and more in Fashion Studio.
Read guideFashion ecommerce photography tools on AI Two
Flat lay, ghost mannequin, hanger shots, lookbooks, and category photography for apparel sellers in Fashion Studio.
Read guide