AI Shoe Models for Footwear Photos
AI Shoe Models for Footwear Photos is a free AI tool. Put your shoes on a real-looking foot instead of floating on white. Upload one three-quarter shot of the shoe and get on-model footwear photos with a proper contact shadow — heels, flats, boots, and sandals.
Free to try · first generation free on signup · no credit card
Start by uploading image
Upload your image
Click to browse or drag & drop
Same face across every shot. All models are synthetic and free for commercial use.
Choose your transformation style
Upload a product photo — get a photo-realistic on-model shot. Pick a roster model below to keep the same face across shots.
Configure your options
Your AI Design Will Appear Here
Fill in the options on the left, then press Generate.
Upload your image
Drag & drop your file here or click to browse
What footwear needs that other garments do not
A shoe occupies a tenth of the frame that a dress does, and it is the only product on this site whose credibility depends on a shadow. These are the settings and shot choices that decide whether your output looks worn or looks pasted on.
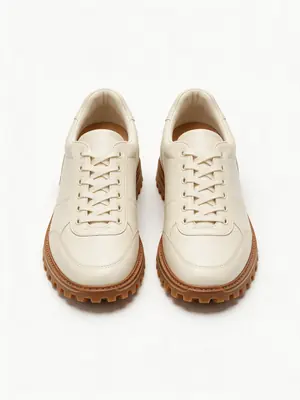
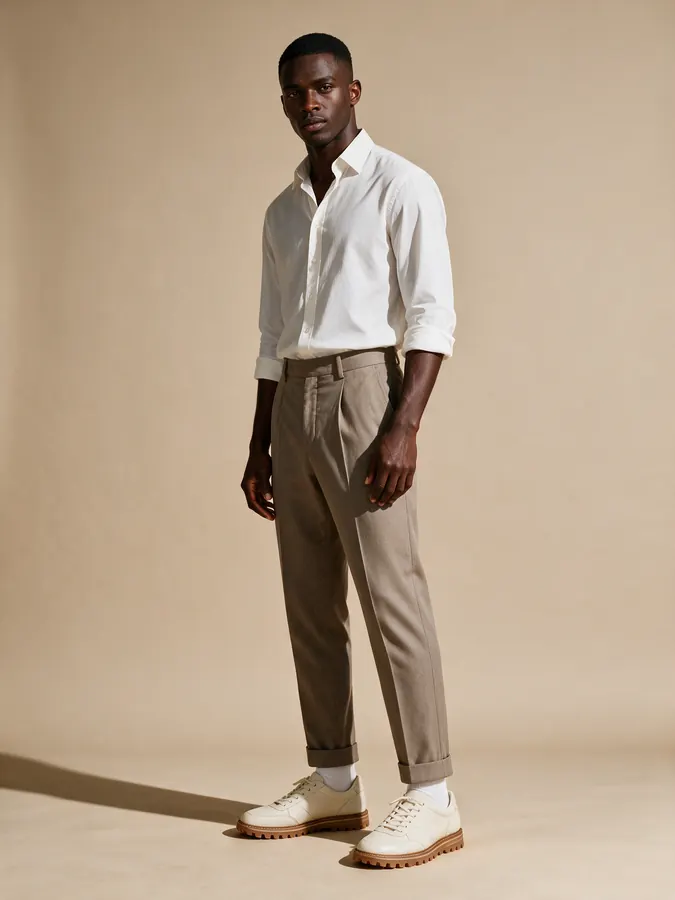
What changed: the shoe kept its toe shape, sole edge and heel height, and gained a foot inside it, an ankle, and a contact shadow where the sole meets the floor. Everything above the knee is generated; the shoe is yours.
Three decisions that make or break a footwear generation
Three-quarter, at shoe height
Turn the shoe so the toe box and the outside wall are both visible, and drop the camera to roughly the height of the shoe. That angle is the only one that shows the sole edge and the heel in the same frame — the two features a top-down flat lay throws away. This matters more here than on a garment page: the default Product to Model mode is briefed to keep your product’s exact design, colours, materials and pattern rather than reinterpret them, so it can only preserve what your photograph actually recorded.
Crop by heel height, not by habit
Flats, loafers, sandals and sneakers hold up in a full-body frame, so the default mode is right for them. Anything from about 80mm upward does not: a 100mm heel renders around 40 pixels tall and the ankle strap, buckle and heel profile you are selling stop being visible. That is what the Product Detail Shot mode is for — its Shot Type control (Close-Up, Detail/Macro) frames the product instead of the model. The trade-off is real: that mode describes the product in words rather than locking onto your upload, so reach for it when the crop matters more than exact reproduction.
Check the shadow first, colour second
Look under the sole before you look anywhere else: if there is no contact shadow the shoe will read as floating, and no amount of colour accuracy rescues it. Which is why, of the 36 entries in the photography-style picker, footwear wants E-commerce for a primary image — it asks for even lighting and true-to-life colour — and should treat Overcast soft light carefully, since what it asks the model for is diffused light and no shadows. Then check the sole edge and the heel, where a colour shift from a blown highlight in your upload shows up first.
Which poses and backgrounds work for footwear
Pose, background and photography style are picture grids here rather than dropdowns, and footwear uses all three differently from apparel. Two of them are long — 64 background plates grouped from Studio through Urban, Nature and Sport, and 36 photography styles — while the pose grid on the default mode is deliberately short at five presets, with Custom and Match photo tabs beside it for everything else. The rule that decides which of the five you want is simple: a shoe needs a foot on the ground.
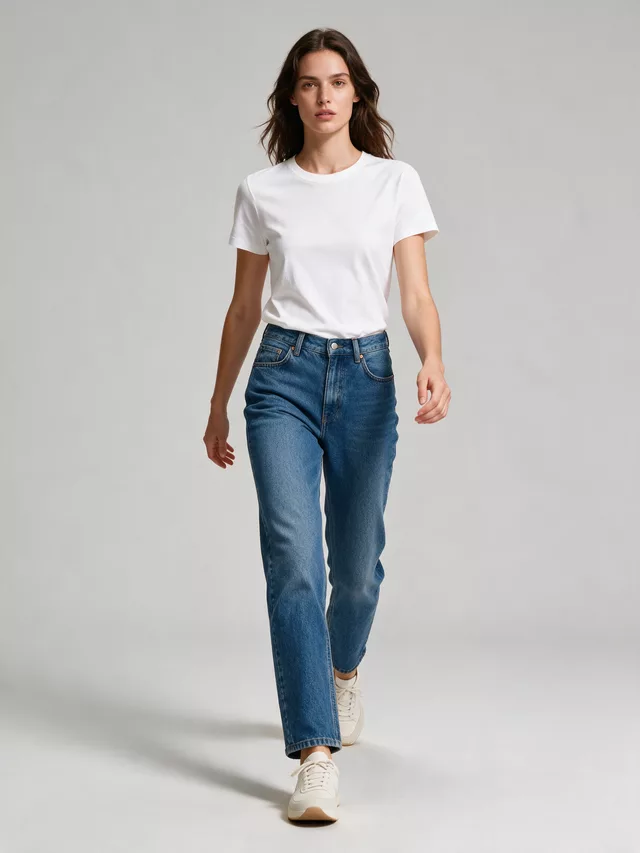
One sole stays planted, so the contact shadow renders. It also flexes the upper, which is how leather and knit actually look when worn.
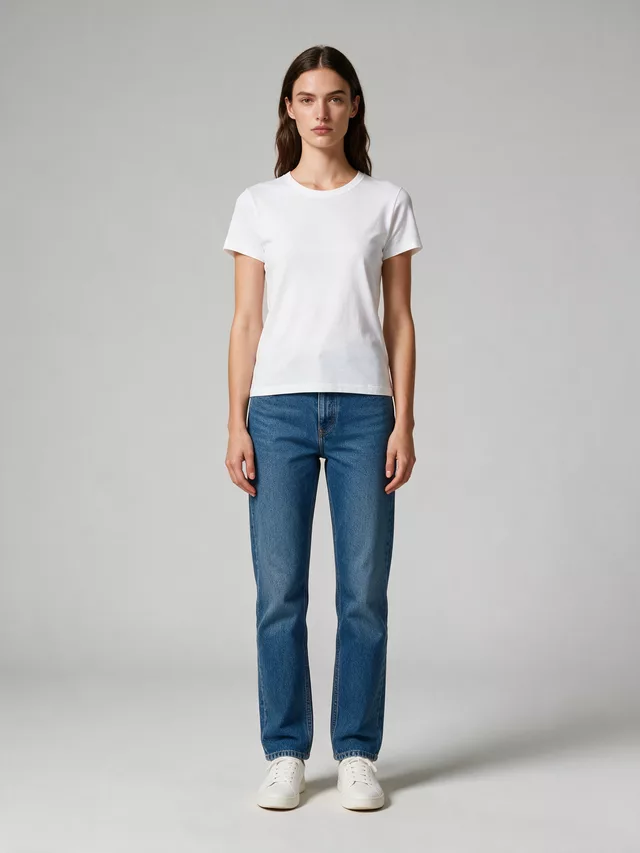
Both soles flat, both shoes symmetrical and equally lit. The dullest option and the most reliable one for a primary listing image.
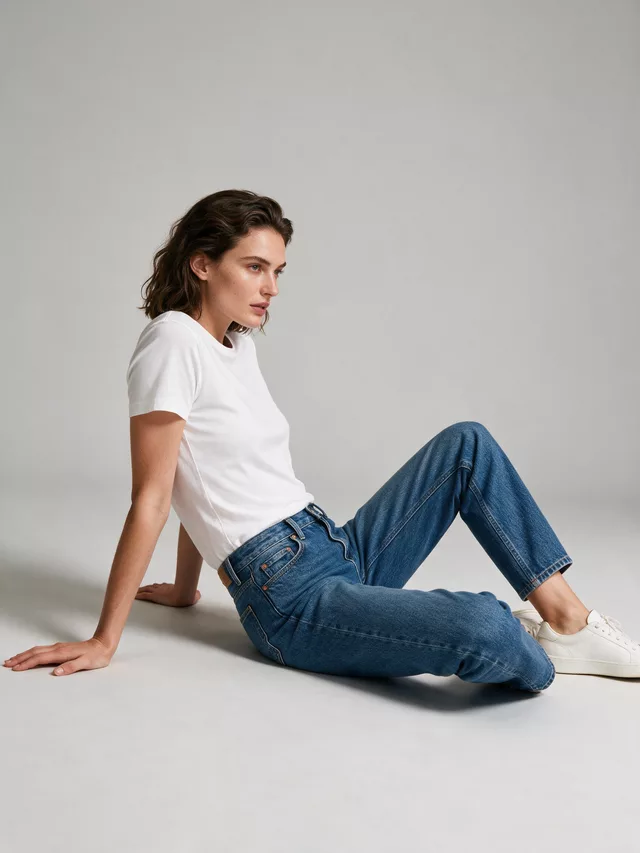
No weight travels through the sole, and the upper foot usually angles away from the lens. Fine for showing the shoe inside an outfit, weak for proving fit.
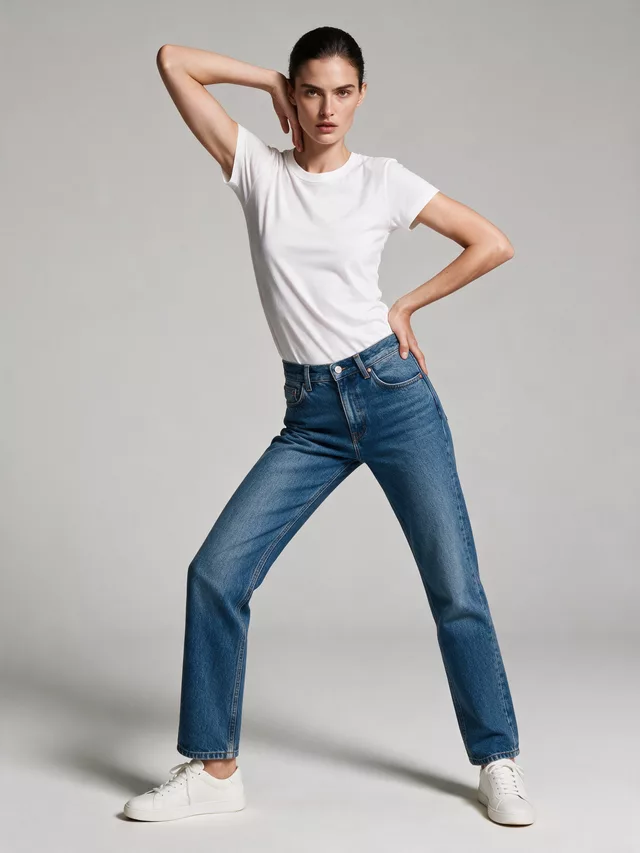
Angular high-fashion posing is composed around the whole body; where the feet land is whatever the shape wanted. Use it once the shoe is already established.
| White studio | Default | The marketplace-safe choice and what a primary listing image is expected to look like. Every sole colour separates cleanly against it. |
|---|---|---|
| Concrete wall | Eats black | Its mid-grey swallows black soles and black uppers — the outsole edge and heel stack disappear into the wall. Fine for tan, white or coloured shoes, wrong for black ones. |
| Golden hour | Second image | Warm low light flatters suede and tan leather but shifts every neutral warm. Never use it for the image a shopper judges colour from. |
| Marble | Heels only | Works with a knee-down heel crop where the reflective floor doubles the shoe. In a full-body frame it competes with the shoe for attention and wins. |
Questions footwear sellers ask before spending a credit
My heels come out tiny in the frame. What am I doing wrong?
Nothing on the upload side — it is the crop. A full-body shot puts roughly seven heads above the shoe, so a 100mm stiletto lands about 40 pixels tall and the buckle, the ankle strap and the heel profile all disappear. For anything above about 80mm, switch the mode from Product to Model to Product Detail Shot: it adds a Shot Type control, and Close-Up or Detail/Macro frames the shoe instead of the model. Set Detail Focus to How Product is Worn and Background Blur to Sharp so the outsole edge survives. Flats, loafers and sneakers do not need it — their sell-point is the whole look, not the heel line.
Which pose keeps the shoe looking planted on the ground?
Walking and Standing, the first two presets in the pose grid. Both keep at least one sole flat on the floor, so the contact shadow under the shoe renders and the foot reads as weight-bearing. Avoid the airborne presets the other modes carry — Twirling and Jumping both live in the Main mode’s pose list — because with both feet off the ground the shadow detaches, and a shoe with no contact shadow reads as pasted-on to a shopper even if they cannot say why.
Can I reproduce a pose I already have a photo of?
Yes, and it is the way around the short preset list. The pose control has three tabs: Presets, Custom and Match photo. Match photo takes any photo of the stance you want — the panel says a phone snap works — and uses it as a pose reference, which is the practical fix when you want the exact weight distribution from a shot you already own. Custom lets you drag a skeleton’s joints instead, useful for the one thing footwear needs and no preset names: one foot forward with the sole angled just enough to be visible.
What background should I pick for black shoes?
Not Concrete wall, and not Black studio. Both sit close enough to a black sole and a black upper that the outsole edge, the welt and the heel stack merge into the backdrop and the silhouette goes soft. White studio is the safe default and the one marketplaces expect on a primary listing image. The background picker holds 64 plates grouped by setting, so Concrete wall, Graffiti alley or Golden hour are there for the second and third images, once the shape is already established.
I wrote a very specific brief and the result ignored half of it.
By default we pass your prompt through a rewrite before the image model sees it, which helps a vague one-liner and hurts a precise one. Open Advanced Options and untick "Let AI improve my prompt" — the checkbox’s own description says it plainly: off means your prompt is sent exactly as you wrote it. That is the setting for a brief like "100mm block heel, ankle strap buckled, sole edge visible". The safety screen still runs either way; unticking only skips the rewording.
Can I get more than one shot of the same shoe in one go?
Two modes do it. Multi-Pose Pack returns one image holding three panels of the same model — front, walking, and a waist-up close-up — so you get two usable footwear frames and a third that shows the outfit rather than the shoe. Pose Set (Consistent Model) is the better fit: pick several poses and each becomes its own full-size generation — billed as a separate generation each, not one — with the model and garment held consistent between them. It is also the one mode whose pose grid is not narrowed to five — it opens the full 40-preset library, which is where Shoe sole display, Kneeling and Crouching are.
How should I photograph the shoe before uploading it?
Shoot the shoe at a three-quarter angle — turned so you see the toe box and the outside wall at once — with the camera near shoe height. That single angle carries the sole edge, the heel and the toe shape into the generation. A flat top-down photo hides the sole and heel entirely, and the model shot has to invent them.
Do I have to upload one shoe or the pair?
One shoe, photographed cleanly, beats a pair photographed loosely. The generator only needs one accurate read of the toe shape, sole edge, heel height and material. A pair shot at an angle where one shoe occludes the other gives it two partial reads instead of one good one.
Will the shoe colour match what I actually ship?
It tracks your upload, so it is only as accurate as your photo. Patent and metallic uppers are the risky ones — a hard flash blows the highlight to white and the output inherits that blown patch. Shoot with soft, diffuse light and check the sole edge and the heel in the result, since those two areas are where a colour shift shows first.
Related tools, and why you would switch
Built around the knee-down crop this page recommends for anything over 80mm — go there if heel height is the thing you are selling.
Sneakers are the one footwear category that reads well full-body, so the sneaker page leans into street settings instead of the studio crop.
When the shoe is styling rather than the product — you are selling the dress and just need feet that are not bare.
Lock one model from the roster and run every colourway of the same shoe on her, so a size run looks like one shoot instead of six.
Same face across every shot. All models are synthetic and free for commercial use.
Upload a product photo — get a photo-realistic on-model shot. Pick a roster model below to keep the same face across shots.
Premium users can generate images without watermark
Higher quality options available for premium users