v0.9 is our professional version with advanced controls for lighting, materials, mood, and detailed customization. v1.0 is our streamlined version focused on simplicity and ease of use.
Room Interior AI
Room Interior AI is a free AI tool that lets you transform your interior spaces with AI interior design. Create stunning room designs with interior AI, room AI, and AI interior design tools for modern home decoration.
Free to try · first generation free on signup · no credit card
1
Step 1
Upload Image
Start by uploading image
Upload your image
Click to browse or drag & drop
2
Step 2
Select Mode
Choose your transformation style
Apply specific interior style
3
Step 3
Options
Configure your options
Output quality:
Mode
Style Transformation v2
Your AI Design Will Appear Here
Fill in the options on the left, then press Generate.
Upload your image
Drag & drop your file here or click to browse
JPG, PNG, WebP
Max 10MB
AI Ready
Popular in Home Design Studio
Paint My House AIExterior House Paint AIAI Kitchen DesignAI Bathroom DesignAI Bedroom DesignFree AI Architecture GeneratorAI Landscaping DesignHome Color Combination AIAI Curb Appeal RaterAI Interior Design RaterAI House Style IdentifierAI Renovation Cost EstimatorAI Day to Dusk Photo EditingAI Declutter Room PhotosAI Home Addition VisualizerAI Home Design Tools Compared
Quick facts about Room Interior AI
- Tool nameRoom Interior AI
- CategoryHome Design
- PriceFree to try
- InputPhoto upload + text prompt
- OutputAI-generated image
The room in the photo stays yours — same walls, same windows, same camera position. Everything else is up for negotiation.
Free to try · results in about 30 seconds · no credit card
How AI interior design from a photo actually works
The redesign starts from your photograph rather than from a description. The model reads the room's geometry — where the walls meet, how deep the space runs, where the light comes from, where the windows and doors sit — and re-renders the surfaces and the furniture inside that same frame. The camera never moves, which is exactly why the result still reads as your room rather than a nice room.
That matters more than it sounds. A generated image of a beautiful living room answers no question you have. A render of your living room, with your window on the left and your awkward radiator under it, answers the only question you actually asked: would this work here.
The trade-off is a real limit worth understanding up front. Redesign is generous with materials, colour, furniture, textiles and mood, and deliberately conservative with structure. It will reimagine a kitchen in walnut and brass; it will not move a load-bearing wall or invent a window that is not there. If the change you want is to the layout rather than the look, that is the floor plan tool's job, not this one's.
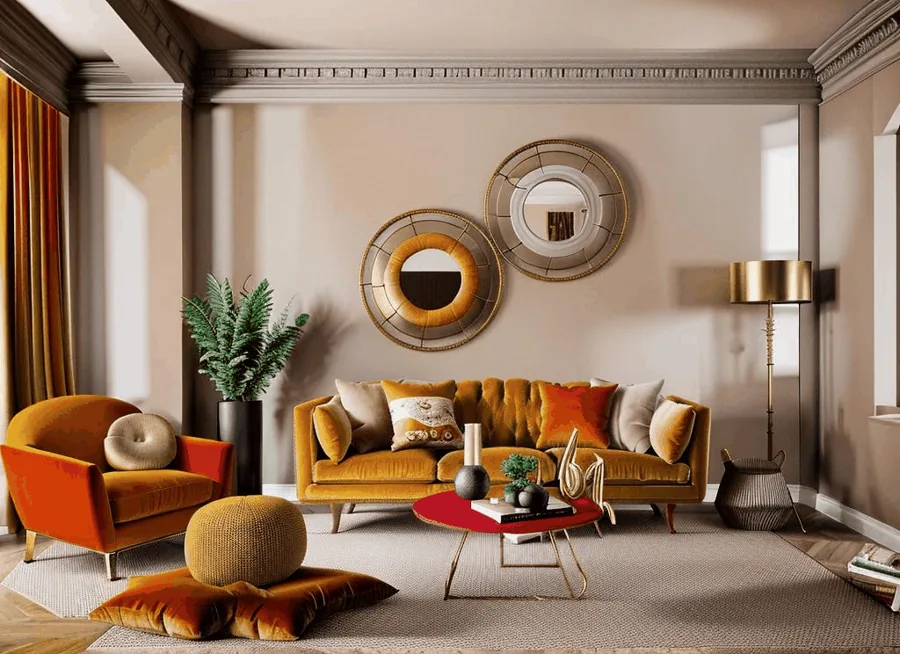

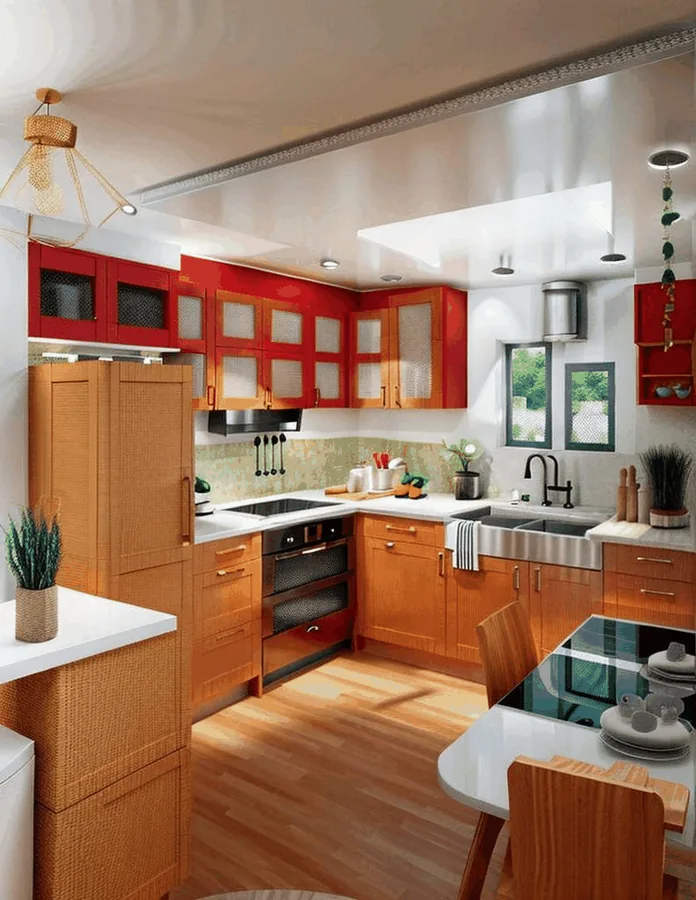
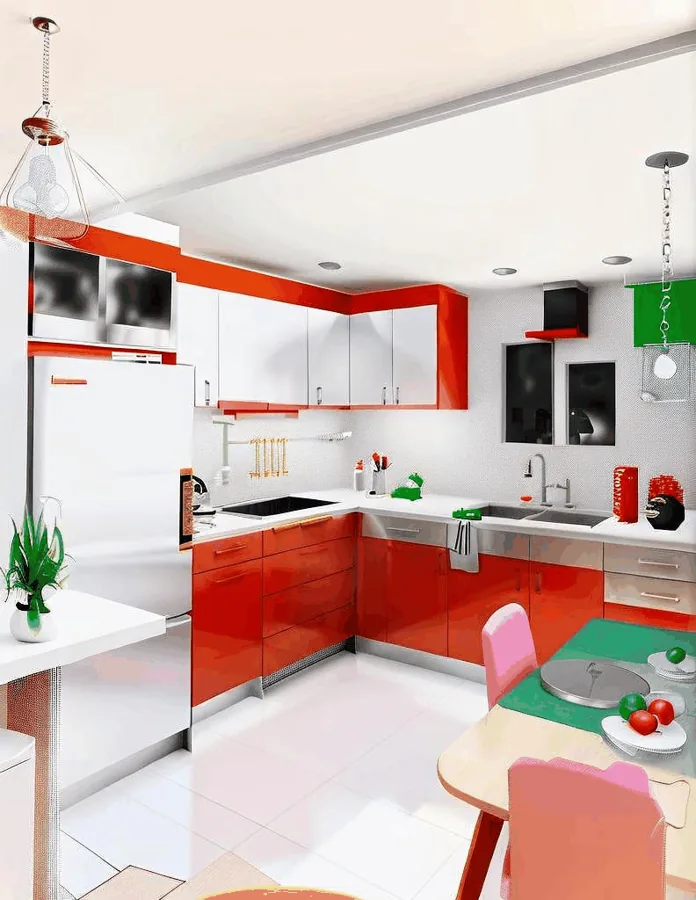
How to photograph a room so the redesign is any good
Output quality in this category depends far more on the input photo than on any feature list, and interiors are the least forgiving case. A model that renders a magazine shot beautifully can fall apart on a real phone photo taken at head height in a dim room — and almost every real photo is that photo.
Four things do most of the work. Shoot from a corner rather than square-on, so the model can see depth instead of a flat wall. Get the ceiling line and the floor both in frame, because those two lines are how it understands the room's height and scale. Turn every light on and open the curtains — noise in a dark photo is read as texture, and the render inherits it. And hold the phone at chest height rather than eye height, which is the single change that most makes an amateur interior shot look composed.
What to avoid: extreme wide-angle or fisheye modes that bend the walls, heavy portrait-mode blur, shooting into a bright window so the room behind goes black, and cropping so tightly that no corner of the room is visible. If a person cannot tell the shape of the room from the photo, neither can the model.
A tidy room is not a requirement — clutter can be removed first with the declutter tool, and a room furnished in the wrong taste can be emptied entirely with Furniture Removal before restyling. Doing that in two steps almost always beats asking one render to do both.
Restyle the whole room, or change exactly one surface
A full redesign is the right tool when the room is fundamentally wrong and you want to see a different idea of it. It is the wrong tool when the room is nearly right and you have one question — because a full restyle changes everything at once, and you lose the ability to tell what caused the improvement.
For those cases the single-surface tools are more useful and more honest. The Floor Changer swaps flooring — oak, tile, carpet, polished concrete — and leaves the cabinets, worktops, lighting and camera untouched, so you are comparing floors rather than comparing two different rooms. The Wall Changer does the same for wall finishes and paint. Ceiling Design handles coffered, beamed and flat-plaster treatments. Furniture Colour recolours a sofa or a set of cabinets in place.
This is the workflow most people converge on: one full restyle to find the direction, then two or three surgical edits to make the decision. It is also the workflow that produces images you can actually act on, because a single-variable comparison is something you can take to a supplier or a partner and argue about productively.
If your room has a name rather than a description, the room-specific tools are tuned harder for it — kitchen, bedroom, bathroom, living room, dining room, home office, and a dozen more. They are the same idea with a narrower brief, which usually means fewer odd results.
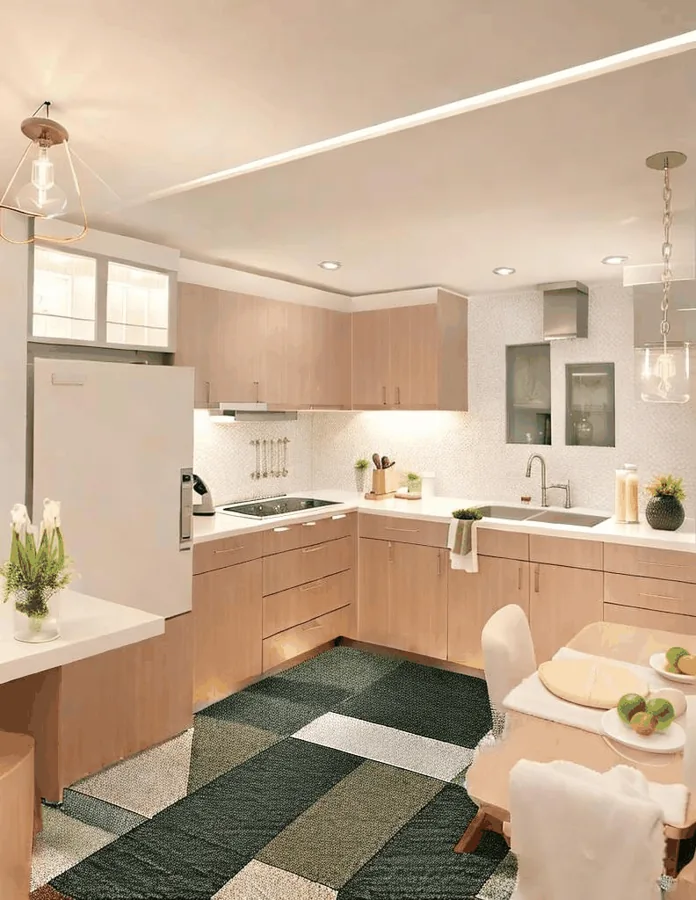
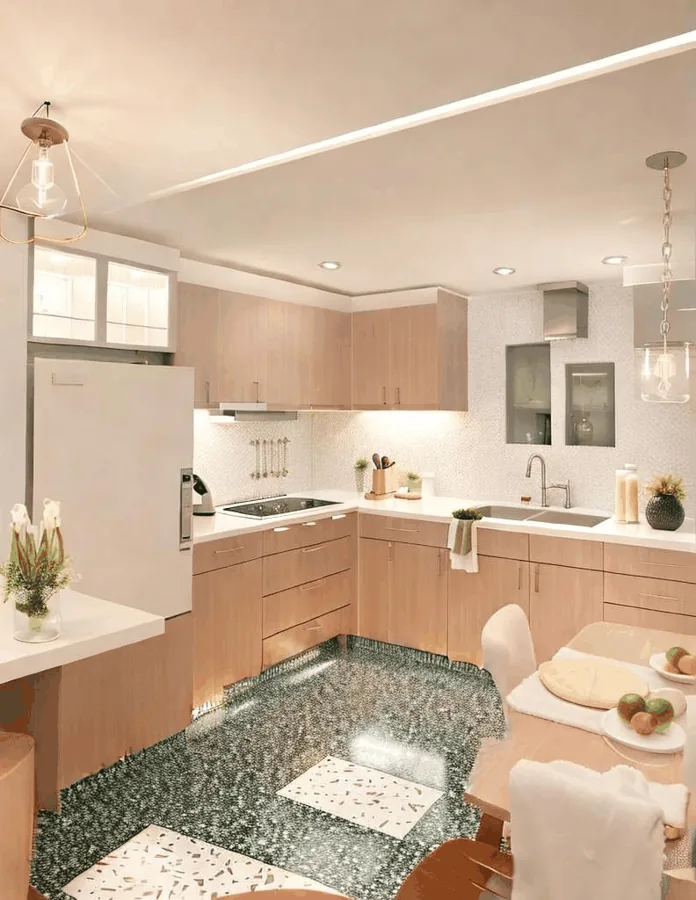
What to do with the render
For a renovation, the render is a communication device. Contractors, kitchen fitters and joiners work faster from an image than from adjectives, and the most expensive part of a small project is usually the misunderstanding that gets discovered halfway through. A photo-realistic render of your actual room removes most of that ambiguity in one message.
For a rental or a house you do not own yet, it answers the question viewings cannot: what this space becomes with different furniture and different light. That is a genuinely different question from what it looks like now, and it is the one that decides whether a compromise is worth making.
For a listing, run the analysis tools afterwards. The Interior Design Rater scores the room and lists what to fix in priority order, and it frequently disagrees with instinct — the fix that moves a room is often the lighting or the clutter rather than the furniture everybody was arguing about.
And one honesty note that applies whenever the image leaves your own hands: a redesign shows a possibility, not the property as it stands. If the image is going into a listing, it must be disclosed as digitally enhanced, and it should never be used to hide damage or make a room look larger than it is.
🎨
Room Interior AI
Upload your imageTap anywhere here — your AI design will appear in this space after you generate.JPG · PNG · WebP
Apply specific interior style
Premium users can generate images without watermark
Higher quality options available for premium users
Output quality:
Frequently Asked Questions
Choose v0.9 if you want maximum control and professional-grade results. Choose v1.0 for quick, simple transformations with minimal setup.
We support all common interior spaces including living rooms, bedrooms, kitchens, bathrooms, and home offices.
Our AI generates design concepts. For specific products, you can use the generated design as inspiration for shopping.