
How to use Object Remover on AI Two
Upload a room or exterior photo and remove unwanted objects with Object Remover in Home Design Studio.

Object Remover on AI Two is the Home Design Studio edit page I open when one stray item ruins an otherwise strong listing photo. Agents, stagers, and sellers use it to erase lamps, cables, signs, trash bins, and small distractions from real interiors and exteriors while walls, floors, and windows stay in place. When I tested a living room with a bright extension cord across the rug, the cleaned still read well at MLS thumbnail size, which is the check I use before I send a seller preview. I treat each download as a photo fix and visual draft for listing options, not a claim that the object was physically removed before tour day or that every pixel will stay clean under forensic zoom. Credits meter each generation. Free signup credits covered early removal tests for me on one occupied listing. Paid plans raise monthly limits when I batch many rooms during prep week. Most runs finish in about 30 seconds after Generate.
What Object Remover does
You upload a room or exterior photo, mark or describe the object you want gone, and download a still where that item disappears while surrounding geometry stays stable.
When I tested a bedroom with a floor lamp blocking the window wall, the removal kept baseboard lines straight and left enough floor visible for a staging conversation without inventing a new layout.
Home Design Studio lists this page beside furniture color, wall, floor, furniture removal, furniture replacement, virtual staging, declutter, and day to dusk tools in the edit cluster. Credits apply per generation.
Built for listing photo fixes and client option boards. It does not replace physical cleanup when the seller still lives in the home and buyers will see the real object on tour day.
I open Object Remover when one or two small items block the frame. Large sofas and beds belong on Furniture Removal. General surface mess across the whole room belongs on AI Declutter.
Free signup credits covered several object tests for me on one listing before I locked a prep workflow on a paid plan.
In my experience, daylight photos with level horizons remove objects more believably than flash shots with harsh shadow edges on fabric.
I save the original file separately so I can run Wall Changer or Virtual Staging after the distraction is gone.
Each removal preview uses credits, so I lock one hero angle on the living room before I batch secondary bedrooms.
For seller emails I attach both files and note that physical pickup may still be needed before show day even when the photo looks clean.
When a buyer asks whether a room feels larger, I generate a removal still from the same source photo so lighting matches the furnished version in a side by side note.
How to run it step by step
Step one: sign in or create a free account. Step two: upload a straight daylight interior or exterior that shows the object clearly. Step three: describe or select what to remove, leave other fields on default for run one. Step four: generate and wait about 30 seconds. Step five: download and compare at listing thumbnail size.
My first run with defaults was already useful for a cleaner hero frame. The second run only happened when one shadow patch looked soft after I zoomed on the floor area.
I never overwrite the original phone photo. Listing option stacks grow fast during prep week.
If walls bend or windows shift, reshoot straighter instead of stacking edits on a fisheye file.
I write which rooms passed object removal in a note beside the address so the stager knows what still needs a physical pickup.
Credits apply per generation, so I lock one approved angle on the hero room before I batch dining and bedroom frames.
If the output leaves ghost edges, I return to the original and change only the removal target instead of forcing another full run on a soft file.
When I tested a cord removal on hardwood, I checked plank continuity at full zoom before I approved the pack for wall color tests later.
I export the cleared still at full zoom checked resolution before I open Furniture Color on the same room.
My second run only changes the removal scope after framing passes. Changing crop and removal target together hides which control helped.
I keep a screenshot of the form labels that worked and paste them into the listing folder so next week matches the approved clean look without guessing.
Which photo works best
Bright, straight interiors and exteriors with level horizons beat wide angle phone shots that bend door frames and stretch object edges.
Show the full object you plan to remove when possible. Tight crops hide chair arms and bin lids that still appear in wide listing galleries.
Soft files under about 800 pixels look muddy after editing. Start sharp.
The studio before and after card for this tool uses a real room photo with a clear distraction. Match that kind of framing.
Turn on overhead lights and open blinds when you can. Mixed yellow bulbs make white walls hard to judge after a small object disappears.
Stand in a corner and shoot diagonally when the room is small. That often captures the whole object and enough floor in one frame.
Plain walls and visible baseboards help the model fill the gap naturally after removal. Busy patterned rugs need extra zoom checks.
Remove loose clutter around the target when you can. Object Remover fixes one item at a time, not every mail stack unless you declutter first.
Shoot at higher resolution when you plan heavy MLS zoom crops. Soft phone exports fall apart on floor texture after a removal pass.
For exterior shots, include enough facade context that the removed bin or sign does not leave an obvious empty rectangle at the curb.
Mistakes I avoid
Treating object removal as proof the home is physically cleared on tour day. Buyers still see real items until the seller removes them.
Changing removal target, wall paint, and floor finish together on run one. Change one variable per generation.
Expecting Object Remover to erase an entire sofa. Large furniture belongs on Furniture Removal.
Uploading a photo where the target is half hidden behind boxes. Extreme occlusion may need declutter first.
Sending only the AI still to the seller without the original. They need both to understand what still requires physical cleanup.
Batching every room before the hero shot passes thumbnail review at small size.
Assuming one credit free test means every variant is free. Each generation uses credits on AI Two.
When to use another edit tool
Need a whole room softened while furniture stays? AI Declutter. Need a sofa or bed gone? Furniture Removal. Need a new piece in an empty spot? Furniture Replacement or Virtual Staging. Need wall or floor finish only? Wall Changer or Floor Changer. Need to recolor a piece that stays? Furniture Color. Need evening curb light? Day to Dusk.
The edit cluster guide maps sibling pages. The Home Design Studio pillar covers exterior and room redesign when the listing edit pass is done.
Landscaping and facade paint sit in other Home Design groups when the yard or front elevation still needs structural color work beyond a stray object fix.
Room redesign tools invent new moods. Object Remover fixes the photo you already have.
After the download
I upload the cleared still to the listing draft only after I compare it to the original at thumbnail size on my laptop.
For seller emails I attach both files and list what still needs physical pickup before show day.
When a room fails review, I reshoot with wider framing instead of stacking three removal runs on a tight crop.
I keep a checklist of rooms that passed so the photographer knows which angles are already approved for staging next.
If the MLS rejects an edited frame, I return to the source photo and try declutter on general mess first before another object pass.
I store removal notes beside the PNG so future teammates know which items the buyer preview assumed were gone.
FAQs
Related studio guides
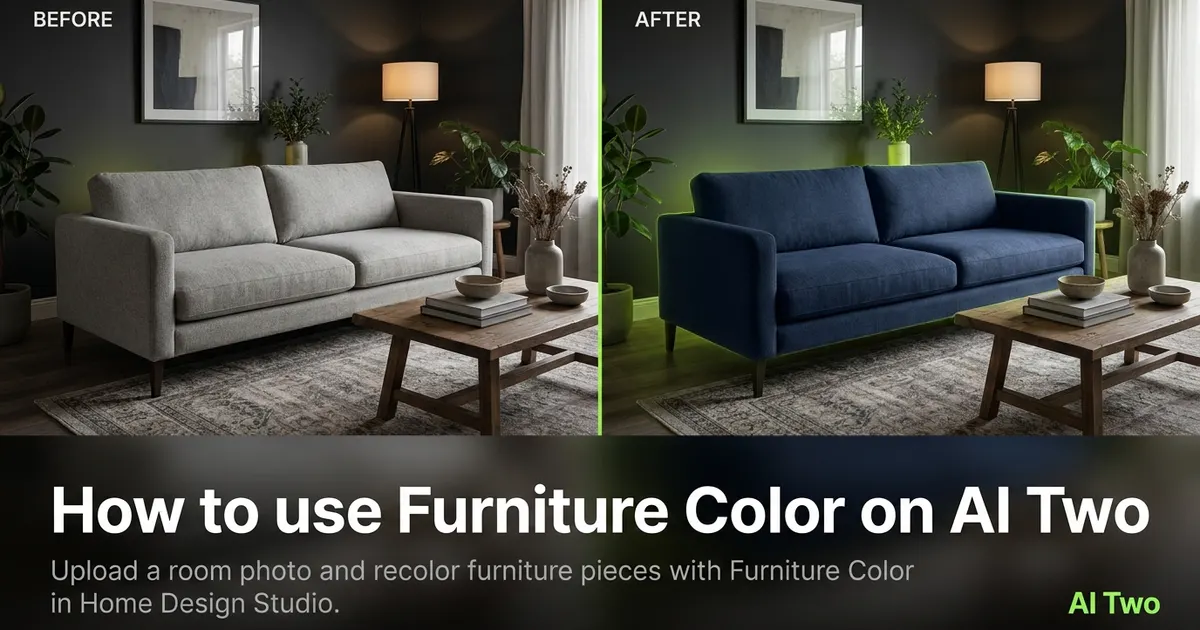
How to use Furniture Color on AI Two
Upload a room photo and recolor furniture pieces with Furniture Color in Home Design Studio.
Read guide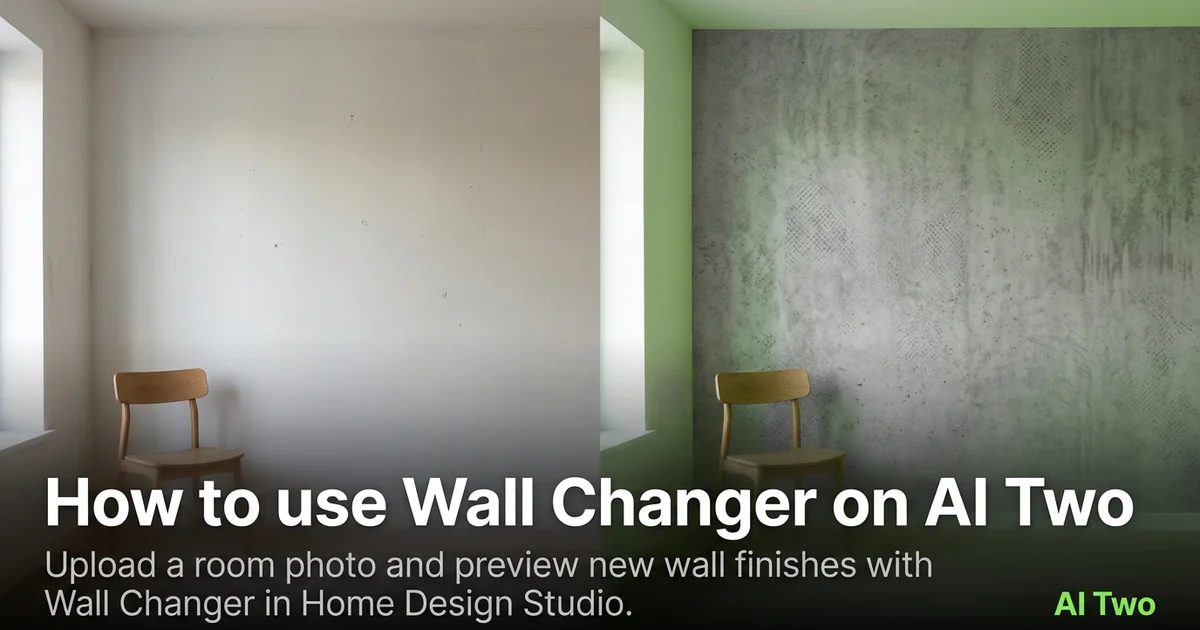
How to use Wall Changer on AI Two
Upload a room photo and preview new wall finishes with Wall Changer in Home Design Studio.
Read guide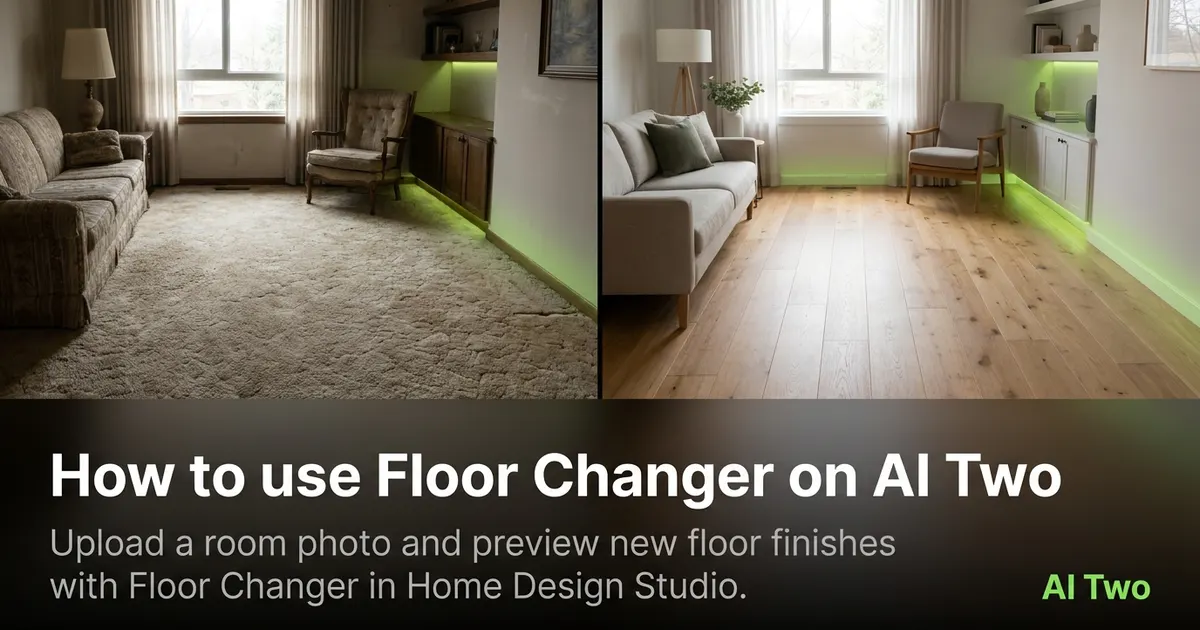
How to use Floor Changer on AI Two
Upload a room photo and preview new floor finishes with Floor Changer in Home Design Studio.
Read guide