
How to use Floor Changer on AI Two
Upload a room photo and preview new floor finishes with Floor Changer in Home Design Studio.
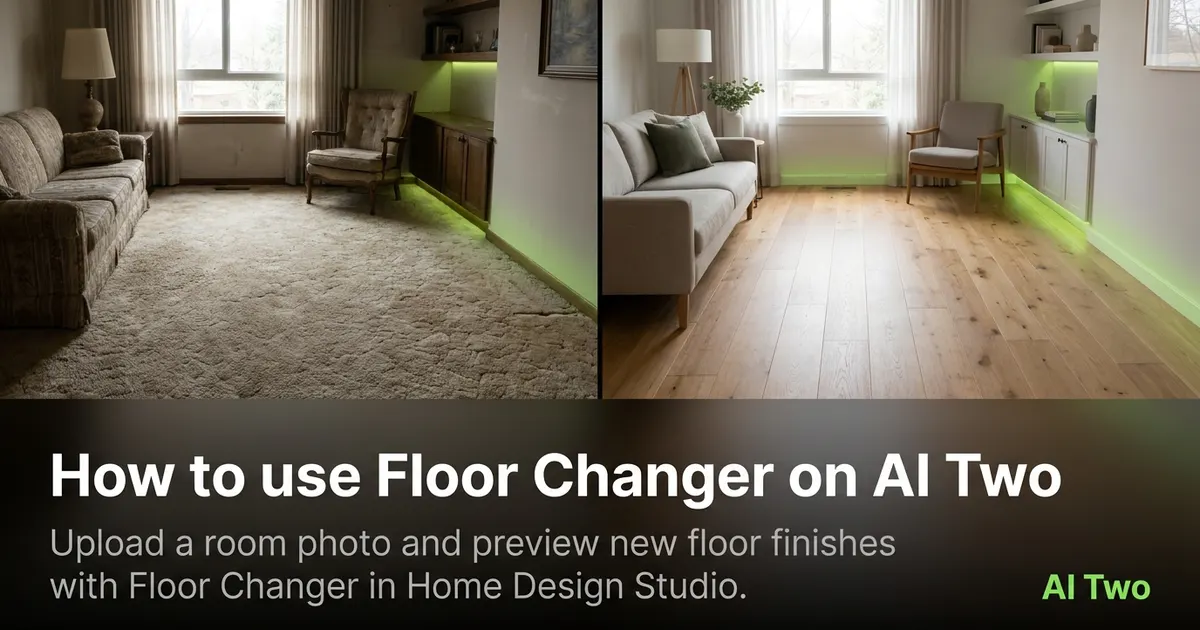
Floor Changer on AI Two swaps floor finishes in a room photo in about 30 seconds. I open it when a listing shot has the right layout but the carpet color kills the photos, or when a seller wants to see oak versus tile before they pay for refinish work. Home Design Studio lists this page beside object removal, wall change, furniture tools, virtual staging, declutter, and day to dusk in the edit cluster. When I tested a beige carpet living room, the wide plank preview looked believable enough to drop into a client email the same afternoon. I treat the download as a photo fix draft, not a flooring order or installer quote.
What Floor Changer does
You upload a room photo, pick a floor finish direction on the form, and generate a still that updates the floor surface while keeping walls, windows, and most furniture as stable as the source allows.
When I tested a dated brown carpet in a staged bedroom, the light oak plank preview kept baseboards readable and the bed placement unchanged.
Home Design Studio lists this page with wall change, object removal, furniture color, staging, declutter, and day to dusk tools in the edit cluster. Credits meter each generation.
Built for photo fixes on real estate and remodel previews. It is not a flooring SKU picker or installer measurement tool.
I open this page after the room photo is decluttered when possible. Busy floor clutter copies into the new finish.
Free signup credits covered four finish tests for me on one listing. Paid plans raise monthly limits when you batch many rooms for an agent roster.
In my experience, floor swaps read best when the photo already shows most of the floor plane in even light.
I save the original beside every finish variant so the seller can compare carpet versus plank at the same camera angle.
For MLS packs I note which finish name matched the approved still so reruns on sibling rooms stay consistent.
How to run it step by step
Step one: sign in or create a free account. Step two: upload a sharp room photo with visible floor area. Step three: pick a finish direction, leave extras on default for the first run. Step four: generate and wait about 30 seconds. Step five: download or change one finish setting and compare beside the original.
My first run with defaults was already useful for a seller conversation. The second run only changed plank tone so I could judge warmth against the wall color.
I never overwrite the original listing photo. Finish tests stack fast across a property.
If floor lines warp, reshoot straighter instead of stacking edits on a tilted file.
I write the finish label that won in a note beside the room name so the stager trip stays focused.
Credits apply per generation, so I lock one clear floor view on the hero room before I batch hallways and bedrooms from the same shoot.
When I tested a kitchen sightline into a living room, I checked plank direction at full zoom before I sent the pair to the agent.
Which photo works best
Bright photos that show a large floor area beat tight furniture crops. Keep the camera level and avoid heavy wide angle distortion.
Soft files under about 800 pixels look muddy after a finish swap. Start sharp.
The studio before and after card for this tool uses a real room photo. Match that kind of framing.
Remove small rugs and laundry piles before you shoot when you want a full floor read. Rugs block the surface the tool must replace.
Turn on overhead lights and open blinds when you can. Dark floors hide grain direction in the preview.
Include baseboards when finish contrast matters. Cropping them out makes the new floor look pasted in.
Shoot after declutter when the listing allows it. Coffee tables and cords cast shadows that survive the finish change.
Mistakes I avoid
Changing floor finish, wall color, and furniture together on run one. Change one variable per run so you know what helped.
Expecting exact plank SKU numbers from a preview. I take the download to a showroom and match boards in person.
Uploading a photo where less than a third of the frame is floor. The tool has little surface to work with.
Running five finish variants from one blurry phone snap before the hero sharpness is approved.
Sending only the AI still to a flooring vendor without the original photo. They need both to judge scale and existing transitions.
When to use another edit tool
Need walls instead of floors? Open Wall Changer. Need clutter gone first? Declutter or Object Remover. Need full furniture staging after the floor looks right? Virtual Staging. Need exterior twilight mood? Day to Dusk.
The edit cluster guide maps sibling pages. The Home Design Studio pillar covers rooms and outdoor work when the photo fix set is done.
If you need a layout sketch from the same room, Floor Plan Generator in the rooms cluster is the different job. Floor Changer stays on finish swaps in the photo you already have.
After the download
I upload the finish variant beside the original in the listing draft so the agent can approve before MLS submission.
For multi room shoots I name files by room and finish so weekend uploads do not mix oak and tile variants.
When a seller asks for installer quotes, I attach the preview plus on site measurements. The download alone is not a material order.
If plank lines look wavy, I return to the sharpest original and rerun with one finish change rather than stacking fixes on a soft file.
I keep a printed proof on a tablet during showings so buyers compare the real carpet against the preview finish in the same folder.
FAQs
Related studio guides

How to use Object Remover on AI Two
Upload a room or exterior photo and remove unwanted objects with Object Remover in Home Design Studio.
Read guide
How to use Furniture Color on AI Two
Upload a room photo and recolor furniture pieces with Furniture Color in Home Design Studio.
Read guide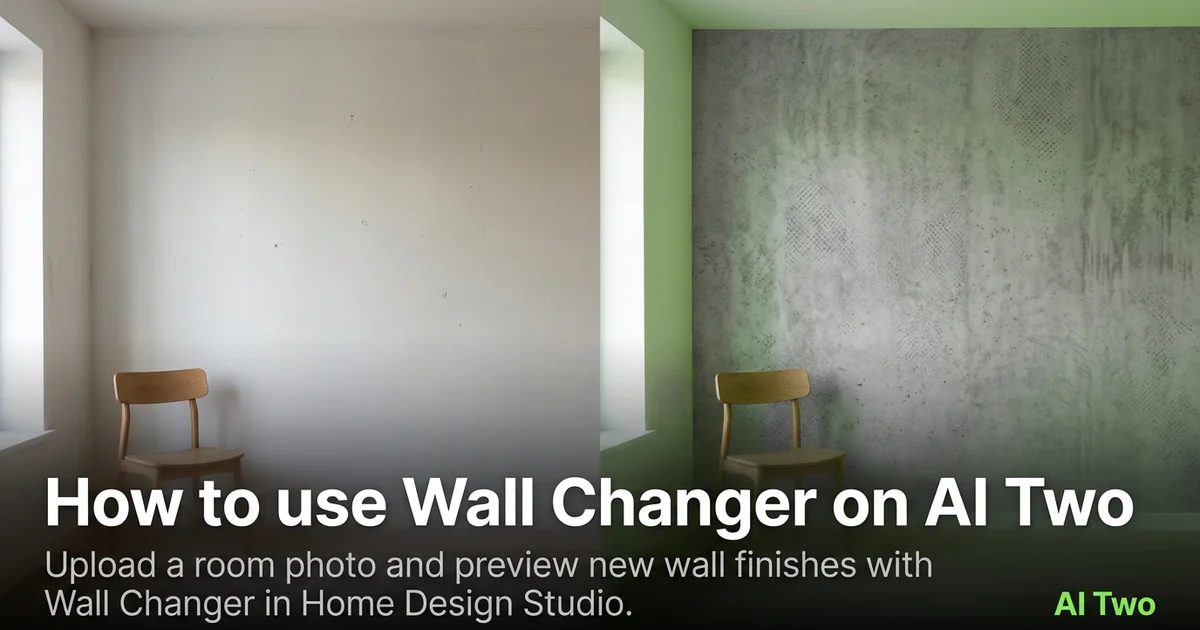
How to use Wall Changer on AI Two
Upload a room photo and preview new wall finishes with Wall Changer in Home Design Studio.
Read guide