
How to use Furniture Color on AI Two
Upload a room photo and recolor furniture pieces with Furniture Color in Home Design Studio.
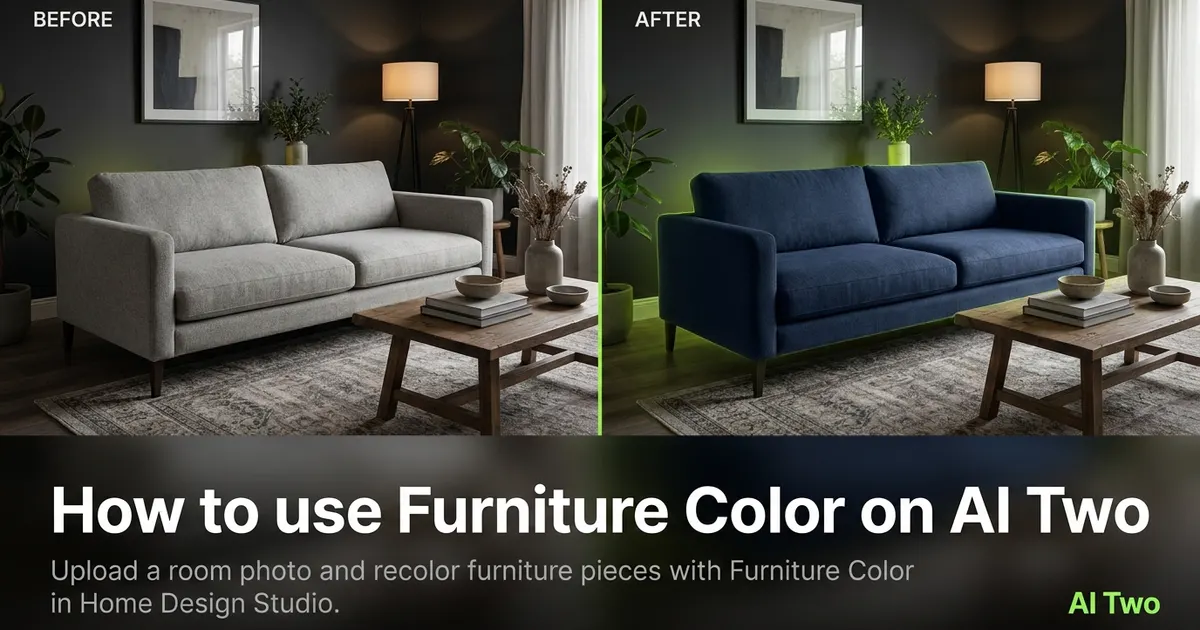
Furniture Color on AI Two is the Home Design Studio edit page I open when a listing photo has the right layout but the sofa, chair, or cabinet finish needs a different tone for the buyer preview. Agents and stagers use it to recolor furniture in place while walls, floors, and room geometry stay stable. When I tested a gray sectional in a bright living room, the navy swap kept cushion seams readable at thumbnail size, which is the check I use before MLS upload. I treat each color preview as a credit metered still, not a promise of every hue on earth, and I rerun only after I compare fabric edge sharpness against the original at the same zoom level.
What Furniture Color does
You upload a room photo, pick or describe a new furniture color, and download a still where the targeted pieces change tone while the rest of the room stays in place.
When I tested a walnut dining table in a white kitchen, the stain shift kept leg geometry straight without painting the cabinets the same brown.
Home Design Studio lists this page beside object removal, wall, floor, staging, and declutter tools in the edit cluster. Credits meter each generation.
Built for listing previews and client option boards, not for replacing a physical refinishing job before move in day.
I open this page when the sofa color is the blocker and the room layout is already correct. Missing furniture belongs on Virtual Staging or Furniture Replacement instead.
Free signup credits covered early color tests for me. Paid plans raise monthly limits when I batch many rooms for one listing.
In my experience, daylight photos with level horizons recolor more believably than flash shots with harsh shadow edges on fabric.
I save the original file separately so I can run Wall Changer or Floor Changer after the furniture tone passes review.
Each color preview uses credits, so I lock one hero piece before I explore three accent chair variants on the same frame.
For occupied listings I tell sellers the preview is a direction, not proof that the piece will arrive in that exact dye lot.
When a buyer asks for two sofa colors, I generate both from the same source photo so lighting and window placement match in the side by side email.
How to run it step by step
Step one: sign in or create a free account. Step two: upload a straight daylight interior that shows the furniture piece clearly. Step three: enter the target color or pick from options, leave other fields on default for run one. Step four: generate and wait about 30 seconds. Step five: download and compare at listing thumbnail size.
My first run with defaults was already useful. The second run only happened when one cushion edge looked soft after I zoomed.
I never overwrite the original phone photo. Listing option stacks grow fast during prep week.
If walls bend or windows shift, reshoot straighter instead of stacking edits on a fisheye file.
I write which rooms passed furniture recolor in a note beside the address so the stager knows what still needs physical samples.
Credits apply per generation, so I lock one approved angle on the hero room before I batch bedrooms.
If the output tints the whole room, I return to the original and change only the color prompt instead of forcing another full run on a soft file.
When I tested a leather armchair, I checked seam contrast at full zoom before I approved the pack for the seller email.
I export the recolored still at full zoom checked resolution before I open Day to Dusk on the exterior hero.
My second run only changes color after framing passes. Changing color and crop together hides which control helped.
I keep a screenshot of the form labels that worked and paste them into the listing folder so next week matches the approved tone without guessing.
Which photo works best
Bright, straight interiors with level horizons beat wide angle phone shots that bend door frames.
Show the full furniture piece when possible. Tight crops hide arms and legs that still appear in wide listing galleries.
Soft files under about 800 pixels look muddy after editing. Start sharp.
The studio before and after card for this tool uses a real room photo with a clear sofa or table. Match that kind of framing.
Turn on overhead lights and open blinds when you can. Mixed yellow bulbs make white upholstery hard to judge after recolor.
Stand in a corner and shoot diagonally when the room is small. That often captures the whole piece in one frame.
Plain fabric and wood grain read better than busy patterns on run one. Stripes and florals need extra zoom checks after recolor.
Remove throw blankets that hide cushion shape when you can. The tool recolors what it sees, including partial covers.
Shoot at higher resolution when you plan heavy MLS zoom crops. Soft phone exports fall apart on fabric weave detail.
Mistakes I avoid
Treating furniture recolor as a replacement for ordering a physical swatch before the buyer commits.
Changing sofa color, wall paint, and floor finish together on run one. Change one variable per generation.
Expecting a missing sectional to appear from a recolor pass. Use Virtual Staging or Furniture Replacement when the room should look furnished differently.
Uploading a photo where the target piece is half hidden behind boxes. Extreme occlusion may need Object Remover or declutter first.
Sending only the AI still to the seller without the original. They need both to understand what still requires a real sample.
Batching every room before the hero shot passes thumbnail review at small size.
Assuming credit based color previews mean every variant is free. Each generation uses credits on AI Two.
When to use another edit tool
Need one lamp or cable gone? Object Remover. Need the sofa out entirely? Furniture Removal. Need a new sofa in an empty room? Furniture Replacement or Virtual Staging. Need wall or floor finish only? Wall Changer or Floor Changer. Need general mess reduced? AI Declutter.
The edit cluster guide maps sibling pages. The Home Design Studio pillar covers exterior and room redesign when the listing edit pass is done.
Day to Dusk helps when the hero exterior needs evening light after interiors look right.
Room redesign tools invent new moods. Edit tools fix the photo you already have.
After the download
I upload the recolored still to the listing draft only after I compare it to the original at thumbnail size on my laptop.
For seller emails I attach both files and note that fabric dye lots may vary from the preview tone.
When a room fails review, I reshoot with wider framing instead of stacking three recolor runs on a tight crop.
I keep a checklist of rooms that passed so the photographer knows which angles are already approved.
If the MLS rejects an edited frame, I return to the source photo and try a lighter color nudge on run two.
I store the color prompt text beside the PNG so future teammates know which sofa tone the buyer saw in the option board.
FAQs
Related studio guides

How to use Object Remover on AI Two
Upload a room or exterior photo and remove unwanted objects with Object Remover in Home Design Studio.
Read guide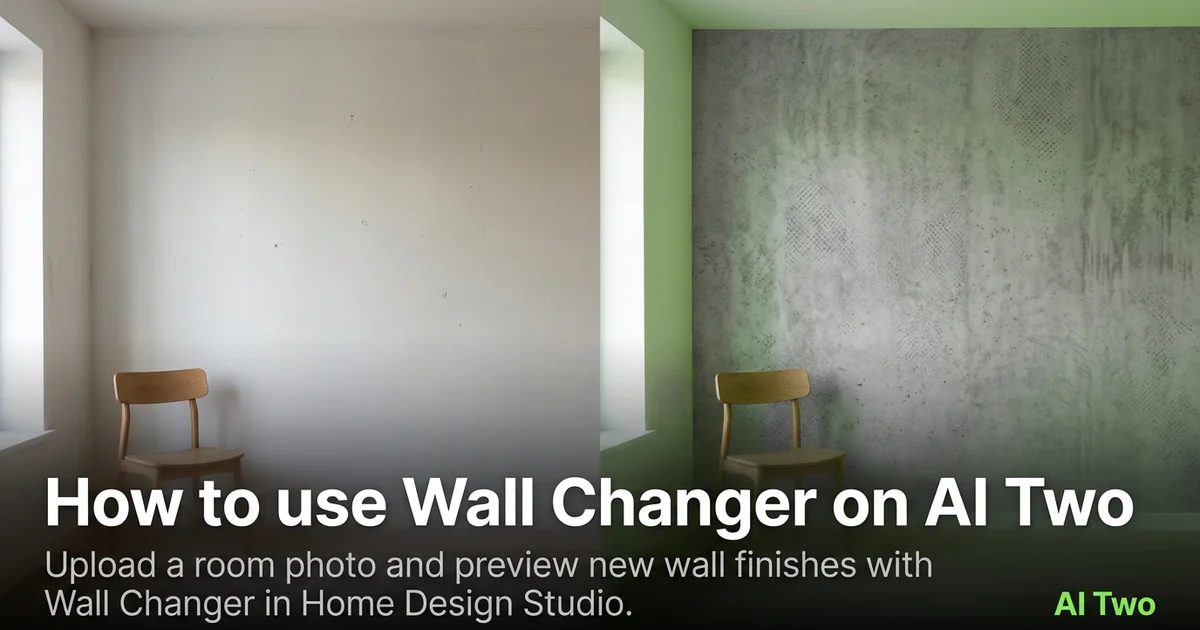
How to use Wall Changer on AI Two
Upload a room photo and preview new wall finishes with Wall Changer in Home Design Studio.
Read guide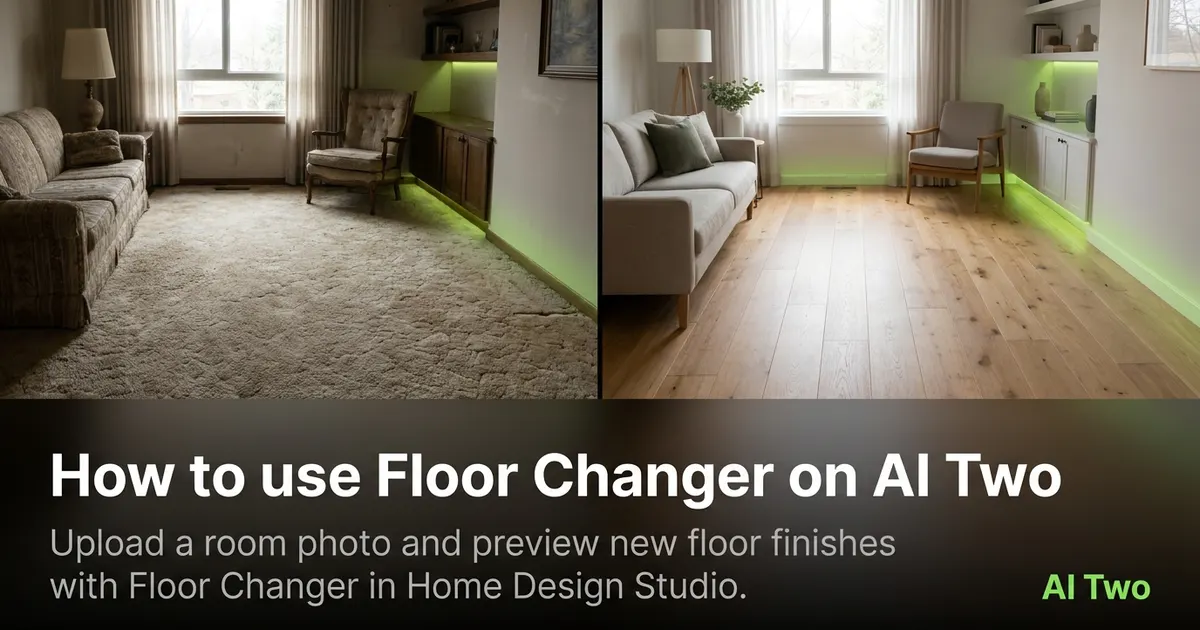
How to use Floor Changer on AI Two
Upload a room photo and preview new floor finishes with Floor Changer in Home Design Studio.
Read guide