
How to use Floor Plan Generator on AI Two
Upload a room or layout photo and preview floor plan style outputs with Floor Plan Generator in Home Design Studio.
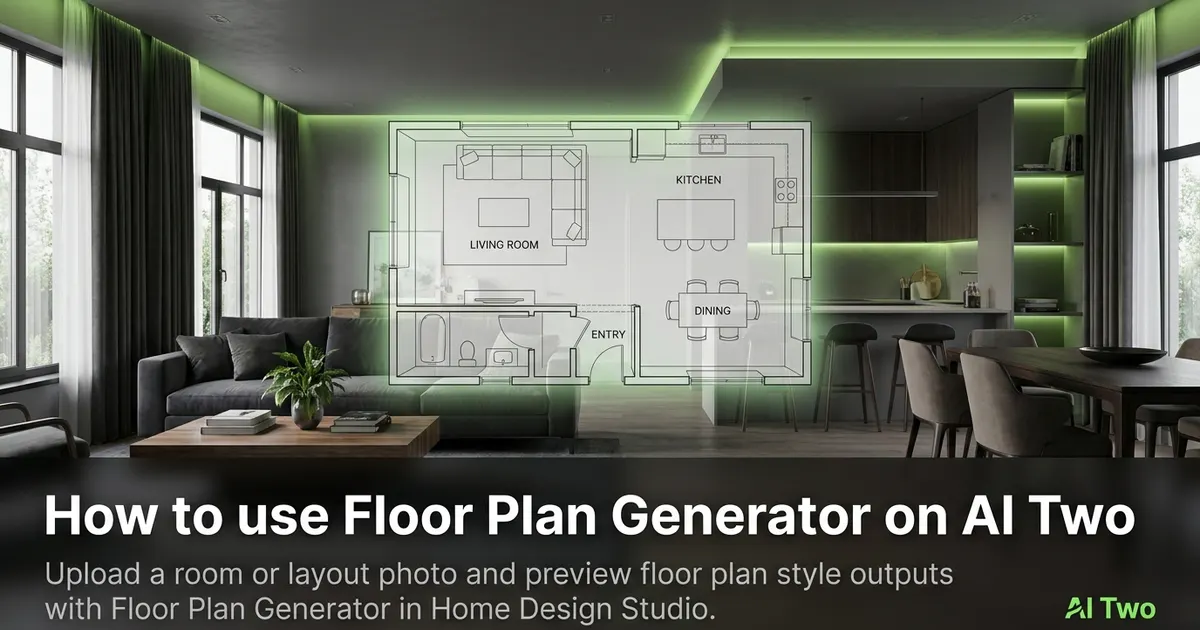
Floor Plan Generator on AI Two turns a room or layout photo into a floor plan style preview in about 30 seconds. I open it when a client wants to see how furniture might sit in a space before we commit to a full room redesign or a contractor visit. Home Design Studio lists this page beside Interior AI, kitchen, bedroom, bathroom, and ceiling tools in the rooms cluster. When I tested a small living room shot from the doorway, the output read as a clear layout sketch I could share in the same chat as paint swatches. I treat every download as a visual draft for conversation, not a stamped architectural drawing for permits or construction bids.
What Floor Plan Generator does
You upload a room or layout photo, pick a floor plan style direction on the form, and generate a still that translates walls, openings, and major furniture into a plan view style preview.
When I tested a rectangular dining room with one window wall, the tool kept the window placement believable while it simplified the furniture into readable blocks on the floor.
Home Design Studio lists this page with Interior AI, kitchen, bedroom, bathroom, and ceiling tools in the rooms cluster. Credits meter each generation.
Treat the output as a visual draft for layout talk. It is not a permit drawing, measurement sheet, or contractor bid document.
I open this page after I have one straight photo that shows most of the floor and at least two walls. Guessing room shape from memory wastes credits.
Free signup credits covered three layout tests for me on one listing. Paid plans raise monthly limits when you batch many rooms for agents or designers.
In my experience, the preview works best when the goal is furniture placement and flow, not exact wall thickness or outlet locations.
I save the original photo beside every plan style download so the client can compare real proportions against the simplified sketch.
For rental listings I note which plan style matched the photo angle so reruns next season start from the same framing.
How to run it step by step
Step one: sign in or create a free account. Step two: upload a daylight photo that shows the floor and main walls when you can. Step three: pick a floor plan style, leave extras on default for the first run. Step four: generate and wait about 30 seconds. Step five: download or change one setting and compare beside the original.
My first run with defaults was already useful for a furniture layout chat. The second run only changed plan style so I could judge readability without guessing which control helped.
I never overwrite the original phone photo. Layout tests stack fast across a property tour.
If walls warp, reshoot straighter from the doorway instead of stacking edits on a skewed file.
I write the style name that won in a note next to room dimensions so the next tool in the cluster starts from the same story.
Credits apply per generation, so I lock one clear angle on the hero room before I batch bedrooms and hallways from the same shoot day.
When I tested an L shaped living room, I checked door swings at full zoom before I sent the sketch to a stager.
Which photo works best
Bright, straight photos from the doorway beat dark corner snaps. Show as much floor area as you can and keep the camera level.
Soft files under about 800 pixels look muddy after conversion. Start sharp.
The studio before and after card for this tool uses a real room photo. Match that kind of framing.
Clear small clutter from the floor before you shoot. Shoes and pet bowls copy into the simplified layout blocks.
Open curtains when you can. Mixed yellow bulbs make wall edges hard to read in the plan view later.
Include doorways when flow matters. Cropping them out leaves the circulation talk incomplete.
Stand back enough to capture two walls minimum. Single wall crops force the tool to invent missing geometry.
For open plan spaces, shoot from a spot where kitchen and living zones both appear so the sketch shows how zones connect.
Mistakes I avoid
Sending a floor plan preview to a contractor as if it were a stamped drawing. I label it as a visual draft and keep measurements on a separate sheet.
Changing plan style, furniture density, and room type together on run one. Change one variable per run so you know what improved.
Uploading a fisheye wide angle shot. Straight lines bend and the plan view looks untrustworthy.
Expecting exact square footage from a photo based sketch. I measure on site and use the AI output for layout mood only.
Running five rooms from one blurry phone snap before the hero room sharpness is approved.
When to use another rooms tool
Need a full interior mood with finishes and furniture style, not a plan view? Open Interior AI. Kitchens, bedrooms, bathrooms, and ceilings have dedicated pages when those rooms are next in the project.
The rooms cluster guide maps every room tool. The Home Design Studio pillar covers exterior, outdoor, and edit work when layout is settled.
If you only need to swap floor finishes in a photo, Floor Changer in the edit cluster is the narrower tool. Floor Plan Generator is for layout style previews from a room photo.
After the download
I attach the original photo beside the plan style still in the client folder so everyone compares real room shape against the simplified sketch.
For listing packs I name files by room and date so weekend uploads do not mix drafts from different shoot days.
When a stager asks for furniture sizes, I send the sketch plus on site measurements. The download alone is not a size chart.
If wall lines look soft, I return to the sharpest original and rerun with a smaller style change rather than stacking fixes on a soft file.
I screenshot the form labels that worked and paste them into the project notes so the next room in the same property matches the approved plan style.
FAQs
Related studio guides
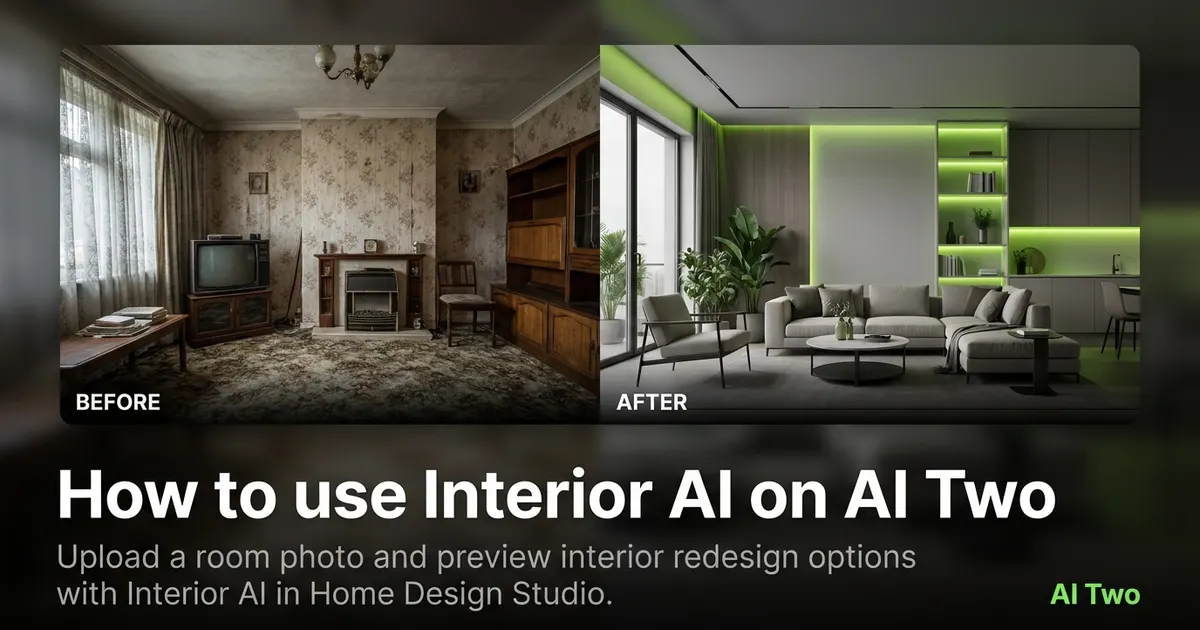
How to use Interior AI on AI Two
Upload a room photo and preview interior redesign options with Interior AI in Home Design Studio.
Read guide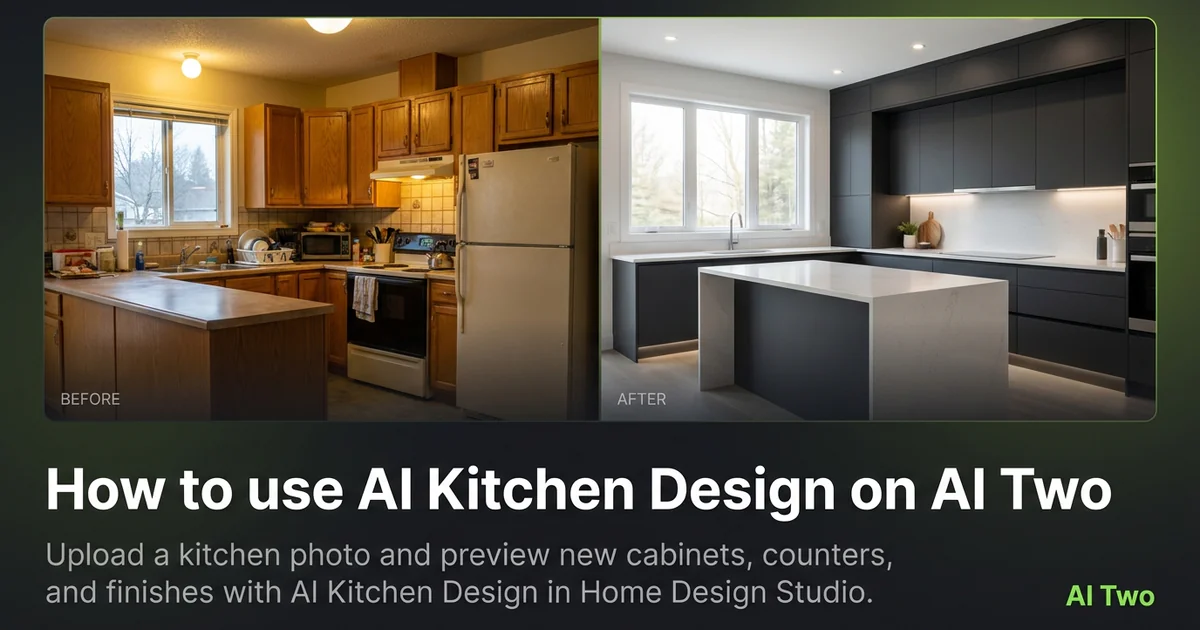
How to use AI Kitchen Design on AI Two
Upload a kitchen photo and preview new cabinets, counters, and finishes with AI Kitchen Design in Home Design Studio.
Read guide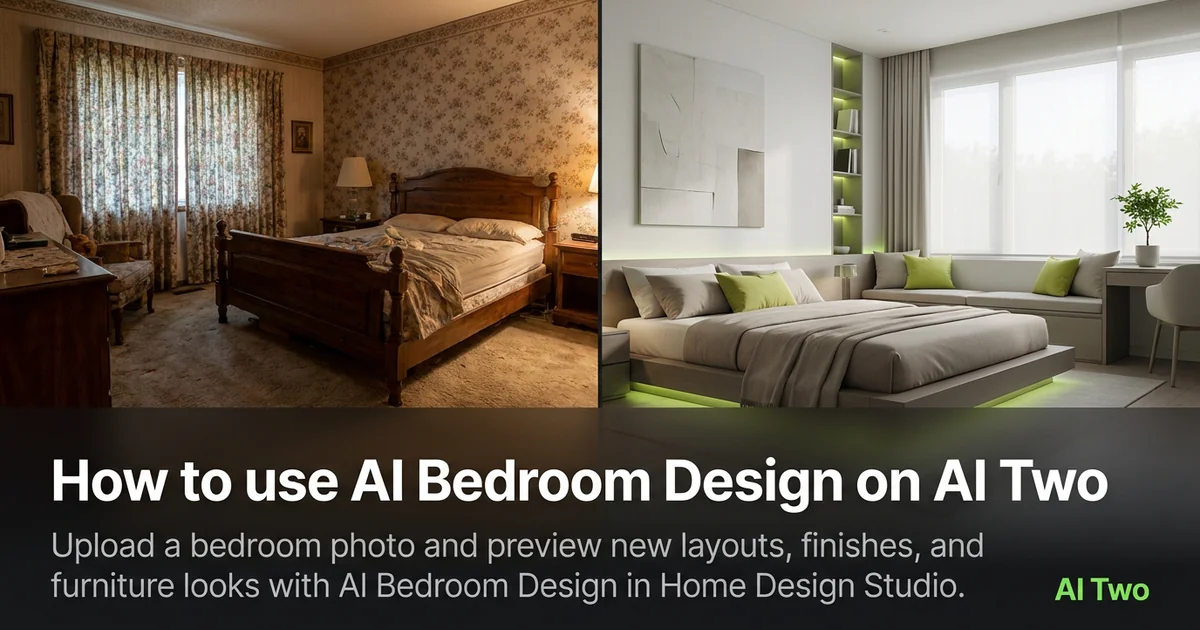
How to use AI Bedroom Design on AI Two
Upload a bedroom photo and preview new layouts, finishes, and furniture looks with AI Bedroom Design in Home Design Studio.
Read guide