
How to use Interior AI on AI Two
Upload a room photo and preview interior redesign options with Interior AI in Home Design Studio.
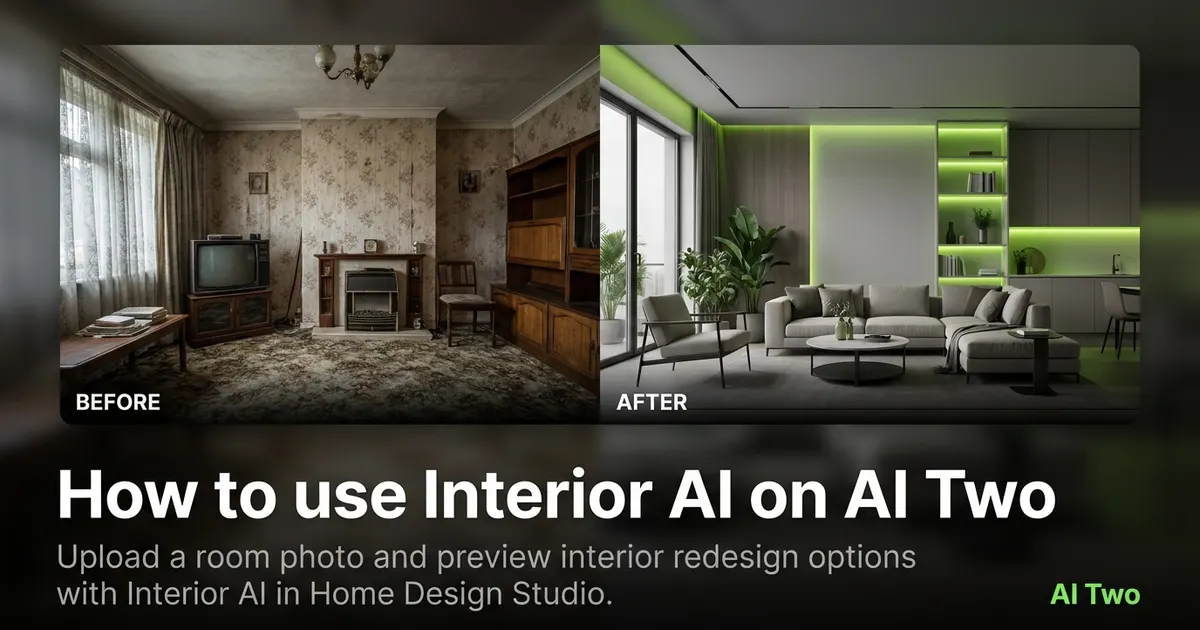
Interior AI on AI Two turns a photo of your real room into a redesigned still in about 30 seconds. I open it when a living room or open plan space needs a mood pass before I commit to paint, furniture, or staging spend. In my experience, one clear photo from the doorway beats a folder of stock rooms that do not match my ceiling height or window wall. Home Design Studio lists Interior AI beside kitchen, bedroom, and bathroom pages in the rooms cluster. Credits meter each generation. Free signup credits covered several style tests for me on one condo before I opened room specific tools for the kitchen and bath.
What Interior AI does
You upload a room photo, pick a style or finish direction, and generate. The tool keeps the room volume and camera angle while it updates walls, furniture looks, and decor cues in the preview.
When I tested a dated beige living room with heavy drapes, the lighter walls and simpler sofa silhouette looked coherent enough to share with my client in the same thread as the paint chips.
Home Design Studio lists this page with kitchen, bedroom, bathroom, ceiling, and floor plan tools in the rooms cluster. Credits meter each generation.
Treat the output as a visual draft. It is not a stamped drawing, permit set, or furniture order.
I open Interior AI when the whole room mood is the question. When only cabinets or tile matter, I open the room specific sibling instead.
Free signup credits covered three whole room tests for me before I locked a direction. Paid plans raise the monthly cap when you batch many listing rooms.
When I tested an open plan with a visible kitchen edge, the tool kept the window wall believable while it refreshed the seating area. That saved a showroom trip I did not need yet.
In my experience, one variable change per run makes it easier to repeat success on the next room in the same listing.
How to run it step by step
Step one: sign in or create a free account. Step two: upload a daylight photo that shows the full room when you can. Step three: pick a style, leave extras on default for the first run. Step four: generate and wait about 30 seconds. Step five: download or change one setting and compare.
My first run with defaults was already useful. The second run only changed wall tone so I could judge contrast against the existing floor.
I never overwrite the original phone photo. Remodel and staging tests stack fast.
If walls warp, reshoot straighter instead of stacking edits on a skewed file.
I write the style name that won in a note next to the room measurements so the store trip stays focused.
If the first run feels too modern, I change only the style preset on run two. That keeps furniture and wall color from shifting at the same time.
When I tested a rental with fixed flooring, I kept the floor in frame so the preview did not invent new plank direction.
Credits apply per generation, so I lock the brief in one sentence before I explore optional fields.
Which photo works best
Bright, straight photos beat dim corner selfies. Show the floor and the main window wall when possible.
Soft files under about 800 pixels look muddy after redesign. Start sharp.
Clear clutter from surfaces before you shoot. Mail piles and open laptops copy into the preview.
Turn on ceiling lights and open a curtain if you can. Mixed yellow bulbs make paint color hard to judge later at the store.
Stand in the doorway and shoot level. Angled phone tilts make walls look crooked in the preview.
Include the main seating or bed wall in frame when that is the expensive conversation. Cropping it out leaves the remodel talk incomplete.
When I tested a narrow galley visible from the living room, stepping back one step kept both zones readable.
Shoot after you declutter physically when you can. AI declutter helps, but real trash bags off camera beats any rerun.
Mistakes I avoid
Changing style, walls, and furniture together hides which choice helped. Change one variable per run.
Expecting exact SKU numbers from a preview wastes time. I take the download to a store and match finishes in person.
Cropping out the focal wall when that is the staging hero leaves the client conversation incomplete.
Running five dark filters on the phone before upload. The redesign inherits that cast.
Sending a contractor only the AI still without the original photo. They need both to judge scale and openings.
Using Interior AI when the job is only a ceiling texture swap. Ceiling Design is the narrower page.
When to use another tool
Need a kitchen cabinet pass on the same listing? Open AI Kitchen Design. Bedrooms and bathrooms have their own pages when those rooms are next. Ceiling Design helps when the issue is overhead texture, not whole room mood. Floor Plan Generator helps when the conversation is layout lines, not finishes.
The rooms cluster guide maps every room tool. The Home Design Studio pillar covers exterior and outdoor work when interiors are done.
If you only need a score and notes before you spend credits on visuals, open Interior Design Rater in the analyze cluster first.
Declutter or object removal helps before redesign if the shot is messy and you want a cleaner base photo.
After the download
I attach the keeper still and the original photo in one client folder so everyone compares the same angle.
When a listing goes live, I use the AI still for internal staging notes and keep the real photo as the hero until physical work finishes.
If the client picks two directions, I label downloads with style preset names instead of rerun numbers only.
For agents working several units, I copy the winning settings into a notes file beside the unit number.
When paint is next, I open Wall Changer or Paint My House AI on the same file after Interior AI locked the mood.
FAQs
Related studio guides
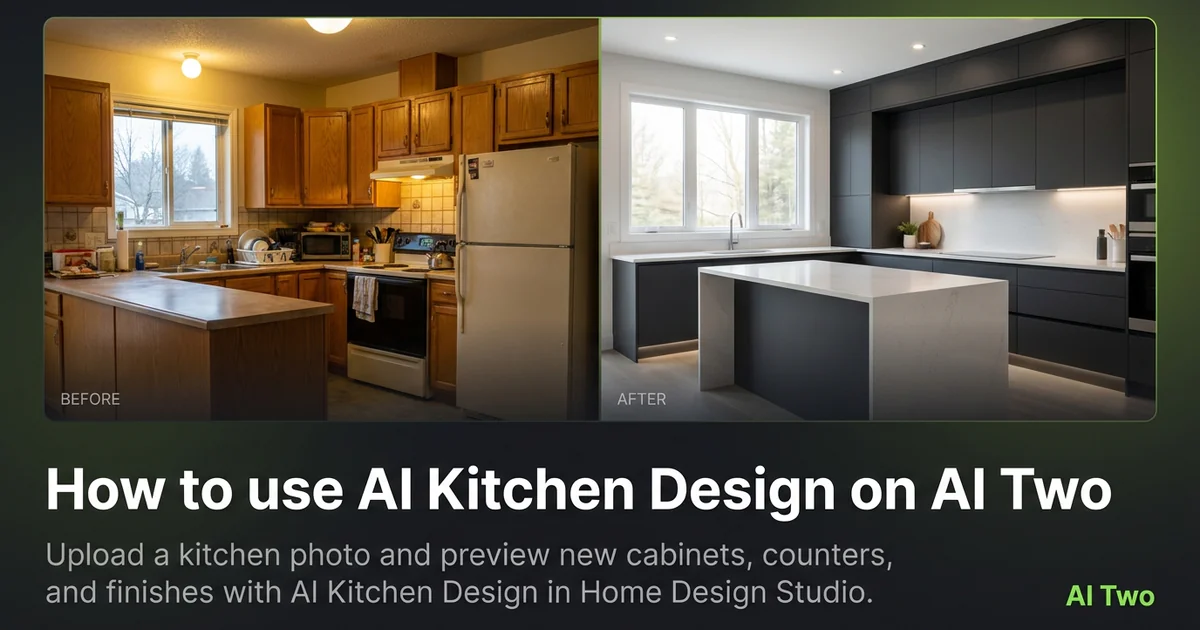
How to use AI Kitchen Design on AI Two
Upload a kitchen photo and preview new cabinets, counters, and finishes with AI Kitchen Design in Home Design Studio.
Read guide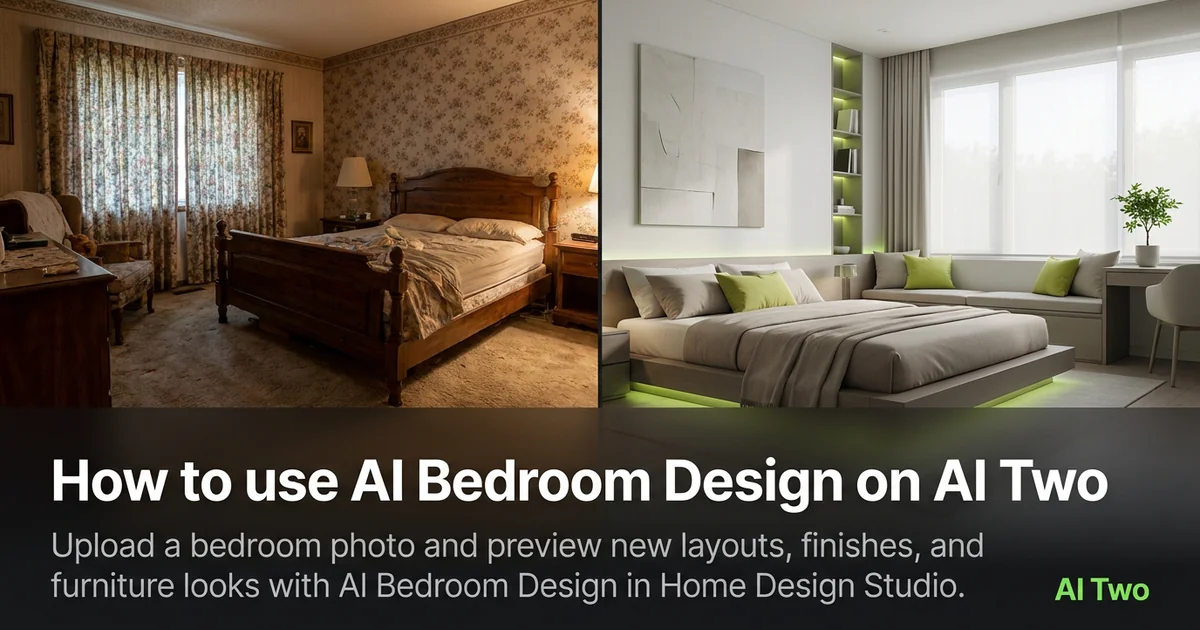
How to use AI Bedroom Design on AI Two
Upload a bedroom photo and preview new layouts, finishes, and furniture looks with AI Bedroom Design in Home Design Studio.
Read guide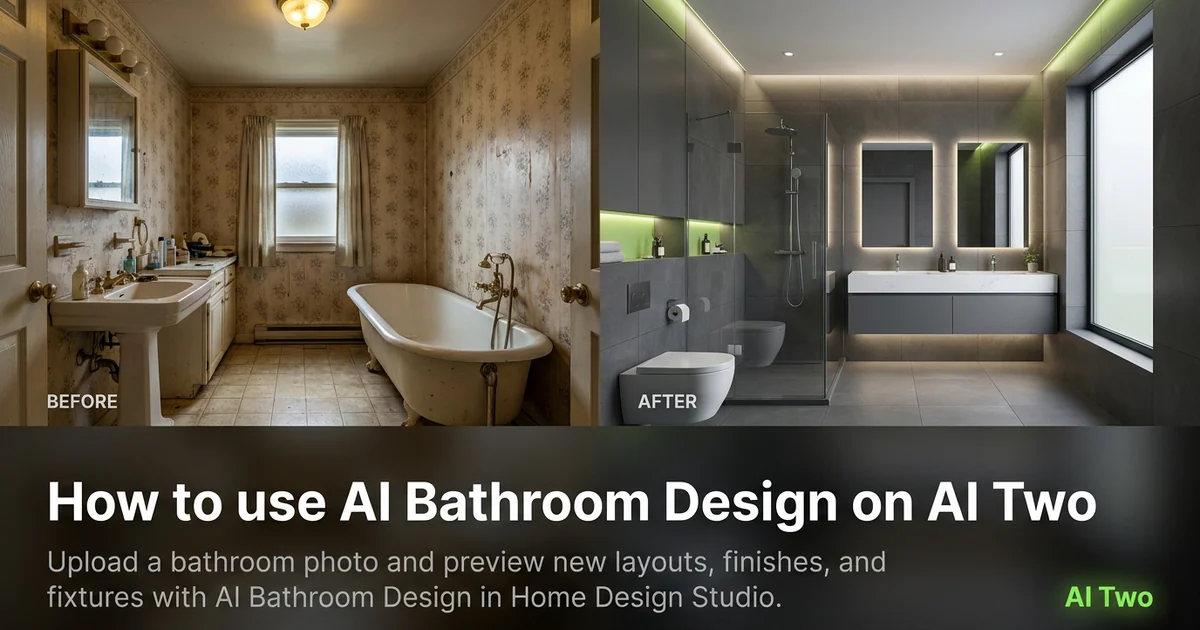
How to use AI Bathroom Design on AI Two
Upload a bathroom photo and preview new layouts, finishes, and fixtures with AI Bathroom Design in Home Design Studio.
Read guide