
How to use Day to Dusk on AI Two
Turn a daytime home photo into a dusk or twilight listing preview with Day to Dusk in Home Design Studio.
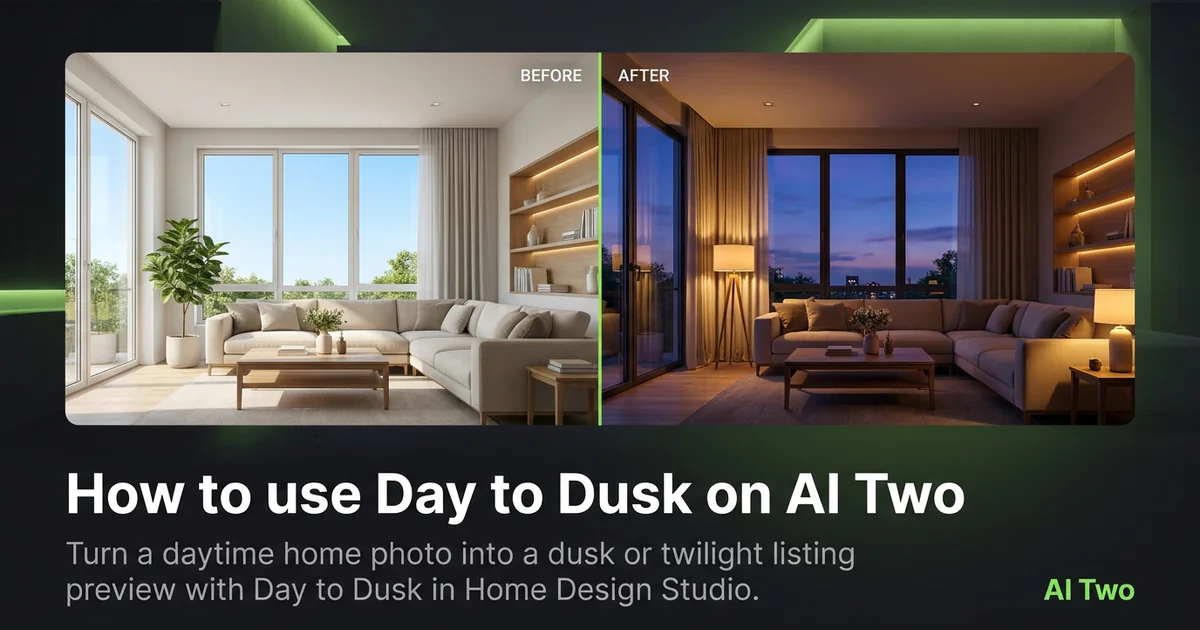
Day to Dusk on AI Two is the Home Design Studio edit page I open when a listing needs a twilight hero without waiting for golden hour. Real estate agents and homeowners use it to convert a daytime exterior, or an interior with readable windows, into a dusk lighting frame for marketing cards. When I tested a suburban front elevation shot at noon, the download showed warm window glow and a believable sky gradient in about 30 seconds. I treat the output as a visual draft for the listing deck, not a replacement for a licensed twilight photographer when the MLS requires disclosure.
What Day to Dusk does
You upload a daytime photo, run Day to Dusk, and download an evening or twilight still that keeps the house geometry while it shifts sky and lighting mood.
When I tested a colonial facade with white trim, the dusk frame made interior lights readable through the windows without blowing the siding highlights.
Home Design Studio lists this page beside Object Remover, furniture color, wall, and floor tools in the edit cluster. Credits meter each generation.
Built for listing marketing when the only file you have is a bright daytime shoot. It is not a full sky replacement tool for unrelated landscapes.
I open this page after clutter is removed. A clean daytime source makes the dusk conversion easier to judge.
Free signup credits covered several exterior tests for me on one address. Paid plans raise monthly limits when you batch many listings.
In my experience, exteriors with a visible horizon line dusk more convincingly than tight crops that hide the sky.
Interiors with large windows can work when the outside view is not blown out. I darken the room slightly in camera when the windows are hot.
For vacant listings I run Day to Dusk after Virtual Staging so the evening frame shows furnished windows, not dark glass.
How to run it step by step
Step one: sign in or create a free account. Step two: upload a sharp daytime exterior or interior with windows. Step three: keep defaults on run one. Step four: generate and wait about 30 seconds. Step five: download and compare beside the original in your listing folder.
I never overwrite the daytime master. Buyers and compliance sometimes need the daylight version beside the dusk variant.
When I tested a ranch with deep eaves, the first run was enough for the email teaser. The second run only adjusted when I re-shot with less tree cover.
Credits apply per generation, so I lock one framing on the lead photo before I batch alternate angles.
If the sky looks painted, I reshoot with more visible horizon instead of stacking five dusk runs on a cropped file.
I name exports by address and angle so the dusk hero does not replace the MLS daylight requirement by accident.
When the agent wants both front and rear dusk cards, I use the same camera height on both daytime sources first.
I export at full resolution and check window glow at zoom before I upload to the listing draft.
Which photo works best
Bright, straight daytime exteriors with level horizons beat heavily filtered phone snaps. Show the full facade and a slice of sky when possible.
Soft files under about 800 pixels look muddy after the lighting shift. Start sharp.
Heavy tree cover that hides the roofline makes dusk skies feel invented. I trim branches in camera or open Object Remover first.
Blown-out windows in the daytime file stay blown in dusk. I expose for the house face and let the sky recover slightly.
For interiors, include the window wall and enough ceiling to read the room. A tight sofa crop misses the twilight story.
Parked cars and trash bins copy into dusk. I clear the drive in the daytime source or remove them before conversion.
Shoot level across the street. Angled tilts make roof lines look crooked after the sky changes.
Mistakes I avoid
Uploading an already dark evening photo and expecting a cleaner twilight look. Start from daylight.
Running Day to Dusk before declutter or object removal when bins and hoses dominate the frame.
Replacing the only MLS daylight hero with dusk without checking board rules.
Expecting interior lamp glow to invent itself when every window is black in the source.
Batching five angles from one blurry phone snap before I proof the lead elevation.
When to use another edit tool
Need stray items gone first? Object Remover. Need wall or floor previews? Wall Changer and Floor Changer. Need sofa hue shifts? Furniture Color Changer. Need empty rooms furnished? Virtual Staging in the same edit cluster.
The edit cluster guide maps sibling pages. Exterior paint and landscaping sit in other Home Design groups when the facade still needs structural color work beyond lighting mood.
If the problem is curb score and priority notes, open the analyze cluster before you spend edit credits on dusk frames.
After the download
I upload the dusk still as a secondary marketing image when the MLS allows, and keep the daytime file as the primary compliance photo.
For social teasers I pair the dusk hero with one daylight angle so viewers recognize the same house.
When a seller asks for print flyers, I check window glow at the size the printer will use, not only on a laptop screen.
If the board rejects edited skies, I note that in the agent file and reserve dusk for email and social only.
I store before and after pairs beside the address folder so the next season relist reuses the same approved framing.
FAQs
Related studio guides
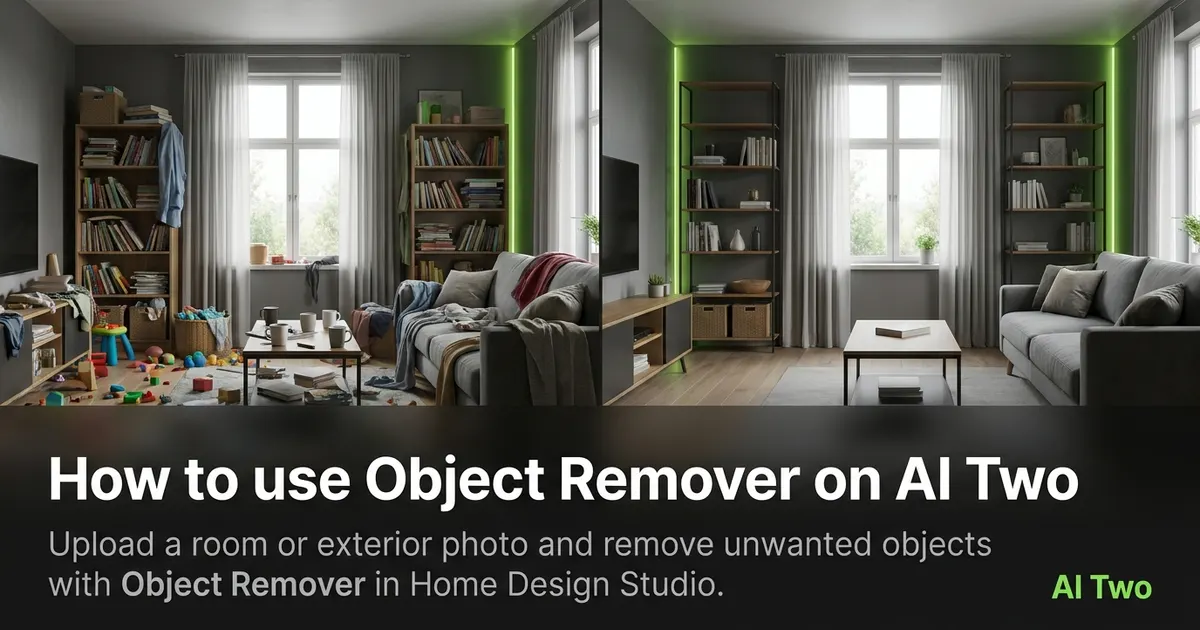
How to use Object Remover on AI Two
Upload a room or exterior photo and remove unwanted objects with Object Remover in Home Design Studio.
Read guide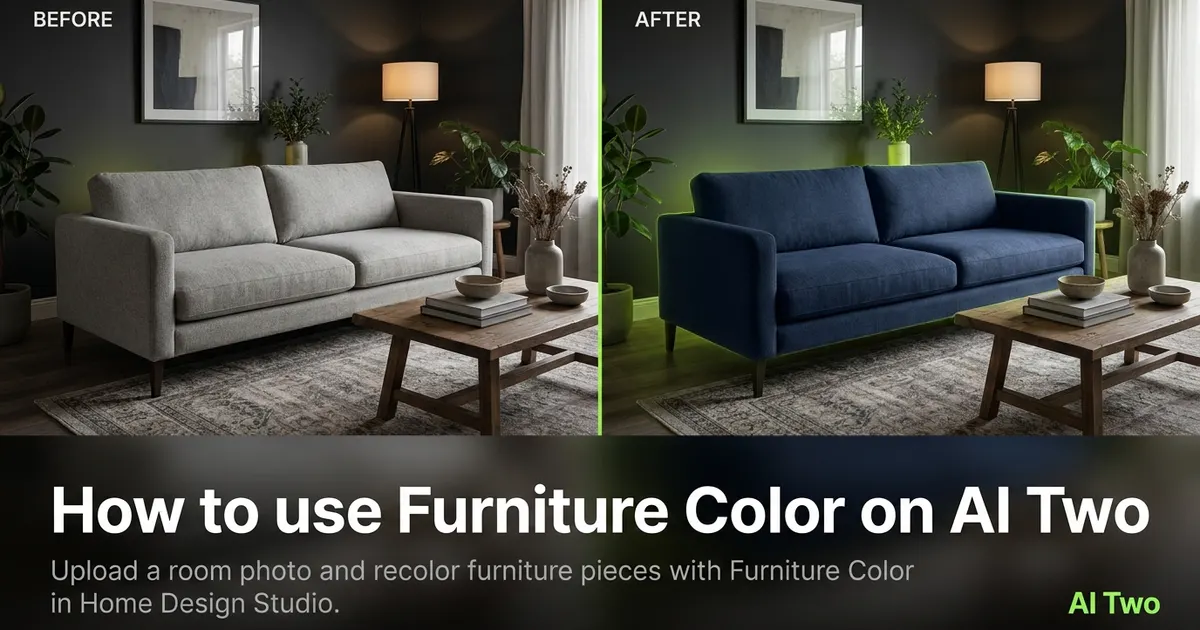
How to use Furniture Color on AI Two
Upload a room photo and recolor furniture pieces with Furniture Color in Home Design Studio.
Read guide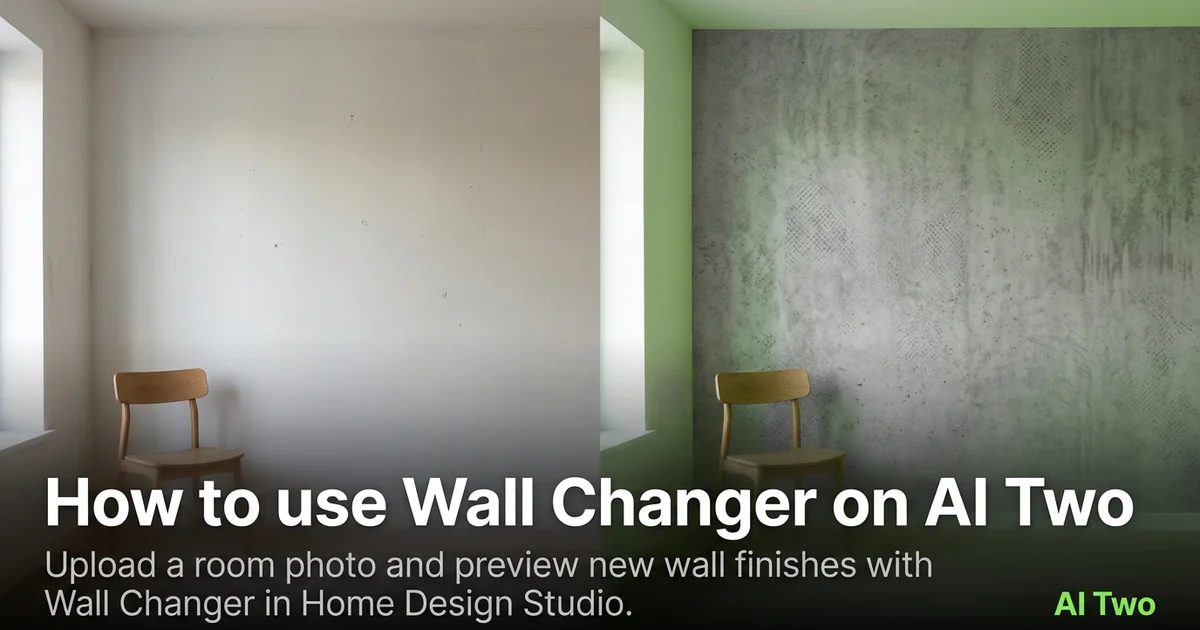
How to use Wall Changer on AI Two
Upload a room photo and preview new wall finishes with Wall Changer in Home Design Studio.
Read guide