
How to use Ceiling Design on AI Two
Upload a room photo and preview new ceiling styles, beams, and finishes with Ceiling Design in Home Design Studio.
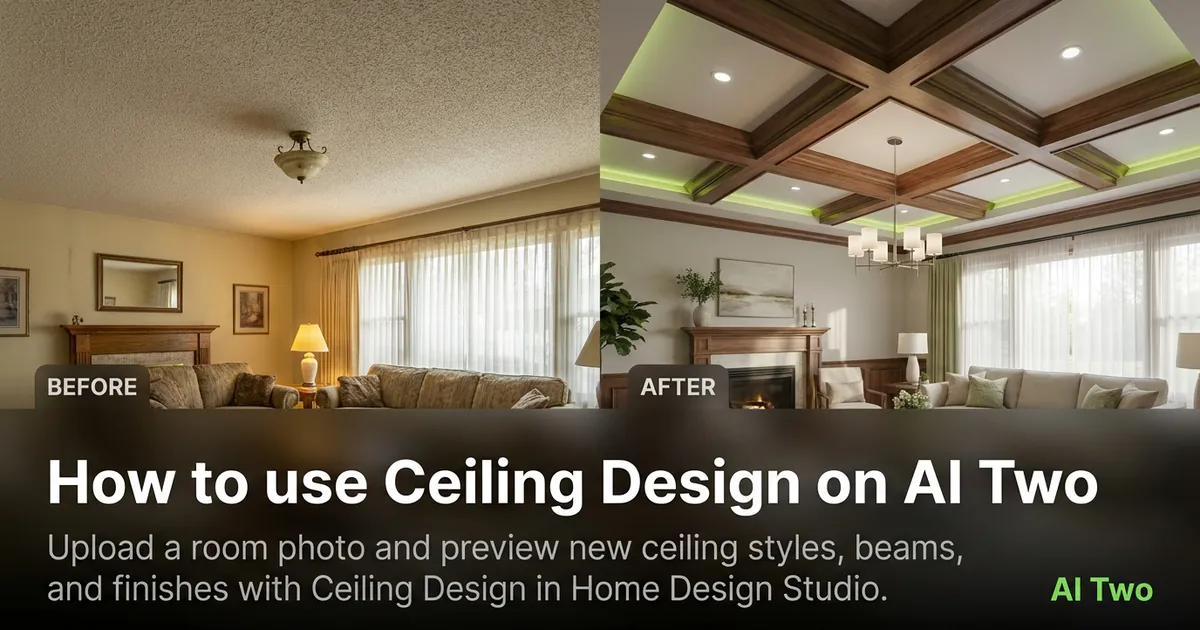
Ceiling Design on AI Two turns a room photo into a ceiling restyle still in about 30 seconds. I open it when a client stares at a flat white grid and asks what coffered panels or wood beams would look like before we order drywall changes. In my experience, one photo that shows the full ceiling plane beats a mood board of rooms with different window heights.
What Ceiling Design does
You upload a room photo, pick a ceiling style or finish direction, and generate. The tool keeps wall lines and furniture placement while it updates the overhead plane in the preview.
When I tested a plain living room with a central fan, the coffered preview looked believable enough to share with the drywall crew in the same email thread.
Home Design Studio lists this page with kitchen, bedroom, and interior tools in the rooms cluster. Credits meter each generation.
Treat the output as a visual draft. It is not a structural engineering detail.
I open this page after I have one clear photo that shows most of the ceiling. Guessing from memory wastes credits.
Free signup credits covered three style tests for me before we locked a beam direction.
When I tested a bedroom with sloped ceilings, the tool kept the window wall believable while it changed the overhead texture.
I save before and after pairs in a client folder named by room so revision calls do not mix uploads from different jobs.
For rental refreshes I note which ceiling treatment is paint only versus which would need a drywall sub.
How to run it step by step
Step one: sign in or create a free account. Step two: upload a daylight photo that shows the ceiling and two walls if you can. Step three: pick a style, leave extras on default for the first run. Step four: generate and wait about 30 seconds. Step five: download or change one setting and compare.
My first run with defaults was already useful. The second run only changed beam color so I could judge contrast against the walls.
I never overwrite the original phone photo. Remodel tests stack fast.
If the ceiling plane warps, reshoot from farther back instead of stacking edits on a tight crop.
I write the style name that won in a note beside the room dimensions so the contractor visit stays focused.
If the first run feels too busy, I change only the style preset on run two. That keeps wall color and ceiling detail from shifting at the same time.
Which photo works best
Bright, straight photos beat flash only shots that blow out the ceiling plane. Tilt the phone slightly upward if you need more overhead area in frame.
Soft files under about 800 pixels look muddy after redesign. Start sharp.
The studio before and after card for this tool uses a real room photo. Match that kind of framing.
Turn on overhead lights and open blinds when you can. Mixed yellow bulbs make white ceiling paint hard to judge later at the store.
Stand in a corner and shoot diagonally when the room is small. That often captures the full ceiling span.
Include the fan or fixture when that is the anchor in the room. Cropping it out leaves the scale conversation incomplete.
Clear hanging wires or temporary bulbs before you shoot. They copy into the redesign.
Mistakes I avoid
Changing style, beam color, and wall paint together hides which choice helped. Change one variable per run.
Expecting exact lumber sizes from a preview wastes time. I take the download to a supplier and confirm profiles in person.
Cropping out the window wall when light is the main problem leaves the redesign talk incomplete.
Running heavy filters on the phone before upload. The redesign inherits that cast.
Sending a contractor only the AI still without the original photo. They need both to judge ceiling height and fixture locations.
When to use another rooms tool
Need a whole room mood beyond the ceiling? Open Interior AI or the kitchen and bedroom pages. Need wall color only? Wall Changer in the edit cluster may be the narrower tool.
The rooms cluster guide maps every room tool. The Home Design Studio pillar covers exterior work when the interior pass is done.
Declutter or object removal helps before ceiling redesign if the shot is messy.
FAQs
Related studio guides
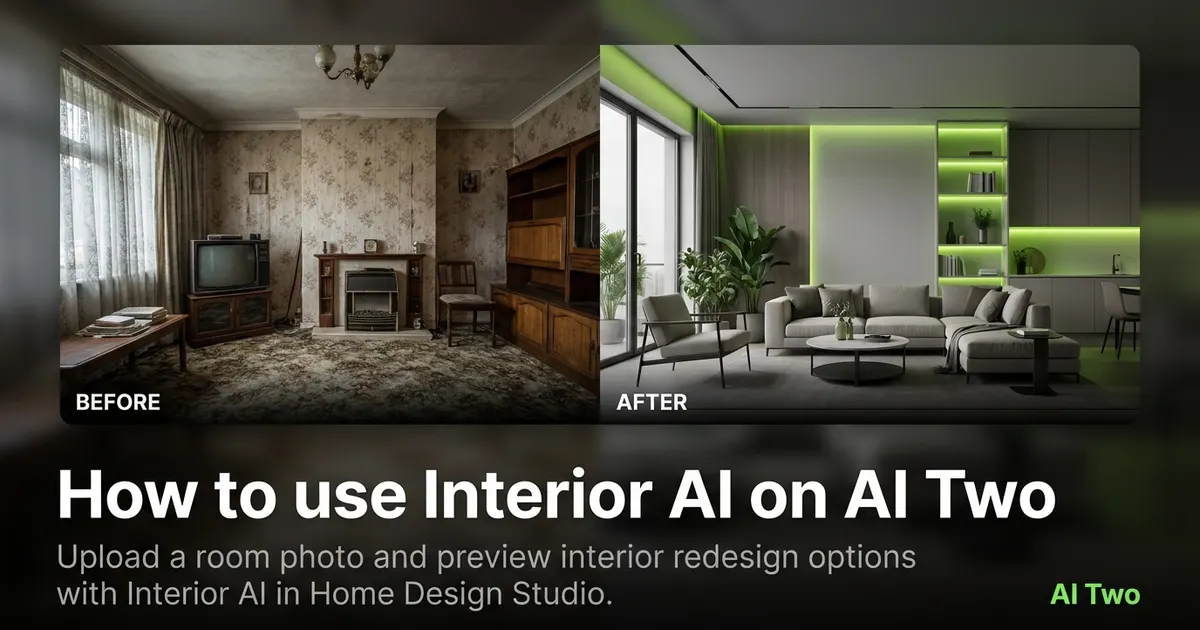
How to use Interior AI on AI Two
Upload a room photo and preview interior redesign options with Interior AI in Home Design Studio.
Read guide
How to use AI Kitchen Design on AI Two
Upload a kitchen photo and preview new cabinets, counters, and finishes with AI Kitchen Design in Home Design Studio.
Read guide
How to use AI Bedroom Design on AI Two
Upload a bedroom photo and preview new layouts, finishes, and furniture looks with AI Bedroom Design in Home Design Studio.
Read guide