
How to use Makeup Editor on AI Two
Preview makeup looks on fashion model photos with Makeup Editor in Fashion Studio.
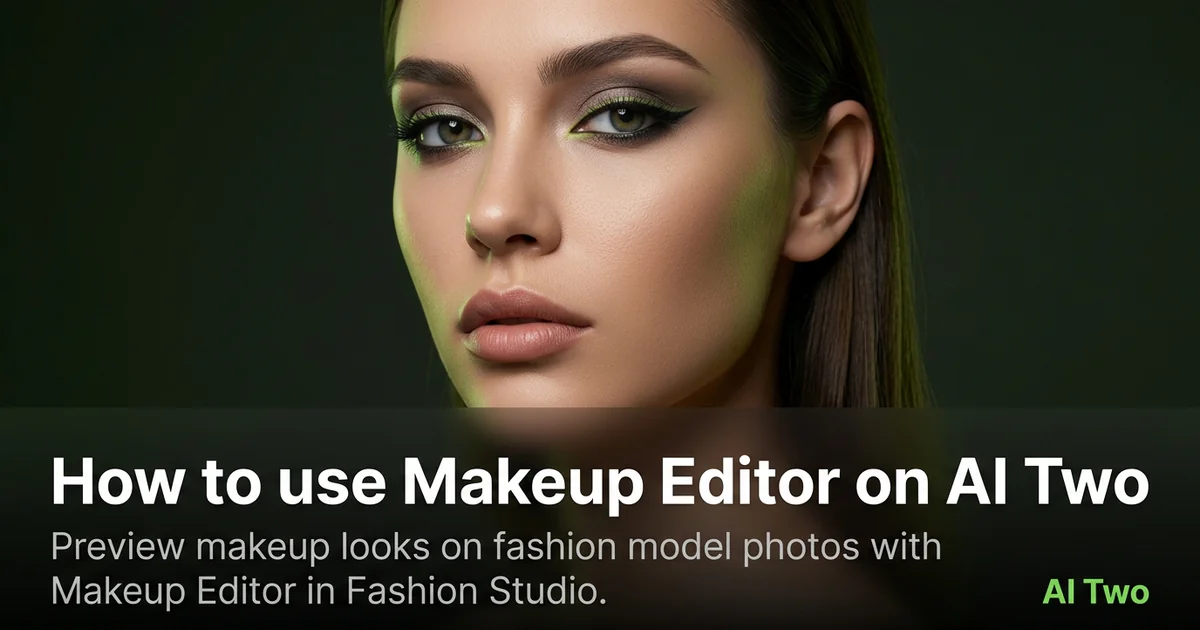
Makeup Editor on AI Two is the Fashion Studio post production page I open when an approved on model catalog photo needs a different beauty direction for a seller casting board or cosmetics SKU listing, without booking a second makeup session. Beauty and apparel sellers use it to adjust lip, eye, and skin finish direction on existing model stills while product and pose stay readable. When I tested a neutral studio portrait tied to a lipstick SKU, the lip edge stayed clean enough for a marketplace zoom after one makeup direction change, which is the check I use before art direction approves the board. This page is for seller beauty direction on model photos, not for consumer selfie filters. Free signup credits covered a few look tests for me on one drop. Paid plans raise monthly limits when you batch many beauty variants across a seasonal line.
What Makeup Editor does
You upload a fashion model or beauty campaign photo, choose makeup direction options on the form, and generate a still that updates cosmetic finish while keeping garment detail, camera angle, and overall pose as stable as the source allows.
When I tested an adult catalog face with soft studio light, the brow and lip lines stayed readable at zoom after the makeup shift, which is the check I use before merchandising approves the cosmetics listing.
Fashion Studio lists this beside hair styles, beauty cosmetics, portrait retouching, background remover, and image upscaler in the post production cluster.
Built for sellers who need beauty direction on product photos they already own. It is not a consumer mirror app for daily selfies.
I open this page after the hero garment or product photo is locked. Changing makeup, hair, and background together on run one wastes credits.
Free signup credits covered three makeup direction tests for me on one SKU before I batched sibling shades. Paid plans raise monthly limits for full catalog seasons.
In my experience, product detail near the face must survive the beauty pass. Soft fabric at the collar means I return to a sharper source file before I rerun.
I save the original catalog master beside every makeup variant so Hair Styles or Portrait Retouching can reuse the same base pose later.
For internal casting boards I label each download with the shade story merchandising approved so weekend uploads do not mix files in one folder.
When the brief is a full new cast instead of a beauty tweak, I open Female Fashion Models or Male Fashion Models rather than stacking makeup on the wrong base photo.
How to run it step by step
Step one: sign in or create a free account. Step two: upload a sharp model photo with face and product visible. Step three: pick makeup options, keep defaults on run one. Step four: generate and wait about 30 seconds. Step five: download or change one setting and compare beside the original.
My first run with defaults was already useful for a casting board conversation. The second run only nudged lip finish so I could judge the shade story without changing hair in the same pass.
I never overwrite the original catalog master. Beauty stacks grow fast across a drop.
If lip edges warp or fabric melts, I return to the original and change one control only instead of stacking edits on a skewed output.
I write the shade labels that won in a note beside the SKU so the next seasonal rerun matches the approved board.
Credits apply per generation, so I lock crop and face sharpness on the hero SKU before I batch alternate makeup reads for the same pose.
When I tested a foundation story on an on model still, I zoomed collar stitching at full resolution before I approved the pack for background remover as a second pass.
If skin texture looks over smoothed, I pick a cleaner source instead of running five makeup variants on a heavily filtered phone file.
For cosmetics listings I keep the product flat photo in the same folder so shoppers compare packaging type to the face direction in the worn still.
Which photo works best
Even studio or softbox light on the face shows makeup direction better than harsh on camera flash alone.
Sharp files with visible lip and eye lines beat heavy phone beauty modes. Casting tools amplify soft edges.
Match the framing on the Fashion Studio before and after card for this tool.
Include enough collar or product area in frame when the listing ties a cosmetic SKU to an apparel still.
Avoid extreme angles that hide one eye or half the lip. Beauty direction needs both sides readable for catalog review.
Neutral backgrounds keep attention on face and product. Busy locations fight the casting board layout.
Daylight near a window can work when exposure keeps skin tone stable. Blown highlights erase lipstick detail parents and buyers zoom on.
For dark skin tone stories I start from a source with accurate exposure so shade swatches in the listing copy match the preview direction.
Remove stray hairs across the lip line in the source when you can. The tool copies them faithfully and they read as sloppy on a cosmetics hero.
Mistakes I avoid
Pitching this page like a consumer selfie filter. Fashion Studio post production is for seller model photos.
Changing makeup, hair, and retouch together on run one. Change one post production control per run so you know what improved.
Expecting exact Pantone match from a visual draft. I take the download to shade review as a conversation still, then compare physical swatches in person.
Uploading a tiny face crop when the listing is a full length dress shot. The tool has little context for collar and hem continuity.
Batching ten shade variants from one blurry phone snap before the hero sharpness is approved.
Using suggestive posing or language on any beauty output. I keep professional catalog tone on every board file.
When to use another tool
Need hair direction instead of makeup? Hair Styles. Need a broader beauty product story? Beauty Cosmetics page. Need skin cleanup after makeup approval? Portrait Retouching. Need a white field after the face pass? Background Remover. Need sharper export for print? Image Upscaler.
The post production cluster guide maps sibling pages. The Fashion Studio pillar covers casting and ecommerce when beauty direction is locked.
If the brief is a new adult cast rather than a beauty tweak on an existing photo, open the fashion models hub from the apparel on models cluster.
Body Type Modifier and Model Age Changer handle silhouette and age reads on adult casting boards, not lipstick finish.
After the download
I attach the original master beside the makeup variant in the SKU folder so merchandising can compare fabric and product detail at the same zoom.
For internal casting boards I name files by SKU, shade note, and date so contractors do not mix variants from the same shoot.
When a channel asks for a second hair story on the same face, I feed the approved makeup still into Hair Styles instead of restarting from a random crop.
If lip edges soften, I return to the sharpest original and rerun with a smaller makeup nudge rather than stacking fixes on a soft file.
I screenshot the form labels that worked and paste them into the SKU notes so next season matches the approved beauty direction without guessing.
When marketplace policy asks how a photo was made, I keep the untouched original in the package and label AI assisted beauty drafts clearly in internal notes.
FAQs
Related studio guides
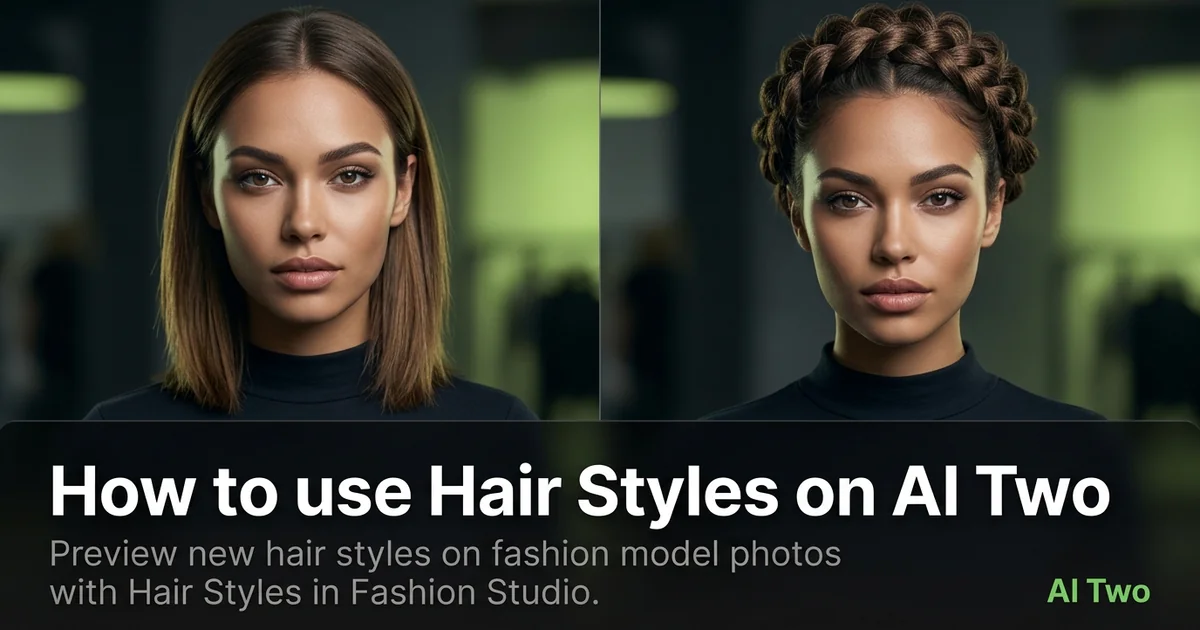
How to use Hair Styles on AI Two
Preview new hair styles on fashion model photos with Hair Styles in Fashion Studio.
Read guide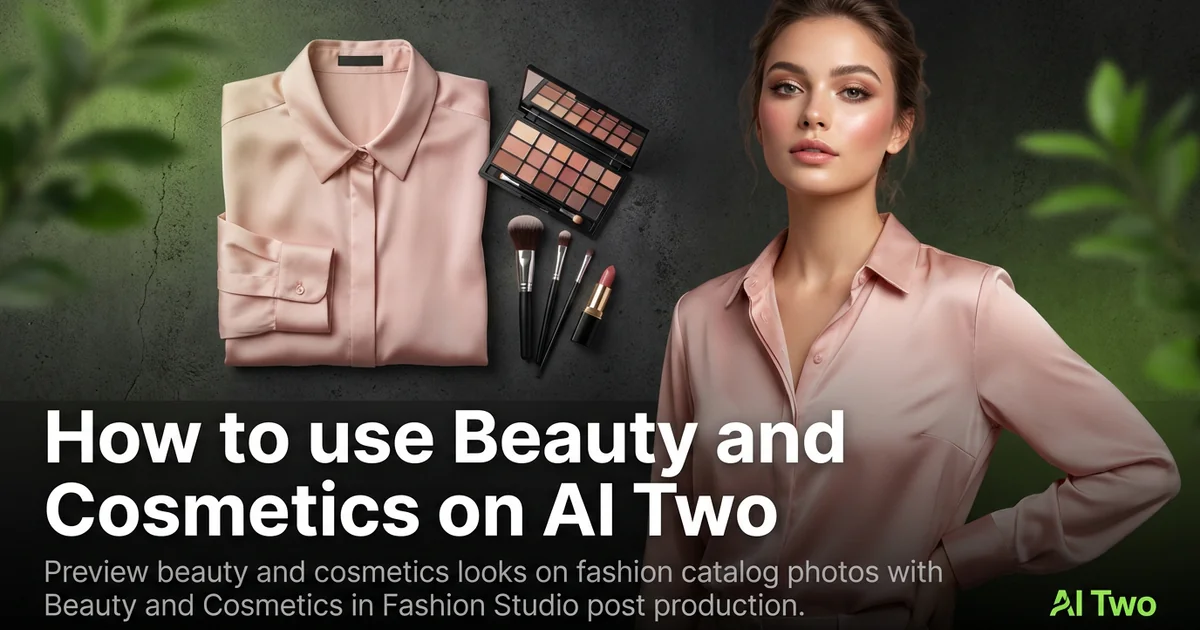
How to use Beauty and Cosmetics on AI Two
Preview beauty and cosmetics looks on fashion catalog photos with Beauty and Cosmetics in Fashion Studio post production.
Read guide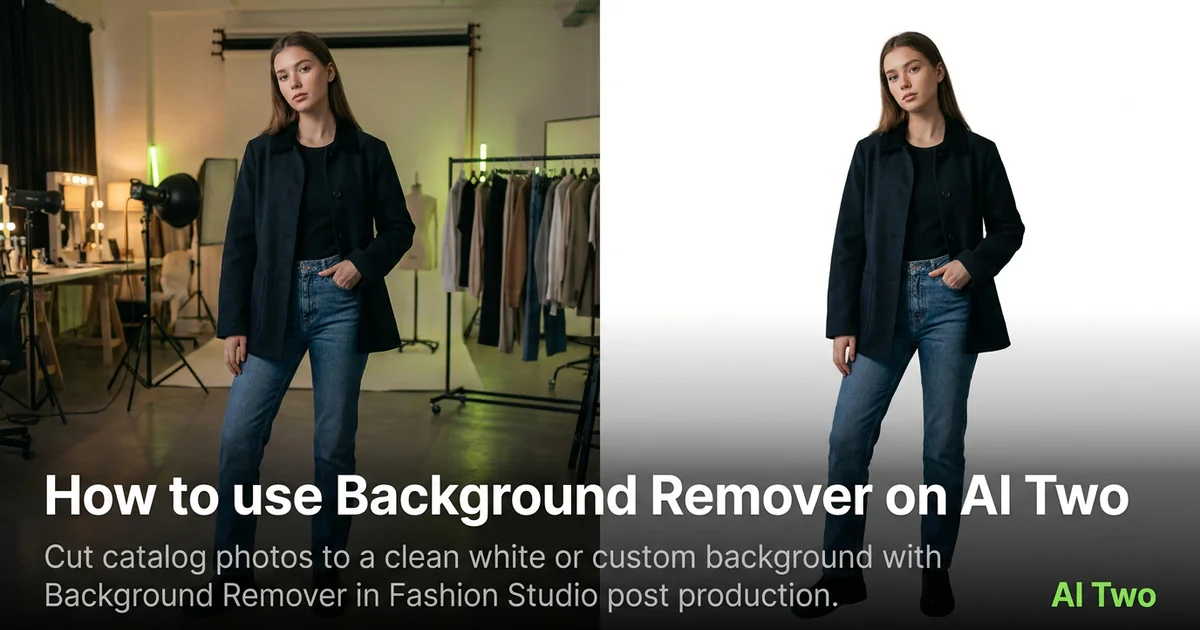
How to use Background Remover on AI Two
Cut catalog photos to a clean white or custom background with Background Remover in Fashion Studio post production.
Read guide