
How to use Beauty and Cosmetics on AI Two
Preview beauty and cosmetics looks on fashion catalog photos with Beauty and Cosmetics in Fashion Studio post production.
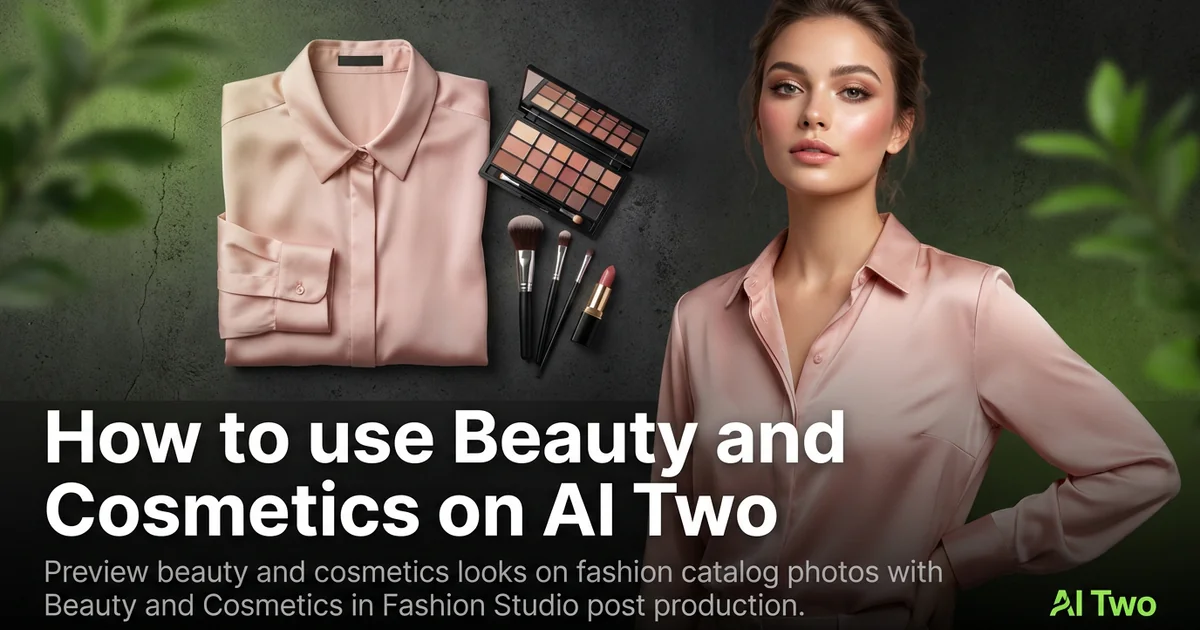
Beauty and Cosmetics on AI Two is the Fashion Studio post production page I open when an apparel or cosmetics seller needs to polish beauty looks on an existing model shot for catalog export. This is seller workflow for on model assets, not consumer personal styling. When I tested a neutral studio portrait with light foundation adjustment, the skin finish looked cleaner at thumbnail size without shifting garment detail, which is the check I use before I run background remover for the white field variant.
What Beauty and Cosmetics does
Upload a model or catalog portrait, choose beauty direction on the form, and generate a still with refined cosmetics presentation while keeping garment and pose stable.
When I tested a catalog face beside a lipstick flat lay campaign, the output balanced skin finish and lip tone without washing out the apparel logo on the chest.
Fashion Studio lists this beside hair, makeup editor, retouching, and upscaler tools in post production.
Built for sellers polishing shoot assets for marketplaces and lookbooks, not for one off consumer makeover apps.
I open this page after the on model shot and garment approval exist. Beauty work comes late in my pipeline.
Free signup credits covered early SKUs for me. Paid plans raise monthly limits for large catalog batches.
In my experience, starting from an already clean studio photo beats fixing a cluttered lifestyle snap here.
I name exports by SKU and beauty preset so the upload folder does not mix campaign variants.
For multi product beauty lines I lock one face crop on the hero SKU before I batch shade families.
How to run it step by step
Step one: sign in or create a free account. Step two: upload the catalog still you already approved. Step three: pick beauty direction, keep defaults on run one. Step four: generate and wait about 30 seconds. Step five: download and check skin and product zones at full zoom.
Keep the original layered file if your workflow uses one.
When I tested cheek and lip balance on a blazer shot, I zoomed the face before I uploaded to the store backend.
I run natural finish first for marketplaces that reject heavy retouch, then bolder looks for social crops from the same source.
Credits apply per generation, so I lock crop on the hero SKU before I batch five shade variants.
If skin looks plastic, I reduce intensity on run two instead of stacking ten generations on a harsh flash photo.
I export the approved still at full resolution before I open background remover for marketplace white fields.
Which photo works best
Even studio light with clear facial detail beats cluttered room shots with mixed color bulbs.
Contrast between skin, hair, and garment helps the tool keep product edges clean. Gray on gray fights separation.
Match the framing on the Fashion Studio before and after card for this tool.
Avoid motion blur on hair and hands. Soft edges are hard to fix in post.
Shoot at higher resolution when you plan heavy zoom crops on beauty marketplaces.
Keep earrings and fine straps sharp. Thin lines are the first place halos appear after heavy beauty passes.
Remove tape and pins from hem clips before you shoot. They copy into the retouched frame.
For cosmetics sellers, include the product zone you will crop for ads in the original framing.
Mistakes I avoid
Using beauty polish as a substitute for a bad on model generation. Fix the source still first.
Changing lip color, skin finish, and background together before I check the face at zoom.
Expecting editorial campaign gloss from a catalog beauty tool on every SKU.
Batching twenty shades before the hero face quality is approved at thumbnail size.
Uploading heavily compressed JPEGs with block artifacts along the jawline.
Opening this page for consumer outfit picking. Apparel on models and personal styling tools serve different audiences.
When to use another Fashion tool
Need precise lip or eye edits on an approved face? Makeup Editor. Need hairstyle changes? Hair Styles. Need skin cleanup without full beauty direction? Portrait Retouching. Need white field delivery? Background Remover. Need print resolution? Image Upscaler.
The post production cluster guide maps sibling pages. The Fashion Studio pillar covers on model generation when you do not have a source shot yet.
Hair and makeup pages are narrower when only one feature needs change. Beauty and Cosmetics covers broader catalog beauty polish.
After the download
I upload the polished still to the listing draft only after I zoom the face on a desktop monitor, not just on my phone.
For shade families I save the preset name in the filename so seasonal reruns match the style guide.
When a channel rejects heavy retouch, I return to the source on model still and rerun with a lighter setting instead of editing pixels by hand.
I keep an unretouched master in the SKU folder and export delivery formats from the approved beauty pass so I never reprocess from a compressed JPEG.
Catalog batches move faster when I approve face quality on one hero SKU before anyone uploads twenty variants to the store backend.
FAQs
Related studio guides
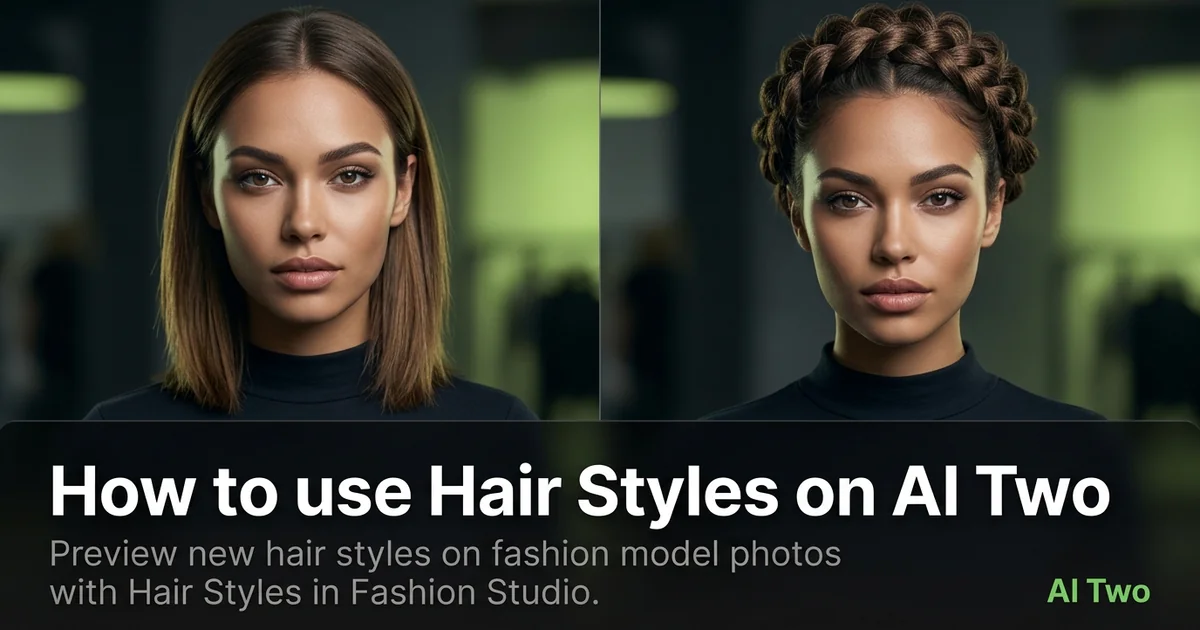
How to use Hair Styles on AI Two
Preview new hair styles on fashion model photos with Hair Styles in Fashion Studio.
Read guide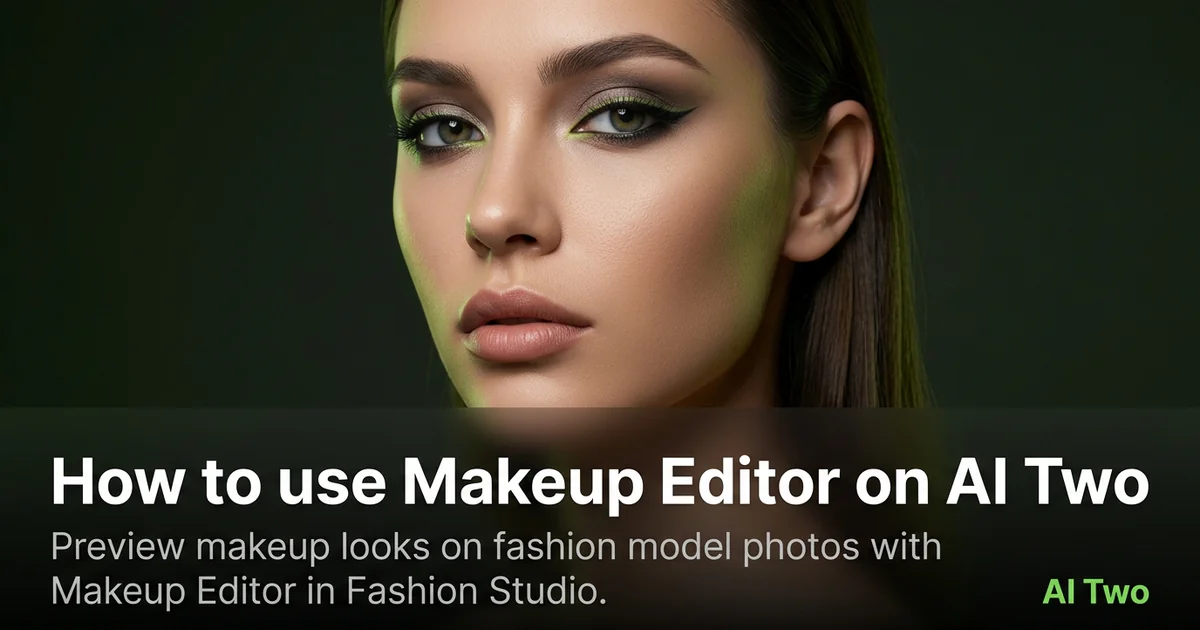
How to use Makeup Editor on AI Two
Preview makeup looks on fashion model photos with Makeup Editor in Fashion Studio.
Read guide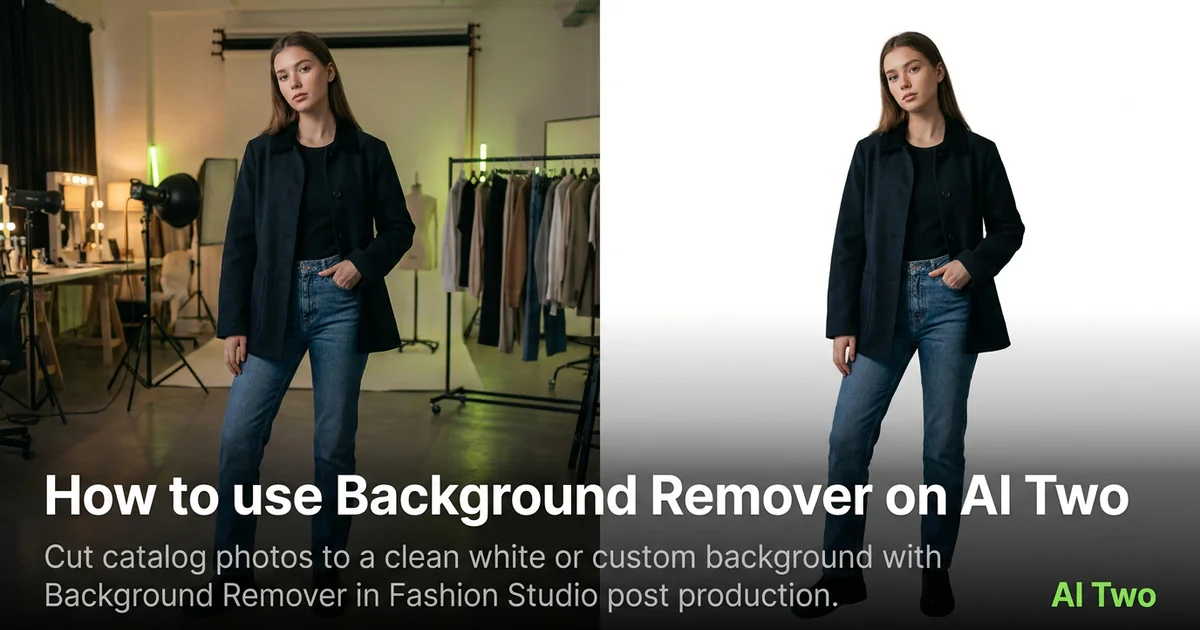
How to use Background Remover on AI Two
Cut catalog photos to a clean white or custom background with Background Remover in Fashion Studio post production.
Read guide