
How to use Image Upscaler on AI Two
Upscale fashion product and model photos with Image Upscaler in Fashion Studio.
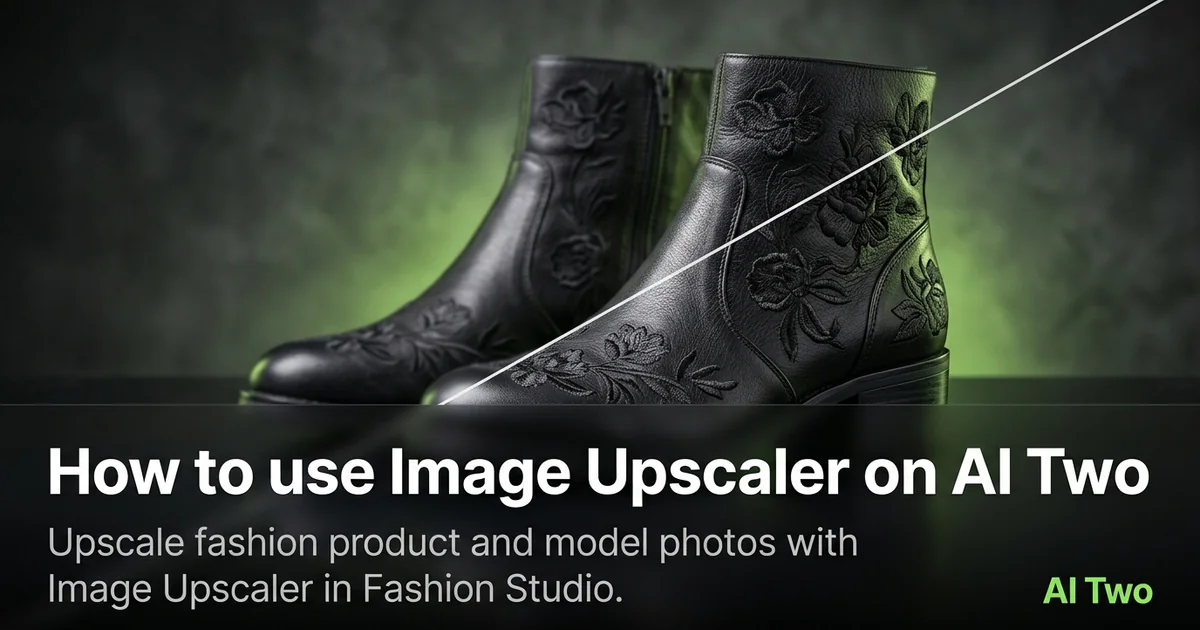
Image Upscaler on AI Two is the post production page I open when an approved fashion product or on model still needs more pixels for a marketplace zoom, print lookbook, or wholesale PDF. Apparel and jewelry sellers use it after the hero frame is locked, not as a rescue tool for a hopelessly soft camera mistake. When I tested a 1200 pixel on model still from a prior catalog pass, the upscale kept seam edges readable at two hundred percent zoom, which is the check I use before upload. It lives in the Fashion Studio post production cluster beside hair, makeup, retouch, and background tools. Free signup credits covered a few exports for me. Paid plans raise monthly limits when a season needs many files resized.
What Image Upscaler does
You upload a photo that is already in focus, choose upscale options on the form, and generate a larger file that adds pixel density while keeping edges as clean as the source allows.
When I tested a knit texture flat lay, the upscale kept stitch rows separable at zoom on a monitor calibrated for merchandising review. That is the check I use.
Fashion Studio lists this beside Hair Styles, Makeup Editor, Beauty Cosmetics, Portrait Retouching, and Background Remover in post production.
Built for sellers finishing catalog assets. It is not a magic fix for motion blur or a photo shot through a dirty lens.
I open this page after cast, packshot, or retouch is approved. Upscaling a draft wastes credits when art direction still changes.
Free signup credits covered several hero exports for me before a print lookbook deadline. Paid plans raise monthly limits for full season archives.
In my experience, JPEGs saved too many times look crunchy after upscale. I start from the earliest sharp export when I can.
I name downloads with SKU and target width so web and print variants do not overwrite each other.
For jewelry I upscale only after prongs look correct at one hundred percent on the source. Upscale cannot invent lost prong tips.
Treat the output as a larger copy of a good file. Color accuracy still needs your monitor profile and marketplace spec.
When a channel caps file size, I upscale once to their max width instead of chaining multiple passes.
How to run it step by step
Step one: sign in or create a free account. Step two: upload the sharpest approved still you have, not a screenshot of a screenshot. Step three: pick upscale strength, keep defaults on run one. Step four: generate and wait about 30 seconds. Step five: download and compare at one hundred and two hundred percent zoom.
Keep the pre upscale file. Marketplaces sometimes reject oversharpened heroes.
When I tested a denim on model still, I checked pocket stitching at two hundred percent before I sent the file to print.
I run web and print targets as separate downloads when both channels need the same SKU. One mega file is slow on mobile PDPs.
Credits apply per generation, so I lock one target size on the hero SKU before I batch five colorways.
If halos appear around hair or jewelry, I return to the source and reduce aggressive sharpening in the camera export instead of upscaling again.
If the file was never sharp, I reshoot or rerun the original fashion tool rather than expecting upscale to invent detail.
I write the target width in the filename so contractors do not upload the print variant to the mobile slot.
When background cleanup is still needed, I run Background Remover before upscale so edges stay clean at larger size.
Which photo works best
Start from the largest native export your camera or fashion tool produced. Tiny social downloads upscale poorly.
Even lighting and accurate focus beat heavy filters. Upscale inherits every artifact you baked in.
Match the kind of sharp catalog still you already approved on the Fashion Studio tool that created it.
Avoid upscaling screenshots from chat apps. Compression blocks look like checkerboards at zoom.
For on model stills, check eyes and jewelry metal at one hundred percent before upscale. Soft sources stay soft.
For flat apparel, confirm weave detail is visible before upscale. Blur does not turn into thread count.
Export PNG or high quality JPEG from your DAM when possible. Repeated re saves add noise.
Crop to final composition before upscale when the channel requires exact aspect ratio. Cropping after wastes pixels.
For dark navy and black fabric, verify shadow detail is not clipped to pure black before you upscale.
If you must upscale a older archive, pick the least compressed file in the folder, not the email attachment version.
Mistakes I avoid
Upscaling a blurry phone snap and expecting catalog macro detail.
Chaining three upscale passes on the same file. Halos and plastic skin follow.
Upscaling before background removal when stray studio clutter still shows.
Replacing the only archive copy with an upscale. I keep the original smaller file too.
Sending print upscales to mobile PDP slots without checking load time and channel byte limits.
Using upscale to fix wrong cast or wrong SKU. Regenerate from the correct fashion tool instead.
Assuming color match to a physical swatch after upscale. Verify under merchandising light.
When to use another tool
Need hair, makeup, or skin cleanup before resize? Open Hair Styles, Makeup Editor, Beauty Cosmetics, or Portrait Retouching. Need a clean background first? Background Remover. Need a new on model or packshot? Return to the apparel or jewelry tool that created the hero, not upscale alone.
The fashion post production guide maps sibling pages. The Fashion Studio pillar lists model and product tools when the asset does not exist yet.
After the download
I place the upscale beside the original in the DAM so reviewers can toggle size without losing the smaller web master.
For print lookbooks I note DPI and width in the job ticket so the vendor does not resample again.
When a marketplace rejects oversharpened files, I re export from the pre upscale master with gentler settings.
If fabric moire appears at two hundred percent, I return to the source photo instead of running another upscale pass.
I keep a checklist row for upscale in the seasonal launch sheet so no SKU goes live with a soft hero on zoom.
For jewelry I verify prong tips again at two hundred percent after upscale before the wholesale PDF ships.
When contractors hand back mixed folders, I sort by filename width token before upload day.
FAQs
Related studio guides
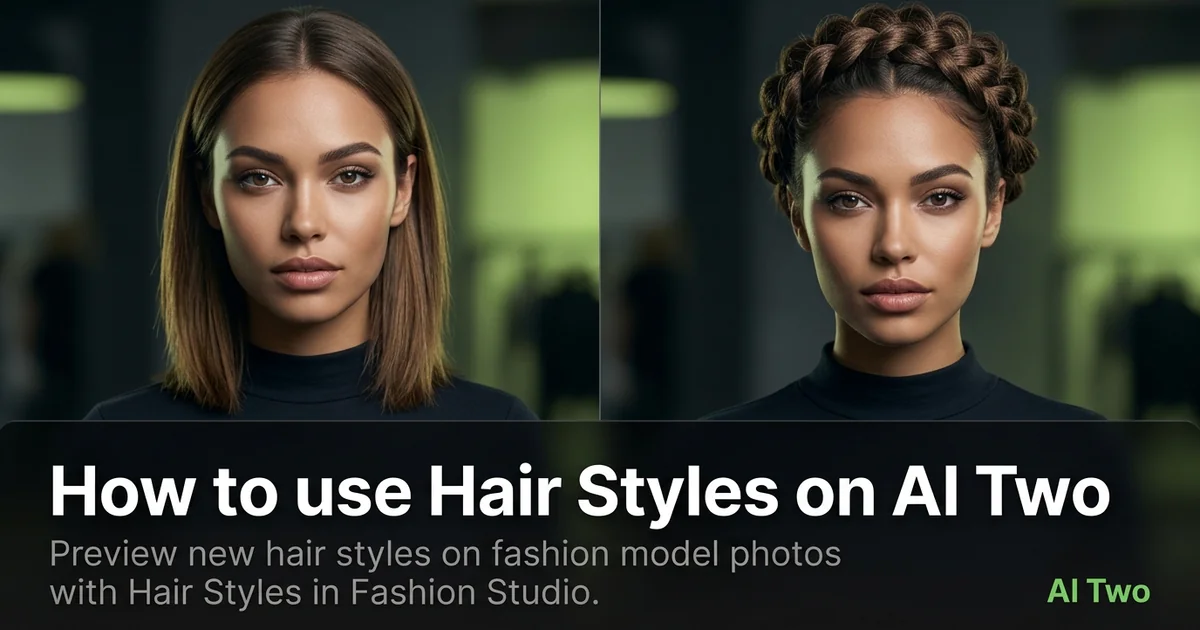
How to use Hair Styles on AI Two
Preview new hair styles on fashion model photos with Hair Styles in Fashion Studio.
Read guide
How to use Makeup Editor on AI Two
Preview makeup looks on fashion model photos with Makeup Editor in Fashion Studio.
Read guide
How to use Beauty and Cosmetics on AI Two
Preview beauty and cosmetics looks on fashion catalog photos with Beauty and Cosmetics in Fashion Studio post production.
Read guide