
How to use Clothing Changer on AI Two
Swap garments on a fashion model photo with Clothing Changer in Fashion Studio casting tools.
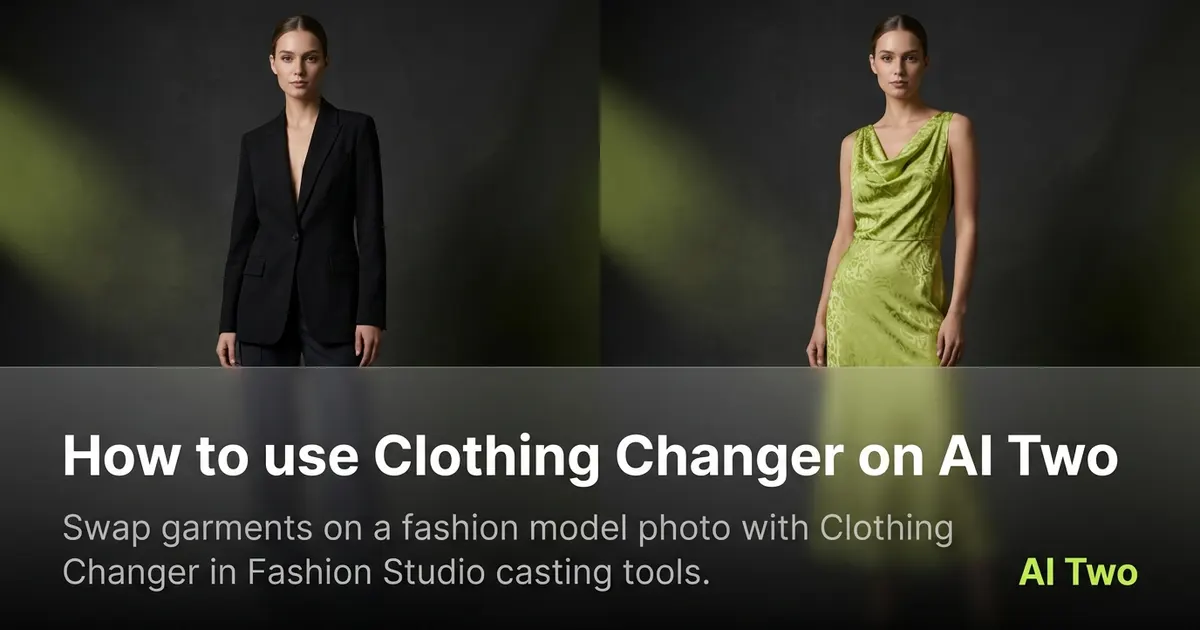
Clothing Changer on AI Two is the Fashion Studio casting page I open when an on-model product photo needs a different garment SKU on the same pose without booking a new shoot. Apparel sellers use it to swap tops, dresses, or outerwear on a person already in frame while keeping face and body context readable. When I tested a blazer swap on a straight catalog pose, the lapels and buttons stayed sharp enough for a marketplace zoom, which is the bar I use before I approve a variant. I treat the download as a seller catalog draft, not a consumer outfit of the day picker.
What Clothing Changer does
You upload an on-model fashion photo or follow the form with garment references, choose swap options, and generate a still that replaces the visible garment while keeping pose and lighting as stable as the source allows.
When I tested a knit dress swap on a full length catalog frame, the tool kept hem line readable at marketplace zoom while the silhouette changed to the new SKU story.
Fashion Studio lists this page beside Body Type Modifier and Model Age Changer in the casting cluster. Credits meter each generation.
Built for sellers who need garment variants on existing model photos. It is not a consumer personal styling or outfit of the day tool.
I open this page after body type and age casting are locked when those steps matter for the channel.
Free signup credits covered three garment swap tests for me on one hero SKU. Paid plans raise monthly limits when you batch many variants across a drop.
In my experience, garment edges and print areas must survive the swap. Soft seams mean I go back to a sharper source file.
I save the original beside every swapped still so merchandising can compare fabric detail at the same zoom.
For lookbooks I note which garment SKU each download represents so weekend uploads do not mix files in the folder.
How to run it step by step
Step one: sign in or create a free account. Step two: upload a sharp on-model photo with the current garment fully visible. Step three: add the target garment photo or pick swap options, keep defaults on run one. Step four: generate and wait about 30 seconds. Step five: download or change one setting and compare beside the original.
My first run with defaults was already useful for a SKU variant check. The second run only nudged garment length so I could judge fit without guessing which control helped.
I never overwrite the original catalog master. Casting and swap stacks grow fast across a drop.
If sleeves warp, return to the original and change one control only instead of stacking edits on a skewed output.
I write the garment SKU and setting notes beside the file so the next seasonal rerun matches the approved swap.
Credits apply per generation, so I lock crop and face sharpness on the hero pose before I batch five garment variants.
When I tested a coat swap, I zoomed buttons and collar at full resolution before I approved the pack for color tools later.
Which photo works best
Straight on catalog lighting with the full garment in frame beats party snapshots and heavy phone filters. Extreme angles bend limbs and hide hem lines.
Soft files under about 800 pixels look muddy after a garment swap. Start sharp.
Match the framing on the Fashion Studio before and after card for this tool.
Show face and torso clearly when the listing needs identity continuity across the variant set.
Shoot the replacement garment on neutral gray when the form asks for a product reference. Busy patterns on the source flat lay hide seam detail.
Avoid heavy beauty filters on the model source. Casting tools amplify soft skin and soft fabric edges.
Include shoes or hem when length is part of the SKU story. Cropping the hem leaves the fit talk incomplete.
Daylight near a window or softbox light gives cleaner fabric folds than mixed yellow bulbs that flatten black garments.
Mistakes I avoid
Changing body type, age, and garment together on run one. Run casting tools first, then Clothing Changer when the pose is locked.
Expecting exact fabric SKU match from a visual draft. I compare swatches in hand against the download before I publish color copy.
Uploading a cropped torso when the SKU is a full length dress. The tool invents missing fabric and the hem looks soft.
Batching ten garment swaps from one blurry phone snap before the hero sharpness is approved.
Treating this page like a consumer try on mirror. Fashion Studio casting is for seller product photos.
When to use another Fashion tool
Need a different silhouette on the same pose? Open Body Type Modifier. Need a different apparent age? Model Age Changer. Need only a hue change on an approved garment? Clothing Color Changer in the try on cluster. Need a brand new face from the roster? Open the fashion models hub from the studio sidebar.
The casting cluster guide maps sibling pages. The Fashion Studio pillar covers ecommerce, jewelry, and post production when cast is locked.
If the job is placing a flat lay on a body for the first time, Virtual Try On may come before Clothing Changer in the try on cluster workflow.
After the download
I attach the original beside the swapped still in the SKU folder so merchandising can compare seam detail at the same zoom.
For marketplace packs I name files by garment SKU and date so weekend uploads do not mix variants.
When a channel asks for a second colorway, I feed the approved swap into Clothing Color Changer instead of restarting from a random crop.
If collar stitching softens, I return to the sharpest original and rerun with a smaller swap nudge rather than stacking fixes on a soft file.
I screenshot the form labels that worked and paste them into the SKU notes so next season matches the approved garment swap without guessing.
FAQs
Related studio guides
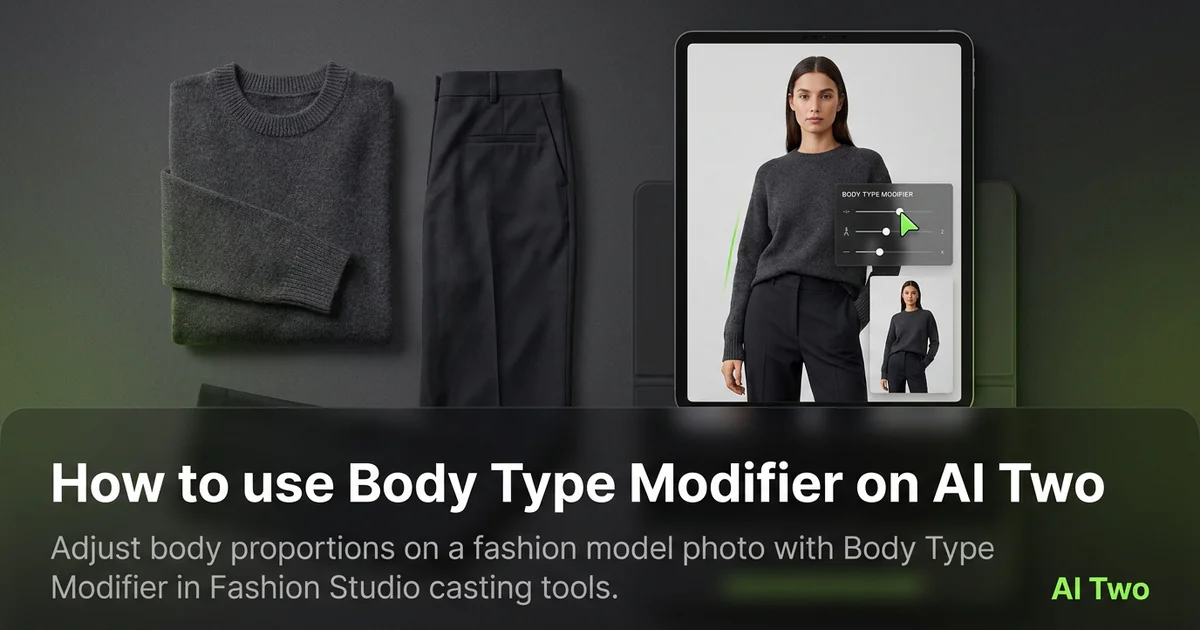
How to use Body Type Modifier on AI Two
Adjust body proportions on a fashion model photo with Body Type Modifier in Fashion Studio casting tools.
Read guide
How to use Model Age Changer on AI Two
Adjust apparent age on fashion model photos with Model Age Changer in Fashion Studio.
Read guideHow to use Body Type Modifier on AI Two
Adjust body proportions on a fashion model photo with Body Type Modifier in Fashion Studio casting tools.
Read guide