
How to use House Design AI on AI Two
Upload a house photo and preview exterior redesign options with House Design AI in Home Design Studio.
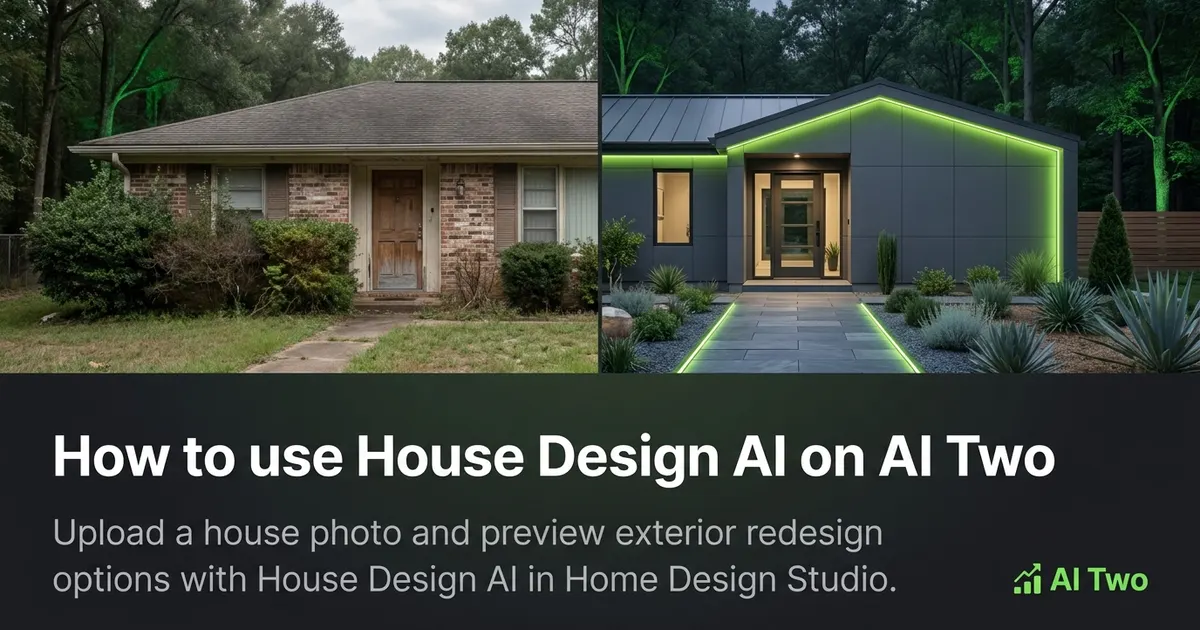
House Design AI on AI Two turns a front or side elevation photo into an exterior redesign still in about 30 seconds. I open it when a homeowner, agent, or contractor needs to see a new facade direction before anyone orders siding, stone, or trim packages. The tool keeps your roof line, windows, and yard context readable while it updates the exterior treatment in the preview. When I tested a split level with dated vinyl, the modern cladding preview looked coherent enough to text the client the same afternoon. I treat the download as a visual draft for the exterior consult, not a stamped drawing or permit set.
What House Design AI does
You upload a house photo, pick a redesign direction or style preset, and generate. The preview returns a still image you can download and share. It is a visual draft for decisions, not a CAD file, engineering sheet, or contractor bid.
When I tested a ranch with faded beige siding last spring, the darker board and batten direction kept window spacing believable while it changed the wall treatment. That is the bar I use before I approve a keeper.
Home Design Studio lists this page beside paint, architecture, landscaping, roof, door, and window tools in the exterior cluster. You can run House Design AI first, then open a sibling page if one detail still looks wrong on the same photo.
Credits meter each generation on your account. Free signup credits covered three exterior direction tests for me before I locked a mood for the siding quote. Paid plans raise the monthly cap when you batch many listings or client homes.
I open this page when the whole facade needs a fresh read, not when only paint color or one door slab is the question. Narrower visualizer pages save credits when the brief is that specific.
In my experience, one straight photo with the full elevation in frame beats a folder of stock renders that do not match the lot. The model reads massing from your pixels.
For rental listings I note which redesign direction is staging only versus which elements the owner might approve on a longer lease.
I save before and after pairs in a client folder named by street address so revision calls do not mix uploads from different properties.
When a neighbor wall sits close to the frame, I crop carefully but keep enough of the subject house so roof pitch and entry proportions stay honest in the output.
How to run it step by step
Step one: sign in on AI Two or create a free account. Step two: open House Design AI and upload a daylight photo of the full facade you want to rethink. Step three: pick a style or direction, leave other fields on default for the first run. Step four: click Generate and wait about 30 seconds. Step five: download the keeper or change one setting only and run again.
On my first run I used the defaults and already had a usable draft. The second run only changed wall material tone so I could compare side by side without guessing which control caused the difference.
I keep the original photo in a dated folder and never overwrite it. Exterior options stack quickly, and you will want the same base file when you try a third scheme next week.
If walls warp or the roof line bends, your angle may be extreme or the crop too tight. Step back, reshoot straighter, and run again instead of stacking five failed edits.
I write the style name that won in a note beside the address so the contractor walk stays focused on the same direction.
Credits apply per generation, so I lock one camera angle on the lead elevation before I batch three facade moods for the same client.
When I tested a colonial with heavy shadow under the porch, a brighter reshoot at midday fixed panel detail better than rerunning on the dark file.
If the first run feels too heavy, I change only the style preset on run two. That keeps roof and trim from shifting at the same time.
Which photo works best
Straight on daylight elevations work better than dusk phone snaps with yellow porch bulbs. Show the full wall and roof line you plan to discuss. Crop out parked cars when you can, but keep enough of the house so the model can read openings and trim.
Files under about 800 pixels on the long edge look soft after redesign. I export the highest resolution my phone allows, then resize only if upload asks for it.
The studio before and after card for this tool uses a real house photo. Match that kind of camera height when you shoot your own before photo and you should land closer to that quality.
Avoid heavy social filters before upload. The model reads color and texture from the pixels you give it, and a teal filter will fight the siding direction you pick in the form.
Clear delivery boxes and holiday decor from the porch when you can. They copy into the redesign and distract from the facade story.
Shoot level across the walk. Angled phone tilts make roof lines look crooked in the output.
Include the garage door when that elevation matters for the remodel talk. Cropping it out leaves the budget conversation incomplete.
Open curtains in ground floor windows if you want the elevation to read as occupied. Dark glass can look flat in the preview.
Mistakes I avoid
Changing style, roof tone, and wall material together hides which choice helped. Change one variable per generation until you have a winner.
Expecting exact manufacturer SKUs from a visual preview leads to frustration. I take the winning download to a showroom and match finishes under daylight, not under fluorescent aisle lights alone.
Sending a builder only the AI still without the original photo. They need both to judge openings, roof pitch, and existing trim condition.
Running five dark filters on the phone before upload. The redesign inherits that cast.
Treating the preview as a permit or engineering document. It is a visual draft for conversation, not a stamped plan set.
Cropping out the second story when that is the expensive line item leaves the client brief incomplete.
When to use another exterior tool
Need paint color only on an otherwise fixed facade? Open Paint My House AI. Need a broader architecture style pass with different framing language? Architecture AI. Need plant beds and lawn mood? Landscaping AI. Need one detail like shingles, doors, or windows? Roof Visualizer, Door Visualizer, and Window Replacement sit in the same exterior cluster.
The exterior cluster guide maps every facade tool. The Home Design Studio pillar covers rooms, outdoor structures, and edits when the front elevation preview is approved.
If curb score and priority notes come first, open Curb Appeal Rater before you spend redesign credits on pixels.
After the download
I attach the original photo beside the AI still in the client email so everyone compares the real house, not just the preview.
For contractor walks I print one keeper at letter size and write the chosen style direction on the margin. Phones zoom differently in sunlight.
When a homeowner asks for a second direction, I rerun from the same source file instead of editing pixels by hand. That keeps geometry stable.
I store keepers in a folder named by address and date so next season reruns start from the same before file.
Listing agents get a short note that the exterior preview is a visual draft only. Materials, code, and structural scope still need a supplier and builder check.
FAQs
Related studio guides
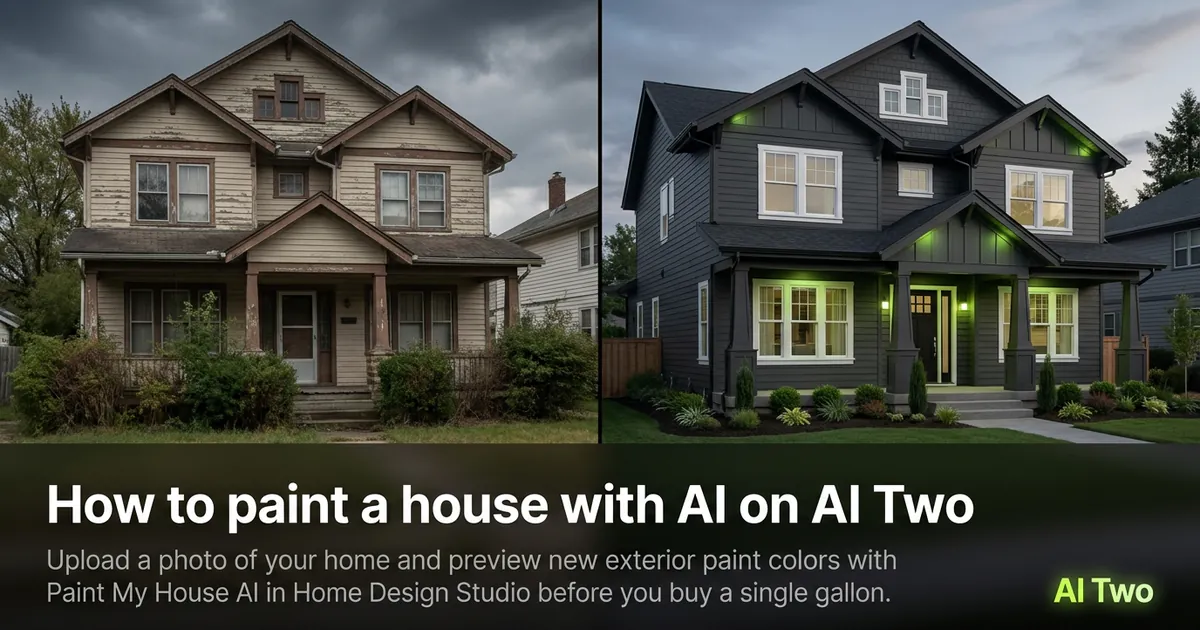
How to paint a house with AI on AI Two
Upload a photo of your home and preview new exterior paint colors with Paint My House AI in Home Design Studio before you buy a single gallon.
Read guide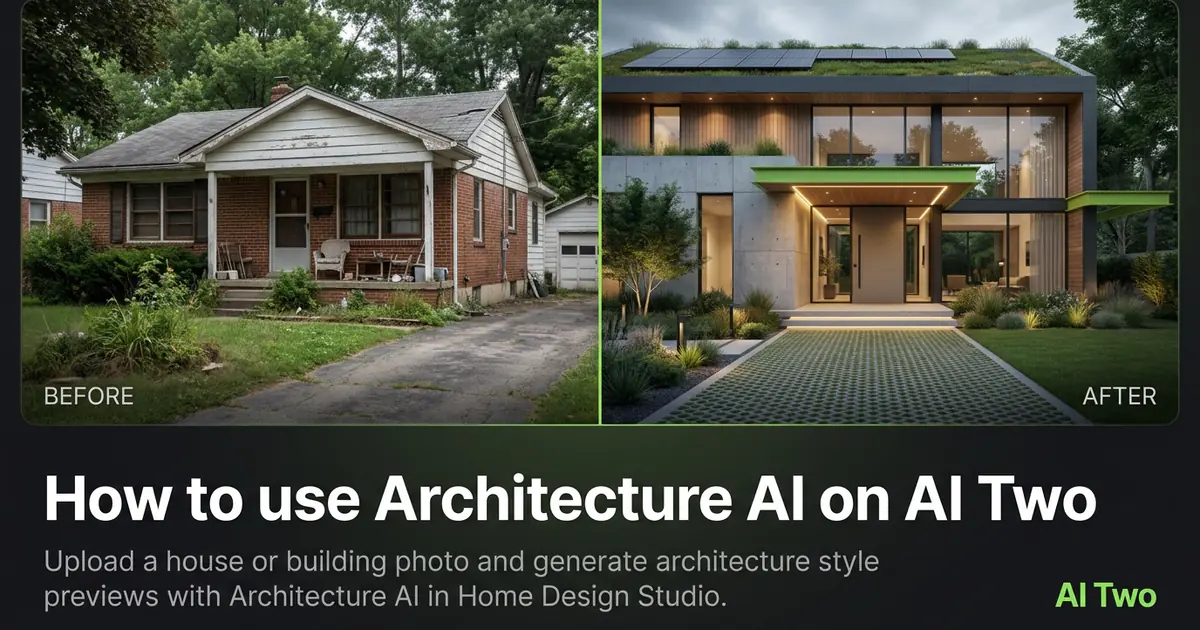
How to use Architecture AI on AI Two
Upload a house or building photo and generate architecture style previews with Architecture AI in Home Design Studio.
Read guide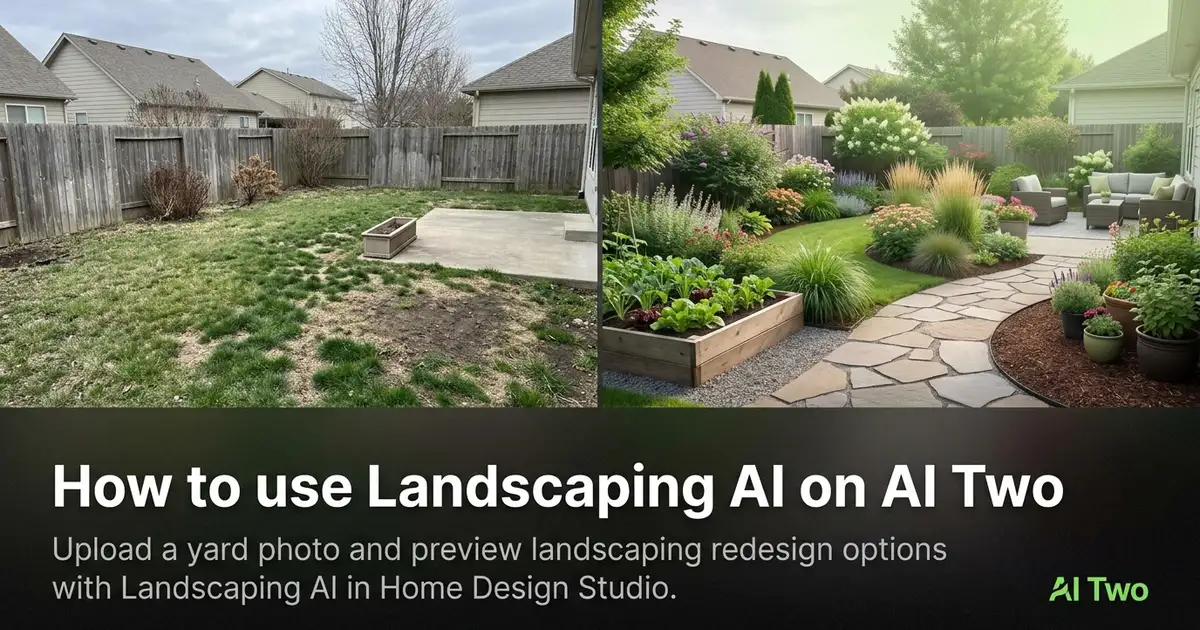
How to use Landscaping AI on AI Two
Upload a yard photo and preview landscaping redesign options with Landscaping AI in Home Design Studio.
Read guide