
How to use Fashion Catalog on AI Two
Create fashion catalog style product stills with Fashion Catalog in Fashion Studio.
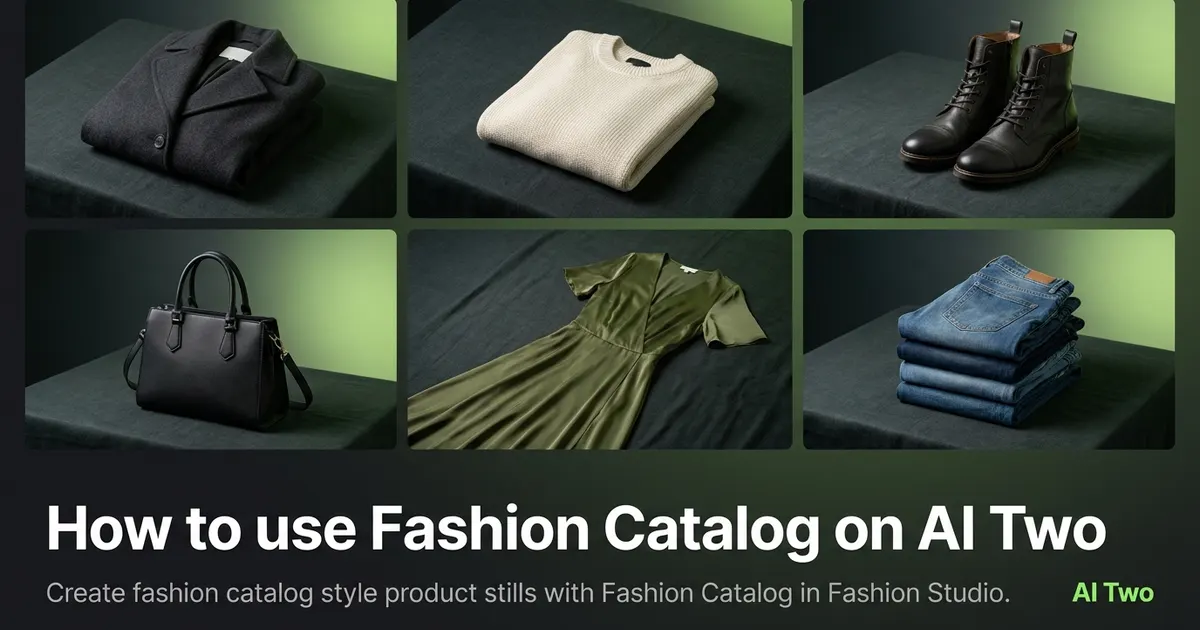
Fashion Catalog on AI Two is the shoot type page I open when an apparel seller needs clean catalog frames that read at thumbnail size on marketplaces and wholesale portals. You upload an approved garment or on model base, run the catalog workflow, and download a still tuned for comparable product presence across a line. When I tested a linen dress after ghost mannequin prep, the catalog frame kept the hem and neckline stable enough for a grid of twelve SKUs. I treat outputs as seller campaign assets, not consumer outfit inspiration. Credits meter each generation. Free signup credits covered several catalog moods for me on one hero SKU before I batched the rest of the drop on a paid plan.
What Fashion Catalog does
You upload a sharp apparel base photo, run Fashion Catalog, and download a listing oriented still with catalog style framing and lighting.
When I tested catalog versus editorial on the same blouse, catalog kept the product readable at thumbnail size while editorial spent more frame on atmosphere.
Fashion Studio lists this page in the shoot types cluster beside Fashion Editorial, Outdoor Shoots, Studio Shoots, Bundle Shots, and Fashion Trends.
Built for sellers who need consistent frames across many SKUs. It is not a personal styling page.
I open Fashion Catalog after packshot or try on bases are approved so fabric detail is already locked.
Free signup credits covered three catalog tests for me on one dress SKU. Paid plans raise monthly limits when you shoot a full seasonal line.
In my experience, catalog frames fail when the source is soft. I fix the base photo before I spend mood credits.
I save catalog downloads beside ghost mannequin outputs with the same SKU code for channel specific uploads.
For wholesale lines I note which buyer portal each catalog still targets so reps do not send editorial mood to a catalog only buyer.
How to run it step by step
Step one: sign in or create a free account. Step two: confirm the garment and model base already look correct on a sharp photo. Step three: open Fashion Catalog and keep defaults on run one. Step four: generate and wait about 30 seconds. Step five: download or compare one setting change beside the original.
I name the channel and mood in one sentence before I generate. Catalog means comparable product presence, not a runway story.
When I tested a row of knit tops, I reused one approved ghost mannequin base across six SKUs instead of re shooting each hanger.
Credits apply per generation. I approve two hero frames max during tests, then batch the SKU list once creative signs off.
If logos smear at zoom, I stop and return to the ecommerce hub or Ghost Mannequin before more catalog runs.
I change one setting per run. Combined changes make it hard to repeat success on the next SKU.
Bundle listings need each piece visible in inputs before I ask for a set frame on the Bundle Shots sibling.
I label downloads with SKU, shoot type, and date before I upload to marketplace backends.
Which photo works best
Start from a sharp on model or strong garment photo with readable seams and prints. Catalog tools amplify what you give them.
I keep a base approved folder that only holds files cleared for campaign moods. That stops me from running catalog on a draft try on I already rejected.
Even lighting in the source helps catalog frames stay consistent across a grid. Harsh window streaks on one SKU stand out beside neighbors.
Avoid heavy filters before upload. Catalog adds its own polish. Double styling in the source fights the page.
If the garment is cropped at the hem, the model may invent fabric and the catalog frame looks soft at zoom.
White balance should match across the line when you build a collection page. Mixed bulbs make navy and black SKUs look unrelated.
On model bases need clean edges around hair and shoulders. Messy cutouts distract from product detail in thumbnail view.
When prints are the selling point, I upload the highest resolution file the camera allows so stripe edges stay crisp.
Mistakes I avoid
Running catalog before the garment base is approved on Ghost Mannequin or flat lay. Mood tools cannot fix a wrong size or soft logo.
Using editorial frames on catalog only buyer portals that reject atmosphere heavy crops.
Batching twelve SKUs before one catalog test passes full zoom on logos and seams.
Mixing catalog outputs from different white balances in one collection grid.
Treating catalog stills as legal proof of fit. They are marketing frames for ecommerce listings.
Forcing catalog reruns when Bundle Shots or Fashion Editorial is the brief the channel actually needs.
When to use another tool
Need multi piece set frames? Bundle Shots. Need brand story atmosphere? Fashion Editorial. Need exterior lifestyle light? Outdoor Shoots. Need controlled backdrop light? Studio Shoots.
If the garment still needs packshot prep, open Fashion Ecommerce Photography, Ghost Mannequin, or Clothing Flat Lay first.
The shoot types cluster guide maps sibling pages. Casting and try on clusters come earlier when the model body or garment swap is still wrong.
After the download
I build a thumbnail grid mockup in my notes app before upload day so spacing issues show up early.
When a marketplace rejects an aspect ratio, I crop from the catalog master without rerunning unless fabric detail was lost.
I attach SKU codes to filenames and share one folder link with the client instead of scattered chat attachments.
If one SKU in the line needs editorial for social, I run Fashion Editorial from the same approved base after catalog is live.
For reorder seasons I archive the catalog master beside the source photo so the next drop reuses the same pipeline.
FAQs
Related studio guides
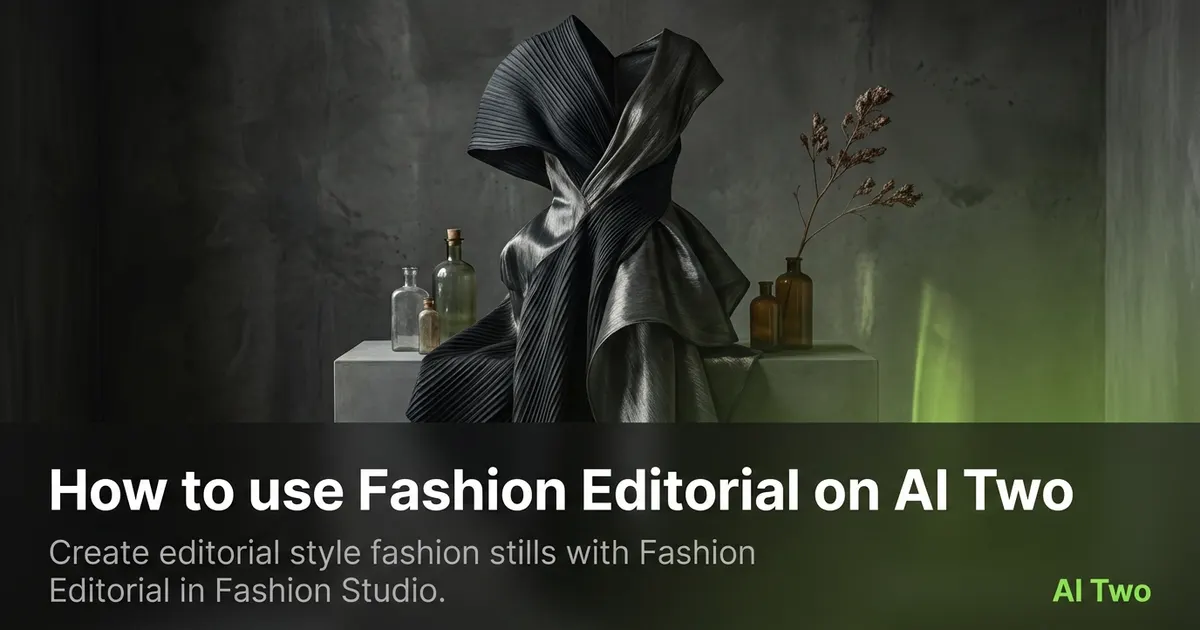
How to use Fashion Editorial on AI Two
Create editorial style fashion stills with Fashion Editorial in Fashion Studio.
Read guide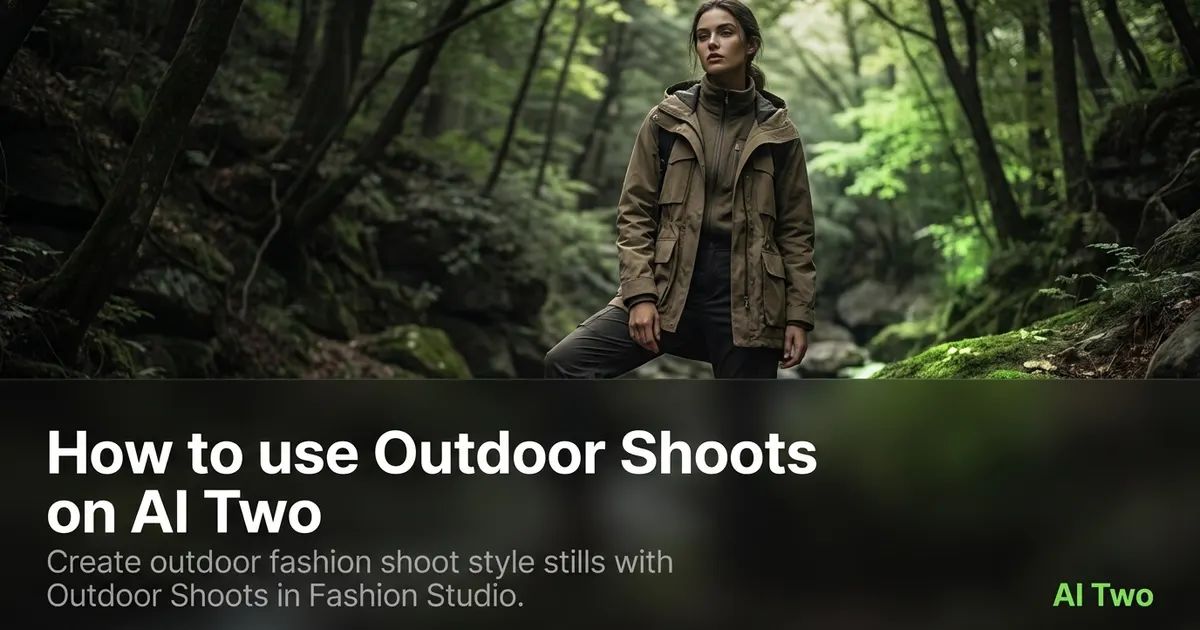
How to use Outdoor Shoots on AI Two
Create outdoor fashion shoot style stills with Outdoor Shoots in Fashion Studio.
Read guide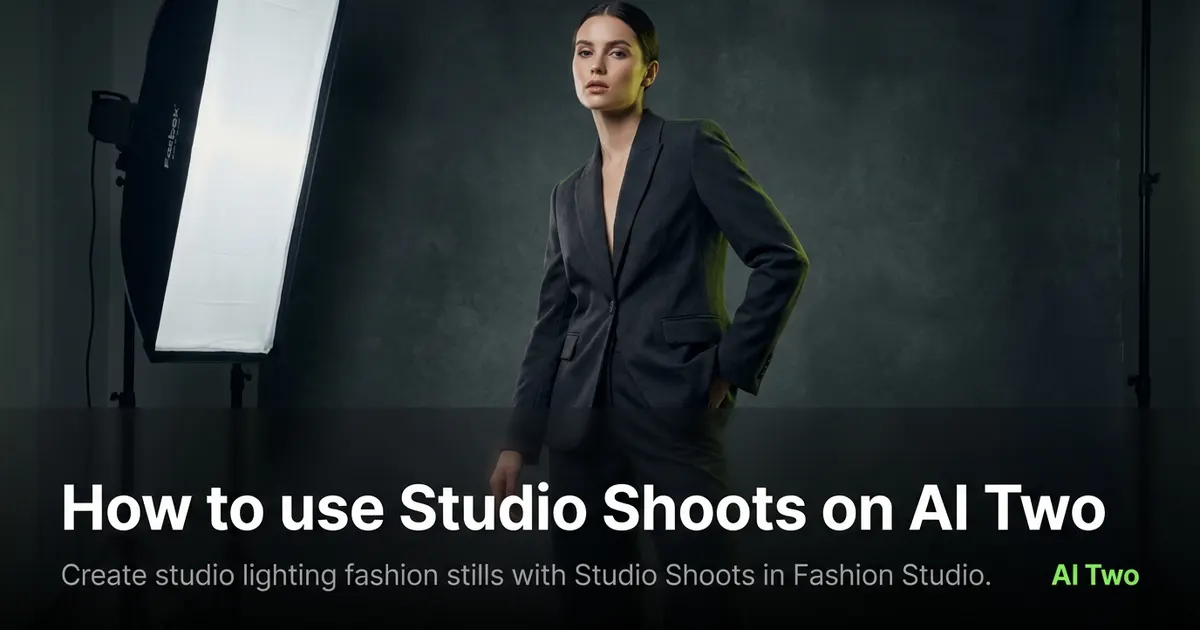
How to use Studio Shoots on AI Two
Create studio lighting fashion stills with Studio Shoots in Fashion Studio.
Read guide