
How to use Door Visualizer on AI Two
Upload a house photo and preview new front door styles with Door Visualizer in Home Design Studio.
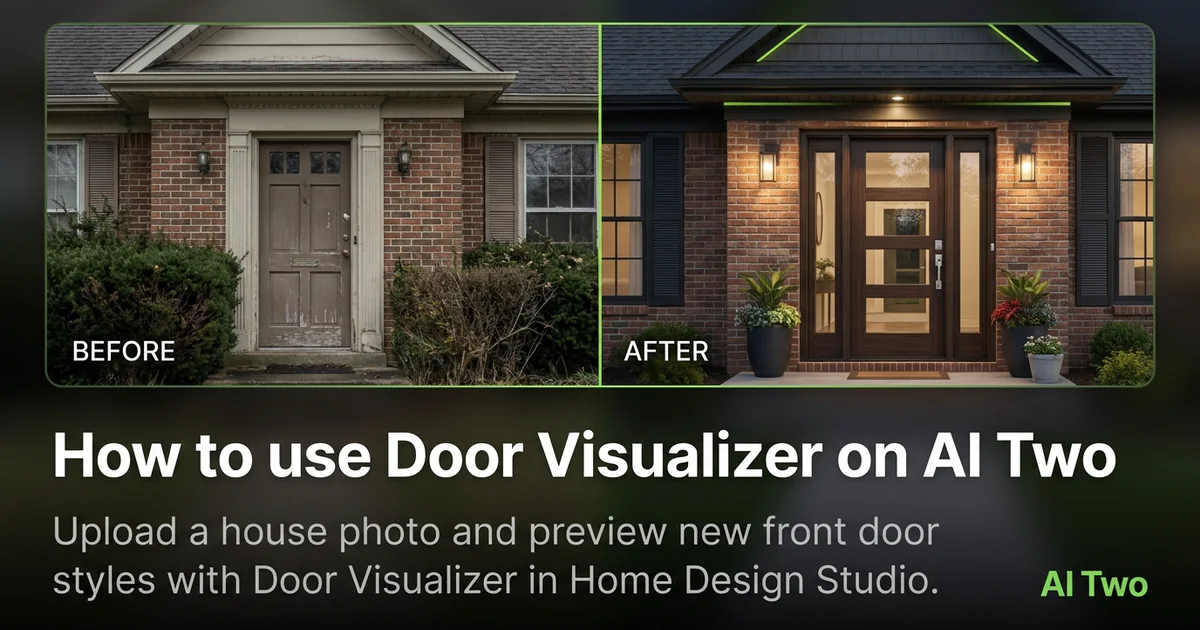
Door Visualizer on AI Two turns a front elevation photo into a new entry door style still in about 30 seconds. I open it when a homeowner or listing agent asks what a modern door, Craftsman panel, or darker stain would look like before anyone orders a slab. In my experience, one straight photo that shows the full door opening and surrounding trim beats a mood board of doors from different houses. When I tested a colonial with a dated flush door, the glass-panel preview looked coherent enough to email the client the same afternoon. I treat the output as a visual draft for the exterior consult, not a fabrication order.
What Door Visualizer does
You upload a house photo that shows the entry, pick a door style or finish direction, and generate. The tool keeps overall facade and camera angle while it updates the door leaf and related entry cues in the preview.
When I tested a ranch with a weathered wood door, the darker modern slab preview kept sidelight proportions believable while it changed the main leaf.
Home Design Studio lists this page with paint, architecture, roof, and window tools in the exterior cluster. Credits meter each generation.
Treat the output as a visual draft. It is not a measured shop drawing or hardware schedule.
I open this page after I have one clear facade photo that includes the full door. Guessing styles from memory wastes credits.
Free signup credits covered three door style tests for me before we locked a direction for the carpenter quote.
When I tested a narrow townhouse entry, the tool kept trim lines readable while it changed panel layout.
I save before and after pairs in a client folder named by street address so revision calls do not mix uploads from different properties.
For rental listings I note which door direction is staging only versus which the owner might approve as a real replacement.
How to run it step by step
Step one: sign in or create a free account. Step two: upload a daylight photo that shows the full front door and nearby trim if you can. Step three: pick a style, leave extras on default for the first run. Step four: generate and wait about 30 seconds. Step five: download or change one setting and compare.
My first run with defaults was already useful. The second run only changed door color so I could judge contrast against the siding.
I never overwrite the original phone photo. Entry options stack fast during consult week.
If the door plane warps, reshoot straighter instead of stacking edits on a skewed file.
I write the style name that won in a note beside the address so the contractor walk stays focused.
If the first run feels too heavy, I change only the style preset on run two. That keeps sidelights and wall color from shifting at the same time.
Credits apply per generation, so I lock one camera angle on the lead elevation before I batch three door finishes.
Which photo works best
Bright, straight photos beat wide angle phone snaps from the porch edge. Show the full door leaf, frame, and a slice of surrounding wall when possible.
Soft files under about 800 pixels look muddy after redesign. Start sharp.
The studio before and after card for this tool uses a real house photo. Match that kind of framing.
Clear porch clutter and delivery boxes from the shot when you can. They copy into the redesign and distract from the door.
Shoot level across the walk. Angled phone tilts make door jambs look crooked in the output.
Include sidelights or a transom when those openings matter for the budget talk. Cropping them out leaves the entry conversation incomplete.
Open or evenly lit porches help. Deep shadow under a roof overhang can hide panel detail after the style change.
Mistakes I avoid
Changing door style, paint, and roof together hides which choice helped. Change one variable per run.
Expecting exact manufacturer SKUs from a preview wastes time. I take the download to a showroom and match finishes in person.
Cropping out the second story when that elevation frames the entry leaves the curb story incomplete for some listings.
Running five dark filters on the phone before upload. The redesign inherits that cast.
Sending a builder only the AI still without the original photo. They need both to judge rough opening and trim condition.
When to use another exterior tool
Need paint color across the whole facade? Open Paint My House AI. Need a broader architecture restyle? Architecture AI. Need roof shingles or window replacements as the hero detail? Roof Visualizer and Window Replacement sit in the same exterior cluster.
The exterior cluster guide maps every facade tool. The Home Design Studio pillar covers rooms and outdoor structures when the entry preview is approved.
If curb score and priority notes come first, open Curb Appeal Rater before you spend door credits.
After the download
I attach the original photo beside the AI still in the client email so everyone compares the real entry, not just the preview.
For contractor walks I print one keeper at letter size and write the chosen door style on the margin. Phones zoom differently in sunlight.
When a homeowner asks for a second finish, I rerun from the same source file instead of editing pixels by hand. That keeps geometry stable.
I store keepers in a folder named by address and date so next season reruns start from the same before file.
Listing agents get a short note that the door preview is a visual draft only. Hardware, swing, and code still need a supplier check.
FAQs
Related studio guides
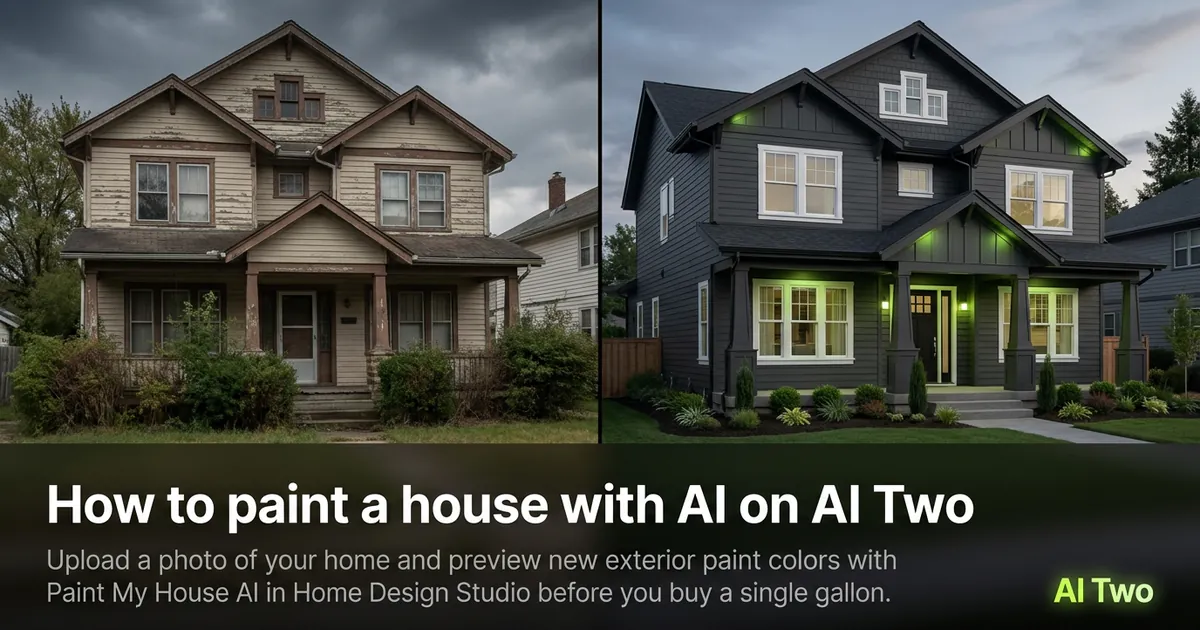
How to paint a house with AI on AI Two
Upload a photo of your home and preview new exterior paint colors with Paint My House AI in Home Design Studio before you buy a single gallon.
Read guide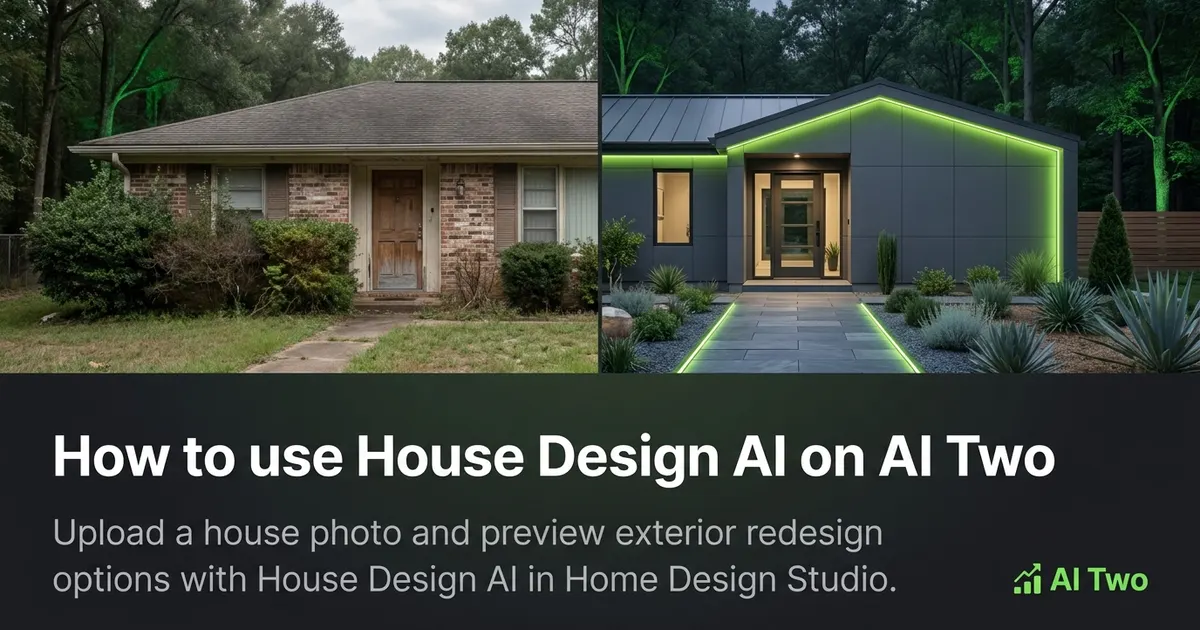
How to use House Design AI on AI Two
Upload a house photo and preview exterior redesign options with House Design AI in Home Design Studio.
Read guide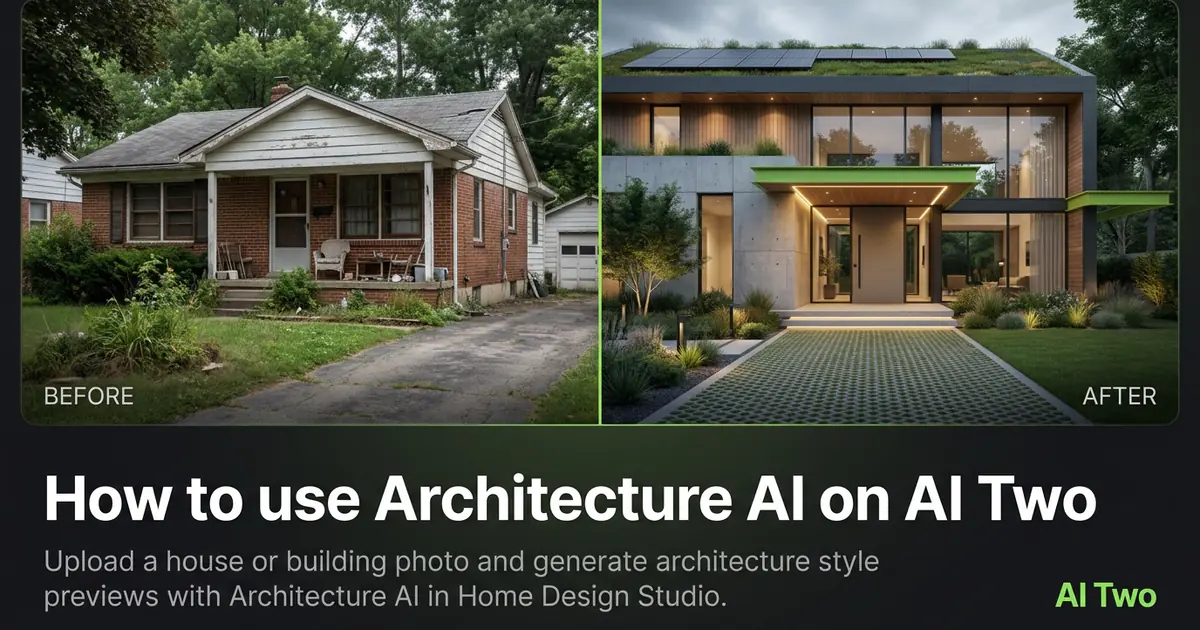
How to use Architecture AI on AI Two
Upload a house or building photo and generate architecture style previews with Architecture AI in Home Design Studio.
Read guide