
How to use Activewear Photography on AI Two
Create listing ready activewear product photos in Fashion Studio from the samples you already shot.
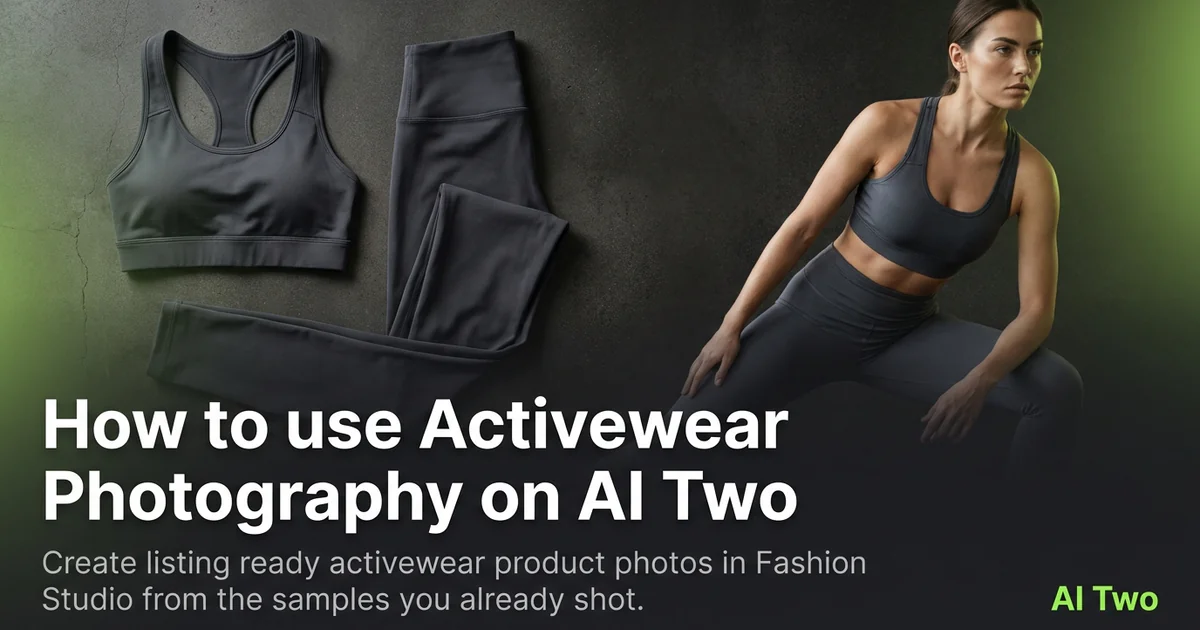
Activewear Photography on AI Two is the Fashion Studio page I open for leggings, tops, and performance sets that need clean ecommerce frames. Sellers use it to turn sample photos into listing stills without booking a gym studio day. When I tested a matte black legging flat shot, the output kept waistband stitching readable at marketplace zoom, which is the check I use before I upload.
What Activewear Photography does
Upload an activewear product photo, choose the presentation options on the form, and generate a catalog oriented still. Fabric texture and seams should stay readable after the run.
When I tested a matte black legging flat shot, the cleaned output kept the waistband logo sharp enough for a marketplace zoom. That is the check I use.
Fashion Studio keeps this beside other ecommerce category pages.
Built for sellers, not for picking today’s workout outfit as a consumer tool.
I open this page for leggings, sports bras, and performance sets after lint is gone. Black fabric shows every speck.
Free signup credits covered early SKUs for me. Paid plans raise monthly limits for catalog drops.
In my experience, black fabric needs lint removal before upload. Specks that look minor on a phone screen copy into the listing still.
I keep a lint roller next to the camera so every SKU starts clean.
How to run it step by step
Step one: sign in or create a free account. Step two: upload a sharp garment photo with seams visible. Step three: pick the mode, keep defaults on run one. Step four: generate and wait about 30 seconds. Step five: download or adjust one setting and compare.
Keep originals. Colorways share patterns across seasons.
When I tested a matte black set, I checked waistband logos at full zoom before I approved the packshot.
I run front and back as separate uploads when both sides sell the SKU. One twisted bundle hides inseam length buyers need.
Credits apply per generation, so I lock one presentation mode on the hero SKU before I batch five colorways.
If fabric looks plastic, I reshoot with softer daylight instead of stacking more runs on a harsh flash photo.
Which photo works best
Even daylight or softbox light shows knit texture better than mixed yellow bulbs.
Lay garments flat or on a form so edges are clear. Crumpled piles hide size.
Match the framing on the Fashion Studio before and after card for this tool.
Remove lint before you shoot. Activewear black shows every speck.
Avoid heavy beauty filters. Buyers zoom, and soft logos get returns.
Smooth wrinkles along waistbands and hems. Creases read as fit problems in a thumbnail.
Shoot on a neutral surface. Busy gym floors pull attention away from seam lines.
Include the full garment in frame. Cropped legs on leggings hide rise height shoppers compare across brands.
Mistakes I avoid
Uploading on body lifestyle shots when the listing needs a packshot first.
Changing pose, color, and background together.
Expecting sweat sheen campaign art from a packshot tool. Run lifestyle pages after the clean product still is approved.
Batching five colorways from one blurry phone snap.
Changing background, color tone, and crop together. One variable per run keeps returns low.
Skipping a lint pass on dark navy. Every fleck shows in the download.
When to use another Fashion tool
Need the garment on a model after the packshot? Open fashion models or lookbook tools. Accessories and swim have their own ecommerce pages. Casting tools adjust body type before a full catalog run.
The ecommerce photography cluster maps sibling category pages. The Fashion Studio pillar covers the wider toolkit.
Ghost mannequin helps when you need an invisible form shape instead of a flat lay.
When I build a seasonal drop, I finish packshots here for every colorway, then open on model tools only for the two hero styles ads need.
FAQs
Related studio guides

How to use Fashion Ecommerce Photography on AI Two
Produce marketplace ready apparel catalog stills with Fashion Ecommerce Photography in Fashion Studio.
Read guide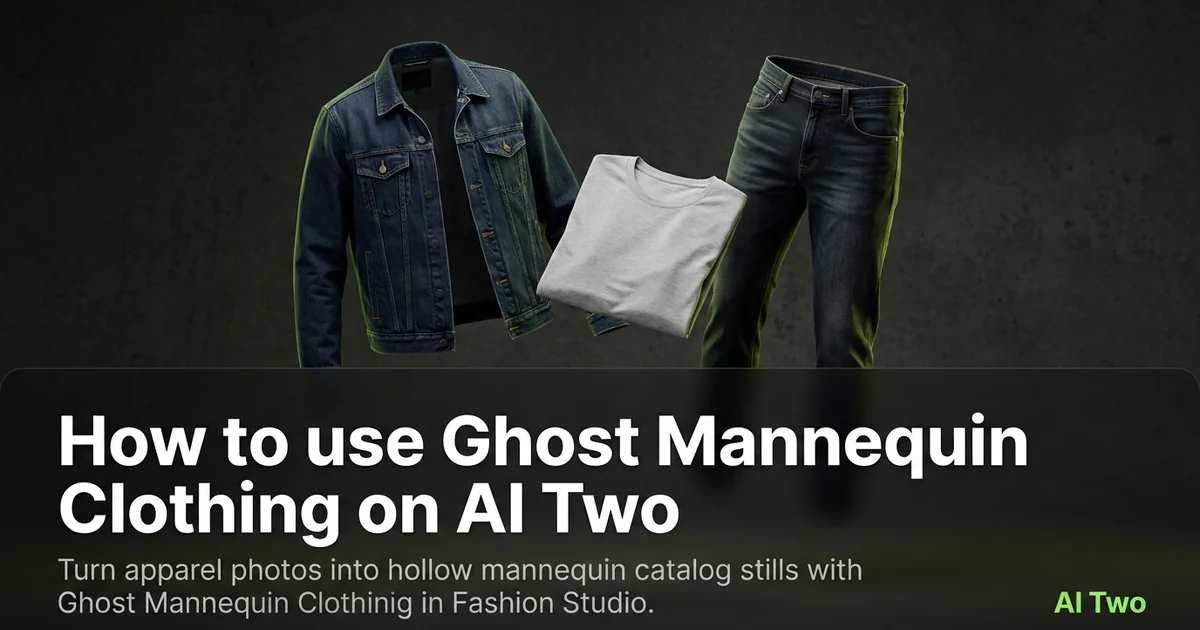
How to use Ghost Mannequin Clothing on AI Two
Turn apparel photos into hollow mannequin catalog stills with Ghost Mannequin Clothing in Fashion Studio.
Read guide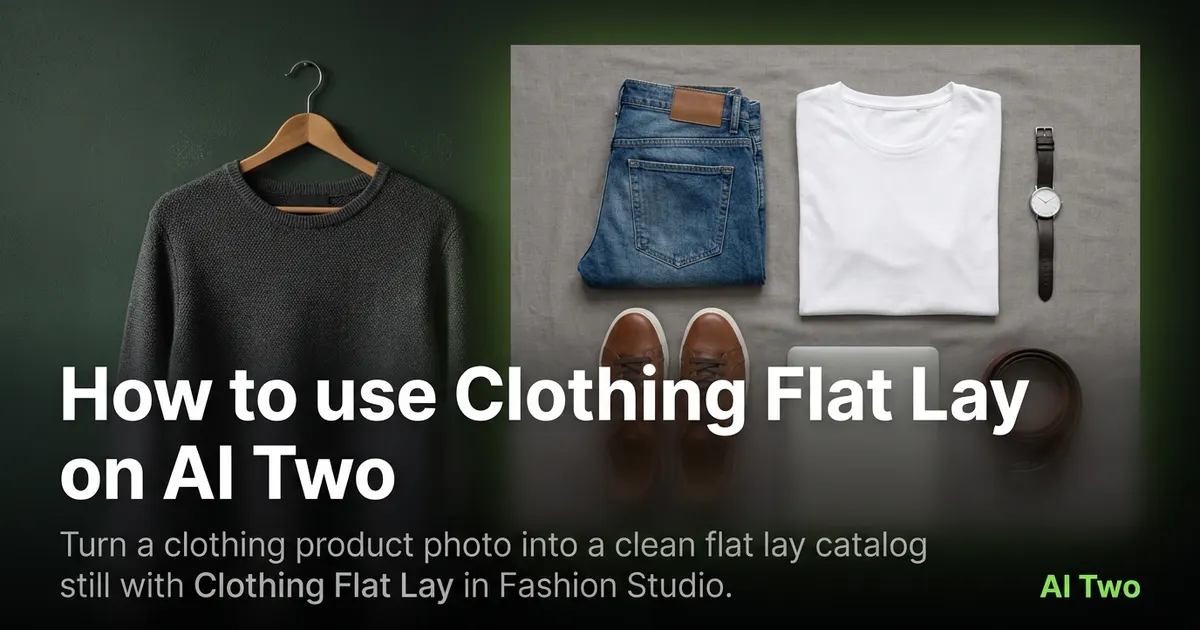
How to use Clothing Flat Lay on AI Two
Turn a clothing product photo into a clean flat lay catalog still with Clothing Flat Lay in Fashion Studio.
Read guide