
How to use Fashion Ecommerce Photography on AI Two
Produce marketplace ready apparel catalog stills with Fashion Ecommerce Photography in Fashion Studio.

Fashion Ecommerce Photography on AI Two is the hub page I open first when an apparel seller sends a plain product photo and needs marketplace ready stills without booking a studio. You upload a garment image, choose the workflow the form offers, and download a listing frame in about 30 seconds. When I tested a wrinkled hanger shot from a boutique client, the hub output cleaned the silhouette enough for a marketplace main image after I steamed the sample first. I treat downloads as seller catalog assets, not consumer outfit picks. Credits meter each generation. Free signup credits covered several SKU tests for me before I moved to Ghost Mannequin and Flat Lay siblings for channel specific variants.
What Fashion Ecommerce Photography does
You upload an apparel product photo, run the hub workflow, and download a clean ecommerce still suited to listing channels.
When I tested a navy blazer on a messy bedroom door hook, the hub kept lapels readable at thumbnail zoom after I moved to a plain wall source.
Fashion Studio lists this page at the center of the ecommerce photography cluster beside Ghost Mannequin, Clothing Flat Lay, Fabric Photography, and Fashion Lookbook.
Built for sellers who list clothing online. It is not a personal styling page for choosing today outfit.
I open the hub when I am not sure yet whether the channel wants mannequin shape, flat lay, or a simple packshot. One pass clarifies what the source can support.
Free signup credits covered four hub tests for me on one SKU folder. Paid plans raise monthly limits when you batch a seasonal catalog.
In my experience, fabric seams and print areas must survive the run. Soft logos mean I go back to a sharper source file.
I save the original beside every hub still so merchandising can compare detail at the same zoom.
For multi channel launches I note which marketplace rule each download targets so weekend uploads do not mix files.
How to run it step by step
Step one: sign in or create a free account. Step two: upload a sharp garment photo with the full piece in frame. Step three: open Fashion Ecommerce Photography and keep defaults on run one. Step four: generate and wait about 30 seconds. Step five: download or open a sibling tool for a channel specific variant.
I steam or flatten wrinkled samples before upload when I can. The hub copies fabric condition faithfully.
When I tested one SKU across hub and Ghost Mannequin, I reused the same source file instead of re shooting.
Credits apply per generation. I change one setting per run so I know what improved.
If the channel rejects the first frame, I open Clothing Flat Lay or Fabric Photography instead of forcing five hub reruns.
I label downloads by SKU and tool name in the folder before I share with the client.
Kids and swim SKUs follow Fashion Studio safety rules. Keep catalog work modest and clearly product focused.
When logos smear, I stop and fix lighting on a new photo before more credit spend.
Which photo works best
Even lighting and a full garment in frame beat cropped phone selfies. Shoot against a simple wall or seamless paper when you can.
Busy bedrooms force the model to invent a new backdrop and that often softens edges on marketplace zoom.
If the file is under about 1000 pixels on the long edge, I re export from the camera roll. Soft inputs stay soft after ecommerce tools run.
Hanger shots work when the shoulders and hem are visible. Tight crops on a collar alone waste a credit.
Flat lays belong on the Clothing Flat Lay sibling when the channel expects top down geometry. The hub still helps me judge source quality first.
Avoid heavy filters before upload. Ecommerce tools add their own cleanup. Double styling in the source fights the page.
White balance matters for color accurate listings. Mixed yellow bulbs make navy look brown at checkout.
I keep a base approved folder that only holds files cleared for sibling tools later in the week.
Mistakes I avoid
Using the hub as a consumer outfit picker. Fashion Studio ecommerce pages serve sellers listing SKUs.
Uploading a wrinkled sample and expecting a luxury press finish without steaming first.
Changing style and background together on run one so I cannot tell which setting helped.
Forcing five hub reruns when Ghost Mannequin or Flat Lay is the channel native format.
Skipping full zoom on logos and seams before I approve a download for live listings.
Mixing hub outputs from different source white balances in one bundle listing.
When to use another tool
Need invisible mannequin shape on white? Ghost Mannequin. Need top down packshots? Clothing Flat Lay. Need textile drape without a worn look? Fabric Photography. Need story frames after the packshot is approved? Fashion Lookbook.
The ecommerce photography cluster guide maps every sibling page. Shoot types covers catalog, editorial, and outdoor moods after the base SKU looks right.
Casting and try on clusters come earlier when the product must appear on a specific model body. Post production finishes faces after the garment is approved.
After the download
I inspect print areas and seams at full zoom before any file goes live on a marketplace.
When the channel needs two formats, I run Ghost Mannequin and Flat Lay from the same approved source the same day.
I attach SKU codes to filenames and upload notes so the client team matches images to inventory rows.
If the face in a hybrid shot needs polish, I open post production tools after the garment pass is approved.
For seasonal drops I archive the source photo beside hub outputs so reorders reuse the same base file.
FAQs
Related studio guides
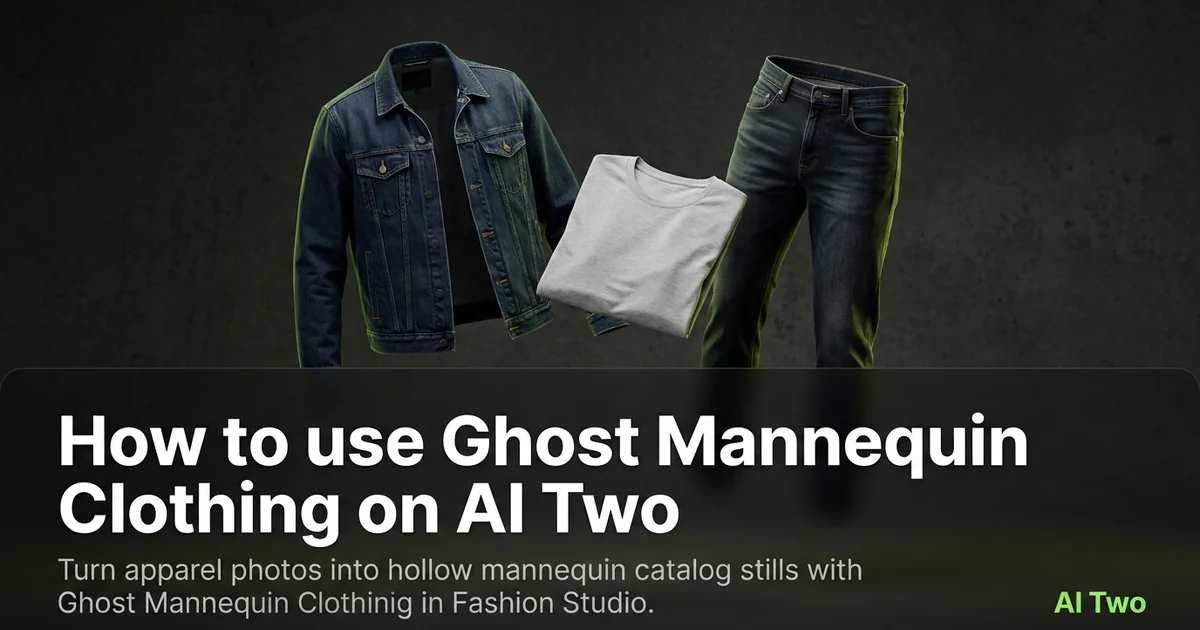
How to use Ghost Mannequin Clothing on AI Two
Turn apparel photos into hollow mannequin catalog stills with Ghost Mannequin Clothing in Fashion Studio.
Read guide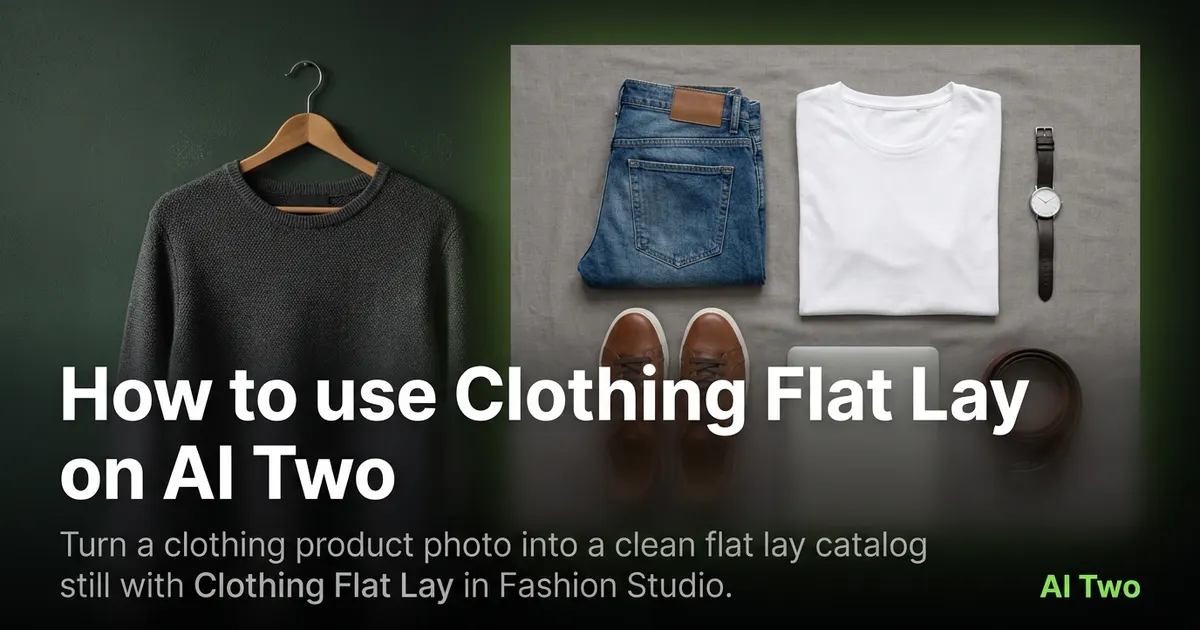
How to use Clothing Flat Lay on AI Two
Turn a clothing product photo into a clean flat lay catalog still with Clothing Flat Lay in Fashion Studio.
Read guide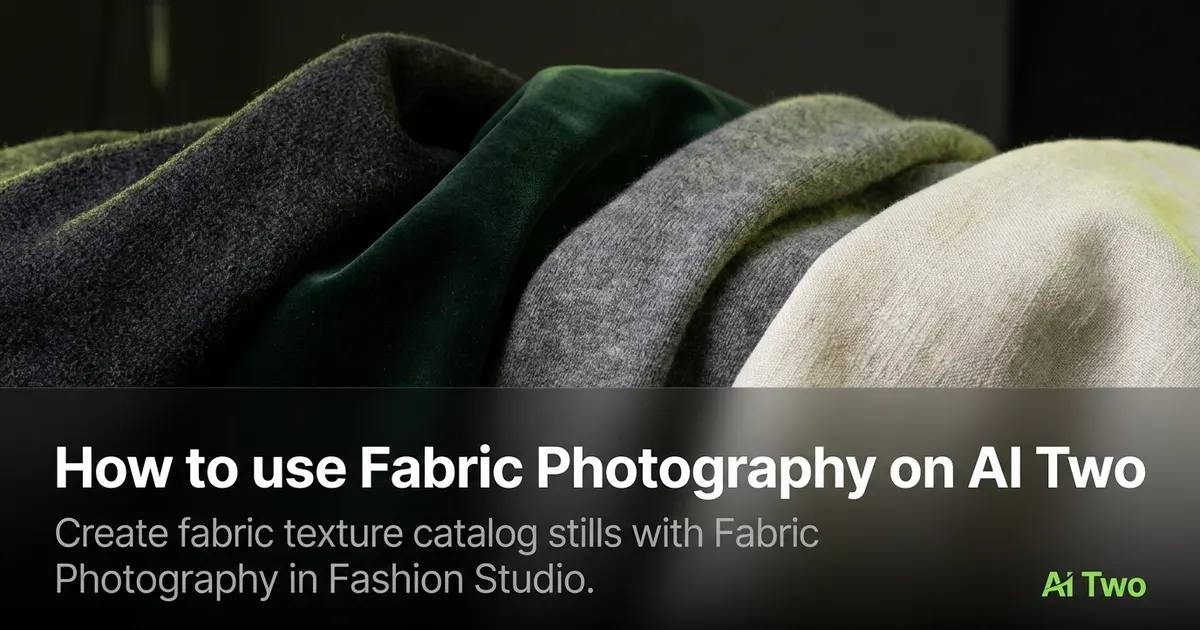
How to use Fabric Photography on AI Two
Create fabric texture catalog stills with Fabric Photography in Fashion Studio.
Read guide