
How to use Accessories Photography on AI Two
Turn accessory product photos into listing ready stills with Accessories Photography in Fashion Studio.
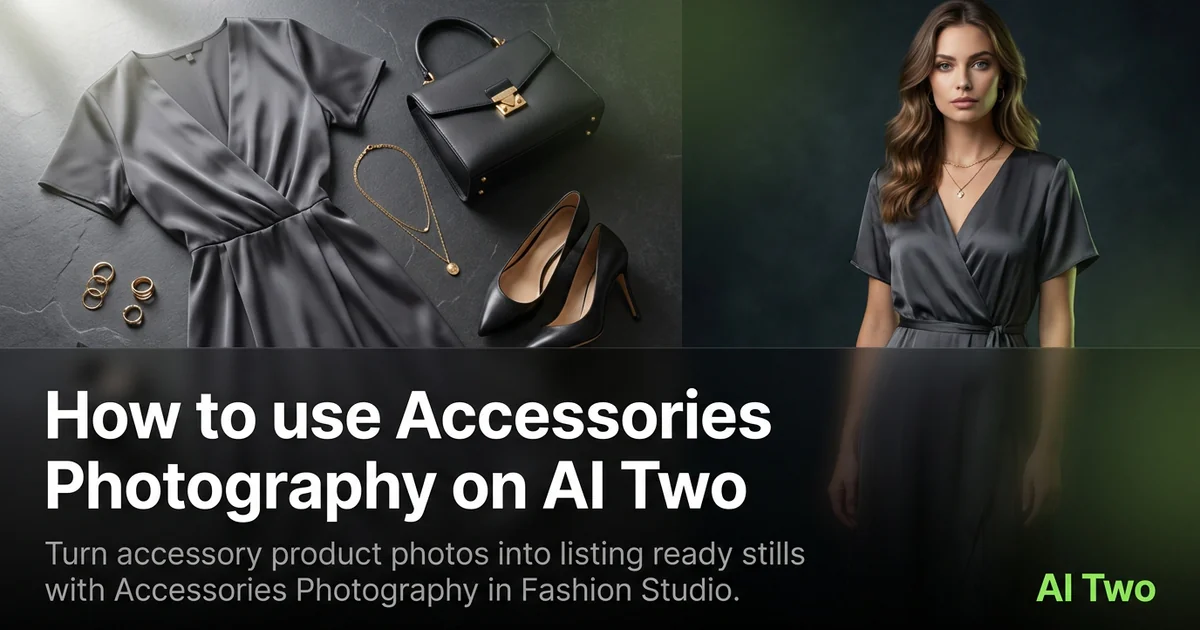
Accessories Photography on AI Two sits in Fashion Studio for sellers who need bags, belts, hats, and small goods to look listing ready without a full studio day. I open it when a hanger or table shot needs a cleaner ecommerce frame. When I tested a crossbody bag on a wrinkled bedspread, the cleaned still kept strap hardware sharp enough for a marketplace zoom.
What Accessories Photography does
You upload an accessory photo, pick the presentation direction the form offers, and generate a polished still. The goal is a catalog asset, not a lifestyle collage with unrelated props.
When I tested a leather belt on a wrinkled cloth, the cleaned presentation kept stitching readable. That is the bar for accessories: hardware and edges must stay sharp.
Fashion Studio shares this page with other ecommerce tools. Credits meter each run.
Audience is sellers. This is not a personal styling picker.
I open this page for bags, belts, hats, and similar goods after the sample is cleaned. Creases and dust copy into the listing.
Free credits covered a few SKUs for me before I locked a packshot style. Paid plans raise monthly limits for catalog batches.
In my experience, one accessory per upload beats a flat lay pile. The model keeps buckles and logos on the SKU you are listing.
How to run it step by step
Step one: sign in or create a free account. Step two: upload a sharp product photo with the accessory fully in frame. Step three: choose the mode, leave extras default on the first run. Step four: generate and wait about 30 seconds. Step five: download or change one setting and compare.
I keep the original file. Accessory SKUs share hardware finishes across colors, and you will reuse the base photo.
If metal buckles smear, start from a sharper source instead of stacking runs.
I name downloads with the SKU and angle so marketplace uploads stay organized.
When I tested a crossbody bag, I ran front and hardware close ups as separate uploads instead of one distant pile.
I compare run one and run two side by side at full zoom before I upload to a marketplace. Soft stitching is cheaper to fix now than after a return.
Credits meter each generation, so I batch similar leather goods in one session and reuse the same presentation choice.
Which photo works best
Even light and a clear silhouette beat busy bedspread backgrounds.
Show clasps, logos, and edges. Cropping hardware forces the model to invent detail.
The Fashion Studio card for this tool shows a real before and after pair. Match that kind of framing.
Steam or wipe the sample before you shoot. Creases copy faithfully.
Avoid heavy phone filters. Marketplace buyers zoom, and filters hide stitching faults you still own.
Shoot straps extended so buyers see length. A coiled strap hides scale and invites size disputes.
Use a plain surface or neutral cloth. Patterned tablecloths bleed into leather edges in the output.
Fill the frame with the product. Tiny objects floating in empty space look like low effort listings.
Mistakes I avoid
Uploading group shots of five accessories at once when the listing is one SKU.
Changing five settings between runs.
Expecting jewelry micro detail from a distant phone snap. Use jewelry tools when the product is fine jewelry.
Shipping a soft logo area without checking full zoom after download.
Using lifestyle props that compete with the SKU. A coffee cup beside a wallet distracts from hardware detail buyers need.
Running ten colorways before you lock one presentation mode. Pick the look on one SKU, then batch the rest.
When to use another Fashion tool
Bags on models may need fashion models or lookbook pages after the packshot. Jewelry has its own cluster. Activewear has a dedicated photography page when the product is performance apparel.
The ecommerce photography cluster maps sibling packshot tools. The Fashion Studio pillar maps casting and post production.
Ghost mannequin and flat lay pages help when the accessory is apparel shaped and needs that presentation.
When I need a worn shot for ads, I finish the packshot here first so the marketplace listing and the ad creative share the same product truth.
FAQs
Related studio guides
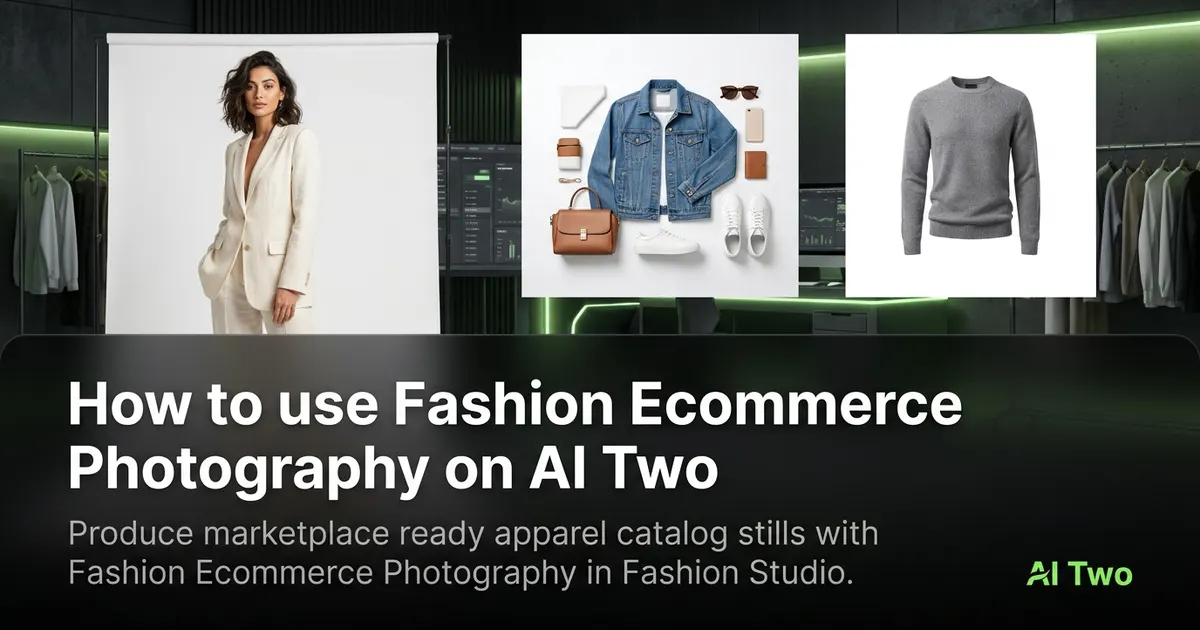
How to use Fashion Ecommerce Photography on AI Two
Produce marketplace ready apparel catalog stills with Fashion Ecommerce Photography in Fashion Studio.
Read guide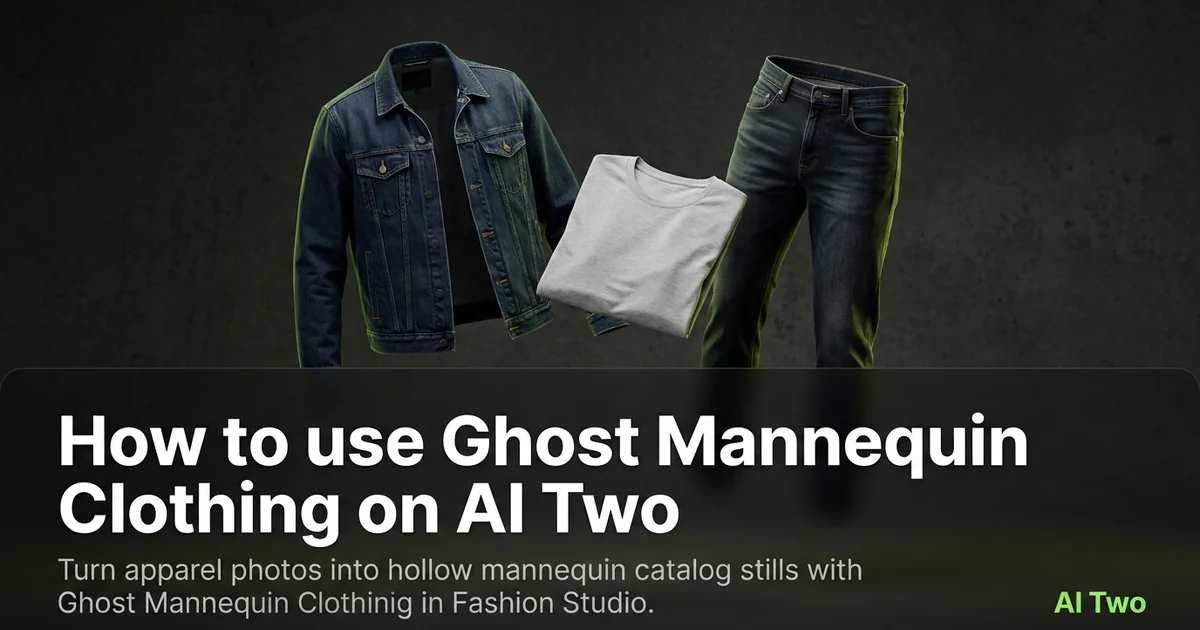
How to use Ghost Mannequin Clothing on AI Two
Turn apparel photos into hollow mannequin catalog stills with Ghost Mannequin Clothing in Fashion Studio.
Read guide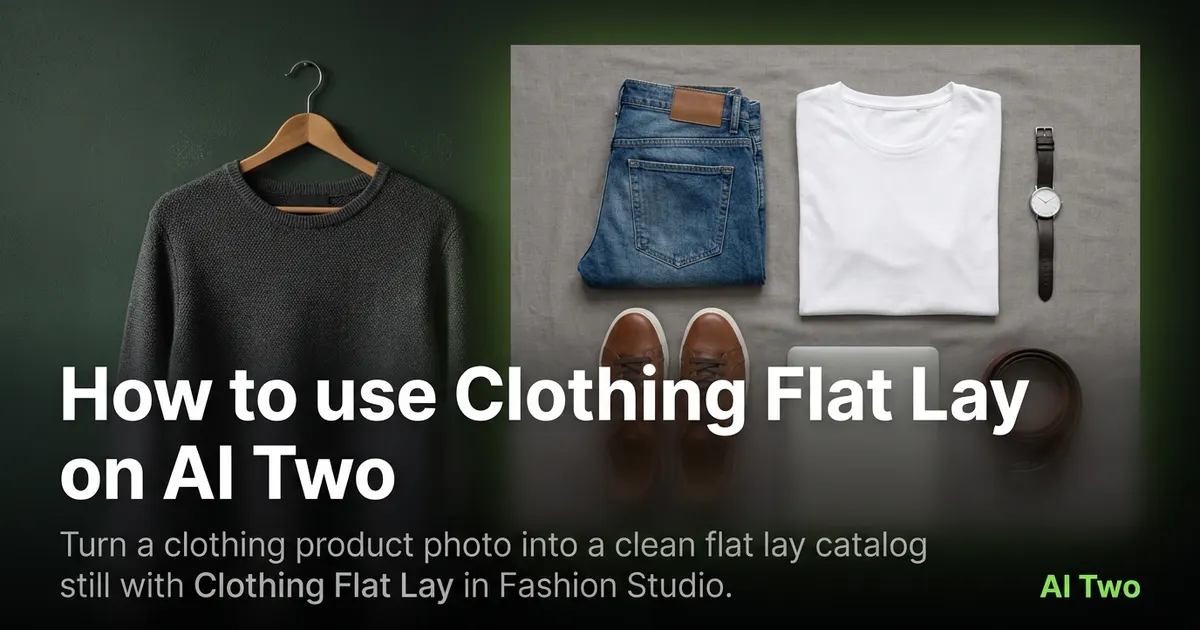
How to use Clothing Flat Lay on AI Two
Turn a clothing product photo into a clean flat lay catalog still with Clothing Flat Lay in Fashion Studio.
Read guide