
How to use Clothing Color Changer on AI Two
Recolor garments on a product or model photo with Clothing Color Changer in Fashion Studio.
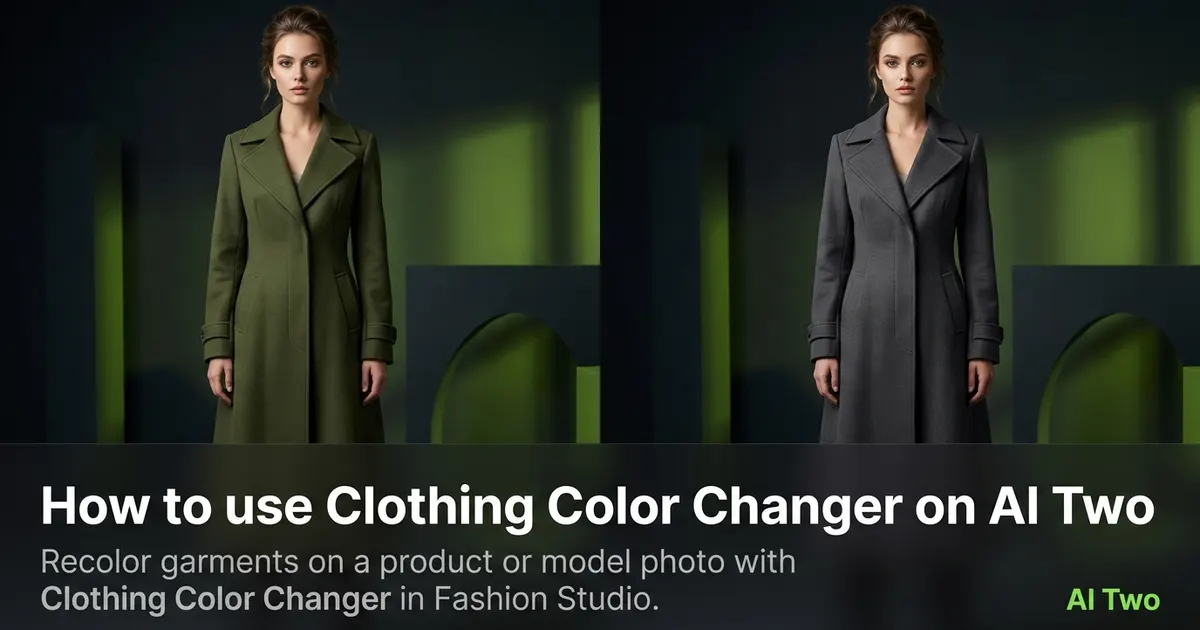
Clothing Color Changer on AI Two shifts garment hue on an on-model or product photo in about 30 seconds. I open it when a seller already has the right fit and pose but needs navy, burgundy, and forest variants for separate SKUs without sewing new samples. Fashion Studio lists this page beside Virtual Try On in the try on and color cluster. When I tested a cotton dress on a neutral studio pose, the burgundy variant kept seam lines readable at marketplace zoom, which is the check I use before I upload a colorway pack. Paid plans add credits and watermark free exports for catalog work. I treat each download as a seller colorway draft, not a dye lab formula sheet.
What Clothing Color Changer does
You upload an apparel photo with a visible garment, pick a target color direction on the form, and generate a still that recolors the clothing while keeping skin, hair, and background as stable as the source allows.
When I tested a white blouse on a catalog torso crop, the navy variant kept collar stitching readable at marketplace zoom without tinting the model skin.
Fashion Studio lists this page beside Virtual Try On in the try on and color cluster. Credits meter each generation.
Built for sellers who need colorway variants on photos they already own. It is not a consumer wardrobe planner or outfit of the day tool.
I open this page after fit and pose are locked from Virtual Try On or casting tools when those steps ran first.
Free signup credits covered four color tests for me on one hero SKU. Paid plans raise monthly limits and remove watermarks on exports when your plan includes that benefit.
In my experience, product edges must stay clean for marketplace zoom. Color bleed onto skin means I return to a tighter crop or a sharper source.
I save the original beside every color variant so merchandising can compare stitch detail at the same zoom level.
For seasonal drops I note hex or color names beside filenames so the upload folder stays sorted by SKU and hue.
How to run it step by step
Step one: sign in or create a free account. Step two: upload a sharp apparel photo with the garment fully visible. Step three: pick a color direction, keep defaults on run one. Step four: generate and wait about 30 seconds. Step five: download or change one color setting and compare beside the original.
My first run with defaults was already useful for a two colorway listing. The second run only shifted warmth so I could judge fabric tone without changing crop.
I never overwrite the original catalog master. Colorway stacks grow fast across a drop.
If hems pick up the new hue on the floor shadow, I reshoot with cleaner background instead of stacking more runs on a busy photo.
I write the color name that won in a note beside the SKU so the next channel upload matches the approved variant.
Credits apply per generation, so I lock one sharp base photo on the hero SKU before I batch five hues.
When I tested a striped tee, I checked stripe edges at full zoom before I approved the pack for marketplace upload.
Which photo works best
Even daylight or softbox light shows fabric folds better than mixed yellow bulbs that flatten navy and black garments.
Shoot on neutral gray or white when you can so garment edges stay clear. Busy backgrounds bleed into color boundaries.
Match the framing on the Fashion Studio before and after card for this tool.
Avoid heavy beauty filters on the source. Buyers zoom, and soft fabric edges get returns.
Include the full garment in frame when length matters. Cropped hems hide how the new color reads on the full SKU.
Keep print and logo areas sharp in the source. Recolor runs preserve readable graphics better when the original is crisp.
For dark garments, expose for fabric detail before upload. Underexposed sources turn muddy after a hue shift.
Mistakes I avoid
Running color changes before fit and pose are locked. I finish Virtual Try On or casting first when those steps apply.
Changing color, crop, and background together on run one. Change one variable per run so you know what improved.
Opening Furniture Color in Home Design Studio for apparel. Clothing Color Changer is the fashion page for garments.
Batching ten hues from one blurry phone snap before the hero sharpness is approved.
Promising exact Pantone match from a preview. I compare physical swatches in hand against the download before I publish color names.
When to use another Fashion tool
Need a garment on a body for the first time? Open Virtual Try On. Need a different garment entirely on the same pose? Clothing Changer in the casting cluster. Need a white field after color approval? Background Remover in post production.
The try on and color cluster guide maps sibling pages. The Fashion Studio pillar covers ecommerce and jewelry when colorways are locked.
Furniture and wall color tools live in Home Design Studio. Stay on this page when the product is apparel.
After the download
I upload each color variant beside the original in the listing draft so the merchandiser can approve hues before publish.
For marketplaces that require one SKU per color, I name files by SKU and color code so bulk upload tools map correctly.
When a return cites wrong shade, I compare the download zoom against the physical swatch photo before I rerun.
If skin picks up garment color, I return to the sharpest original and rerun with a smaller hue nudge rather than stacking fixes on a soft file.
I list color names in product copy only after the variant still matches the flat lay measurement photo at the same zoom.