
How to use AI Outfit on Models on AI Two
Place full outfits on photorealistic models from garment photos with AI Outfit on Models in Fashion Studio.
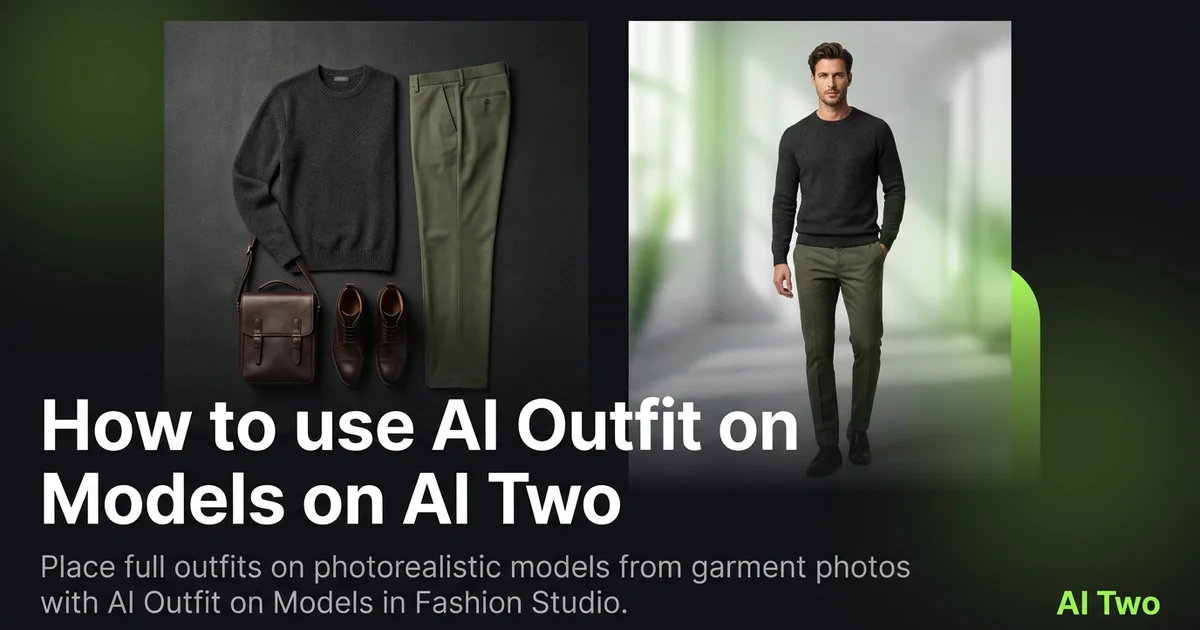
AI Outfit on Models on AI Two is the Fashion Studio page I open when a listing needs a full look on a model, not a single flat garment. Sellers use it to combine pieces into one on model still for lookbooks and marketplace hero images. When I tested a top and skirt shot as separate uploads, the combined on model frame kept hem lines readable at zoom, which is the check I use before I publish.
What AI Outfit on Models does
Upload garment photos or follow the form for outfit assembly, choose model presentation options, and generate a full look on a photorealistic model.
When I tested a coordinated set, the output kept both pieces aligned at the waist without obvious cut lines in the thumbnail.
Fashion Studio lists this beside fashion models and virtual model pages in the apparel cluster.
Built for sellers who need a model to wear the product set, not for consumer outfit picking.
I open this page after each piece has a clean product photo. Wrinkles on one SKU copy into the full look.
Free signup credits covered early lookbook frames for me. Paid plans raise monthly limits for seasonal drops.
In my experience, matching light direction across garment photos helps the combined still feel like one shoot.
I label each source file by SKU in the folder name so a seasonal rerun does not grab last year’s top by mistake.
For marketplaces that ask for a full length frame, I check hem clearance in the crop before I upload the hero.
How to run it step by step
Step one: sign in or create a free account. Step two: upload sharp garment photos with seams visible. Step three: pick the mode, keep defaults on run one. Step four: generate and wait about 30 seconds. Step five: download or adjust one setting and compare.
Keep originals for each SKU. Sets reuse pieces across campaigns.
When I tested a two piece set, I checked waist alignment at full zoom before I approved the pack.
I run hero looks first, then batch colorways once the pose and crop are locked.
Credits apply per generation, so I lock one model direction on the lead SKU before I batch variants.
If fabric looks plastic, I reshoot with softer daylight instead of stacking more runs on a harsh flash photo.
I export the approved look at full resolution before I run background remover for the white field variant.
Which photo works best
Even daylight or softbox light shows fabric texture better than mixed yellow bulbs.
Lay garments flat or on a form so edges are clear. Crumpled piles hide fit at the waist and shoulders.
Match the framing on the Fashion Studio before and after card for this tool.
Remove lint before you shoot. Dark fabrics show every speck in a full look still.
Avoid heavy beauty filters. Buyers zoom, and soft logos get returns.
Shoot top and bottom pieces under similar light when you combine them. Mismatched shadow direction reads as a bad composite.
Include full hems and sleeves in frame. Cropped edges hide length shoppers compare across brands.
Mistakes I avoid
Uploading lifestyle shots when the listing needs a clean on model product frame first.
Changing pose, color, and background together on run one.
Expecting campaign sweat sheen from a catalog outfit tool. Run lifestyle pages after the clean product still is approved.
Batching five colorways from one blurry phone snap.
Mixing two pieces shot weeks apart under different white balance without checking skin tone match.
When to use another Fashion tool
Need one garment on a model without styling a full look? Open AI Fashion Models. Need a reusable face across SKUs? AI Virtual Model. Need casting changes on an existing photo? Body Type Modifier or Model Age Changer.
The apparel on models cluster maps sibling pages. The Fashion Studio pillar covers the wider toolkit.
Background Remover in post production helps when the outfit still needs a white marketplace field.
After the download
I upload the approved look to the listing draft first, then run background remover if the channel requires pure white.
For lookbooks I export square and vertical crops from the same master so email and social teams share one approved frame.
When a marketplace rejects a composite, I return to the garment source photos and rerun with one changed setting instead of editing pixels by hand.
FAQs
Related studio guides
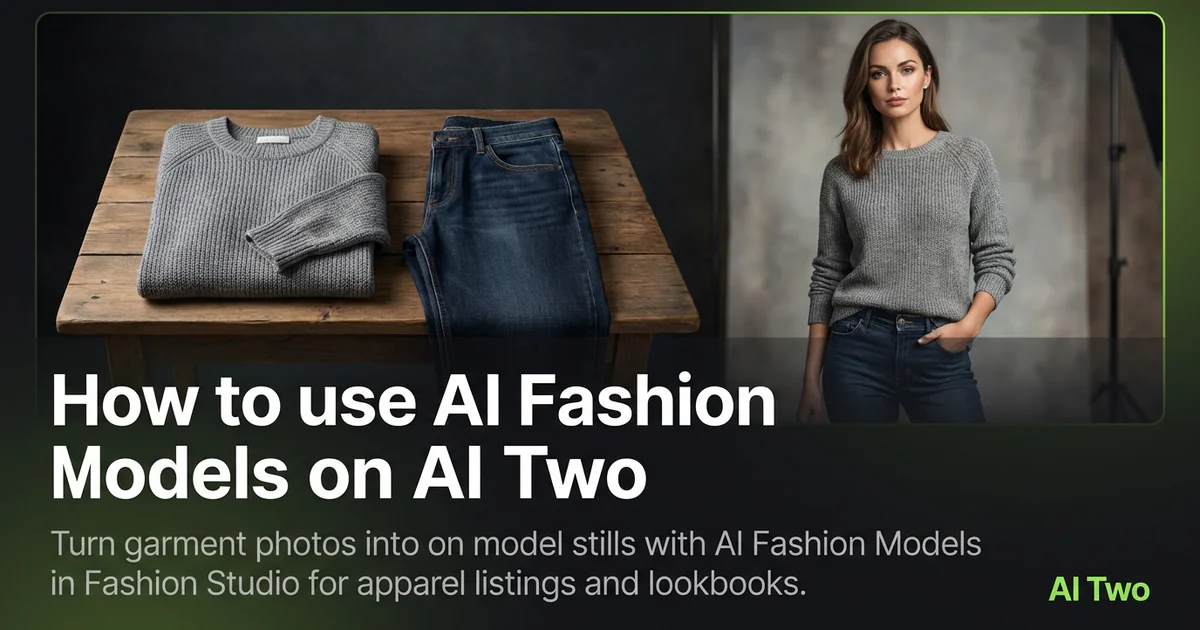
How to use AI Fashion Models on AI Two
Turn garment photos into on model stills with AI Fashion Models in Fashion Studio for apparel listings and lookbooks.
Read guide
How to use Female Fashion Models on AI Two
Place apparel on female fashion models with Female Fashion Models in Fashion Studio.
Read guide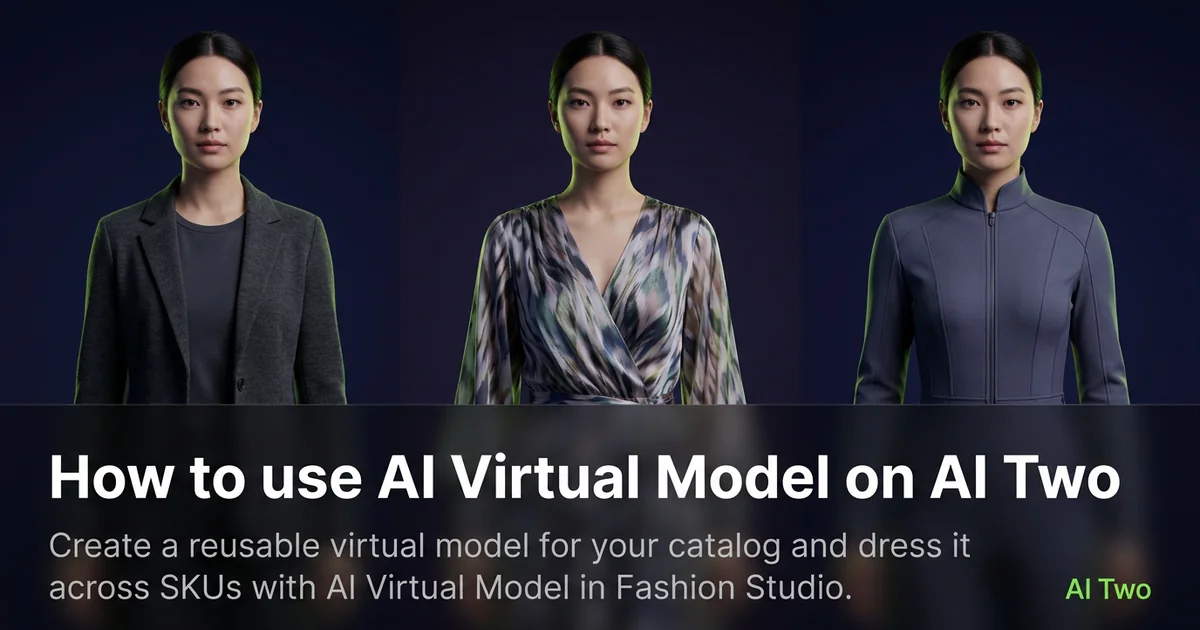
How to use AI Virtual Model on AI Two
Create a reusable virtual model for your catalog and dress it across SKUs with AI Virtual Model in Fashion Studio.
Read guide